
To replace metal around basement windows, first, remove the old metal with a pry bar and cut new metal to size. Then, attach the new metal with screws and seal around the edges with caulk or foam.
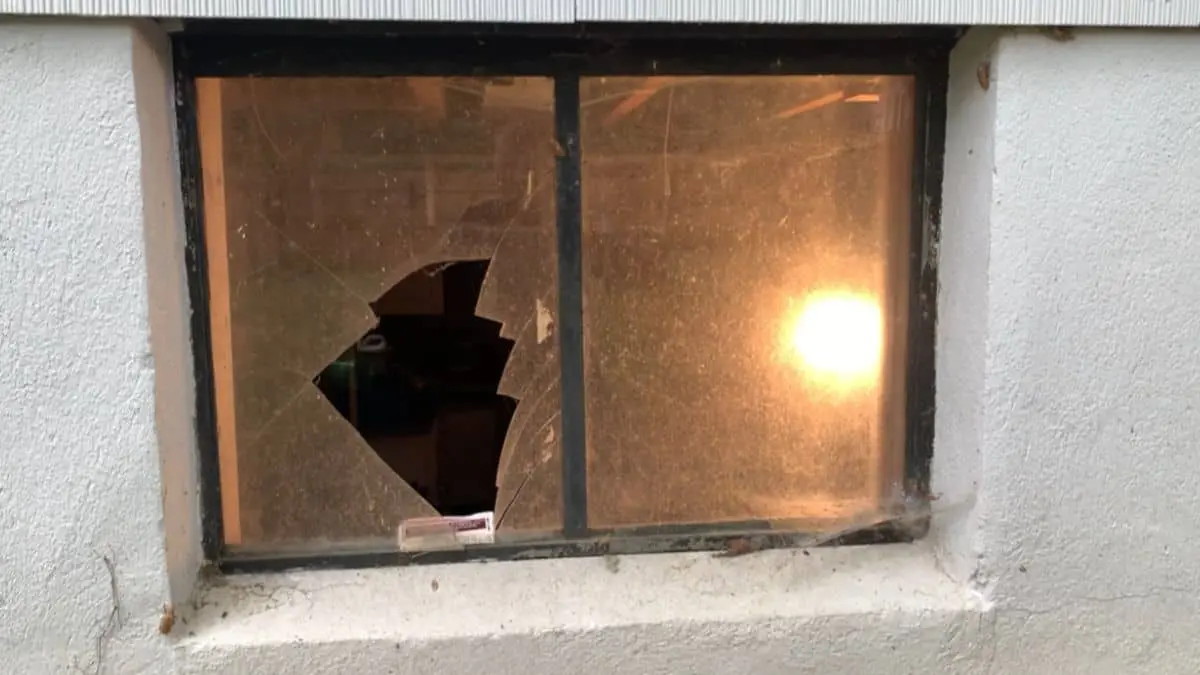
Basement windows can be a great source of natural light and fresh air, but they can also be a source of drafts and water leaks. Over time, the metal frames around the windows may become damaged or corroded, allowing air and moisture to seep in.
If you’re experiencing these issues, it may be time to replace the metal around your basement windows. We’ll go over the steps involved in replacing the metal frames around your basement windows, including removing the old metal, cutting and installing new metal frames, and sealing the edges to prevent drafts and leaks. So, let’s get started!
Assessment And Preparation
Before replacing metal around basement windows, it’s crucial to assess the existing condition and prepare adequately. This ensures a smooth and successful renovation process.
Inspecting The Condition Of The Existing Metal
- Check for rust, corrosion, or damage to the metal around the basement windows.
- Ensure that the metal is securely attached to the window frame.
- Look for any signs of water damage or decay that may affect the replacement process.
Gathering Necessary Tools And Materials
- Hammer, screwdriver, pliers, and utility knife for removing old metal.
- Replacement metal pieces, measuring tape, and caulking gun for installing new metal.
- Safety goggles, gloves, and a dust mask to protect yourself during the renovation.
Removal Of Old Metal
When it comes to replacing metal around basement windows, the first step is the removal of the old, damaged metal frames. This process involves carefully removing the existing metal and preparing the window area for the installation of new materials.
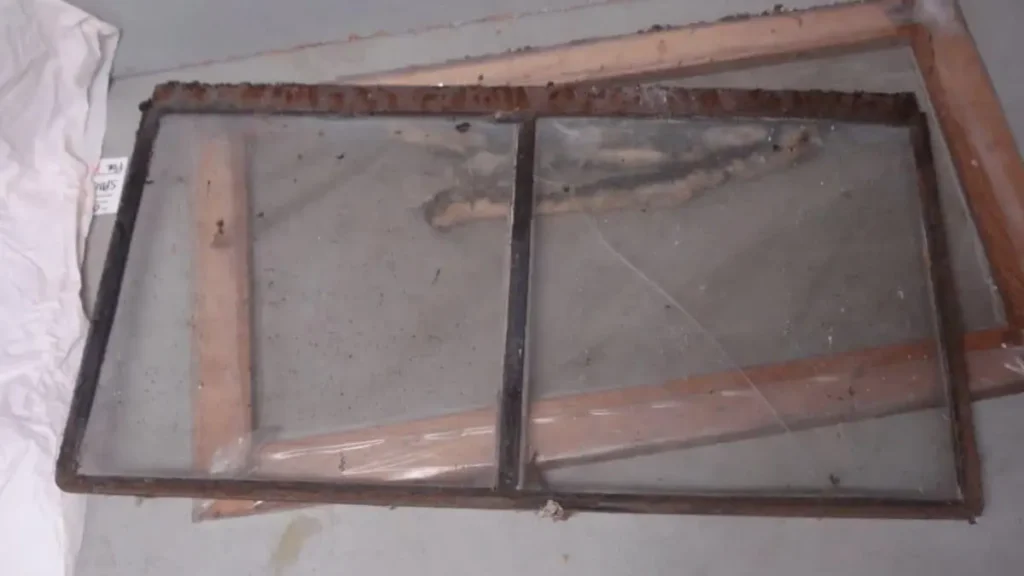
Removing The Damaged Metal Frames
Before you begin the removal process, gather the necessary tools such as a pry bar, hammer, and safety goggles. Start by carefully prying away the old metal frame from the window using the pry bar. Be cautious to avoid damaging the surrounding structure and take your time to ensure the metal is removed without causing any further damage.
Cleaning The Window Area
Once the old metal is removed, it’s essential to thoroughly clean the window area to ensure a smooth surface for the new materials. Use a wire brush to remove any remaining debris and rust from the window frame. Be thorough in this step to create a clean and stable surface for the replacement metal.
Measuring And Cutting
Taking Accurate Measurements For The New Metal
To replace metal around basement windows, start by taking precise measurements of the area. Utilize a measuring tape to determine the length and width required for the new metal. Ensure accuracy by measuring twice before cutting the metal for a perfect fit.
Using The Correct Tools For Cutting The Metal
Select appropriate tools like a metal-cutting blade for accurate cutting. Wear protective gear such as safety goggles and gloves while working with metal. Use a power tool like a circular saw or angle grinder for efficient cutting.
Installation Process for Replacing Metal Around Basement Windows
Replacing the metal around basement windows is an essential task that combines functionality and aesthetics. A proper installation ensures the area remains protected against water infiltration, boosts energy efficiency, and enhances the overall look of your home. Here’s a step-by-step guide to the process:
Preparing the Window Area
Before you begin, it’s vital to prepare the window frame. Start by removing the old metal and any remnants of caulk or sealant. Be careful to clean the surface thoroughly, as debris or dirt can interfere with the new sealant’s adhesion. Inspect the window frame for any signs of damage, such as cracks or wood rot, and address these issues before proceeding. Once everything is clear, use a damp cloth to wipe the frame clean and allow it to dry completely.
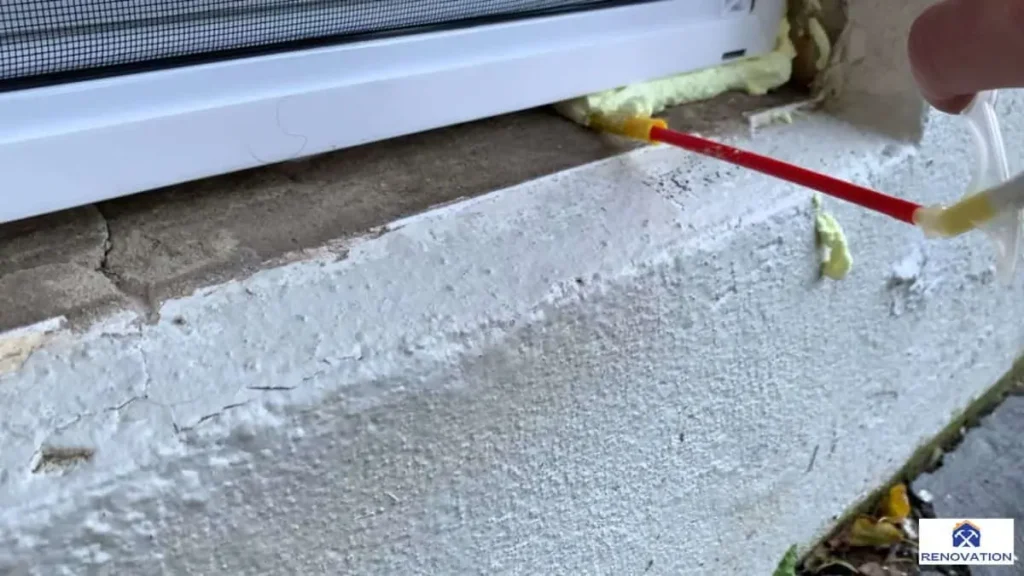
Applying Sealant Around the Window Frame
A watertight seal is critical for preventing leaks and ensuring long-term durability. Choose a high-quality outdoor sealant, such as one made from silicone or polyurethane, which is designed to withstand various weather conditions. Using a caulking gun, apply a generous and continuous bead of sealant around the entire perimeter of the window frame. Ensure the sealant fills any gaps or uneven areas. Once applied, smooth the sealant with a caulking tool or gloved finger to create a uniform and effective barrier. Allow the sealant to cure as recommended by the manufacturer before proceeding with the metal installation.
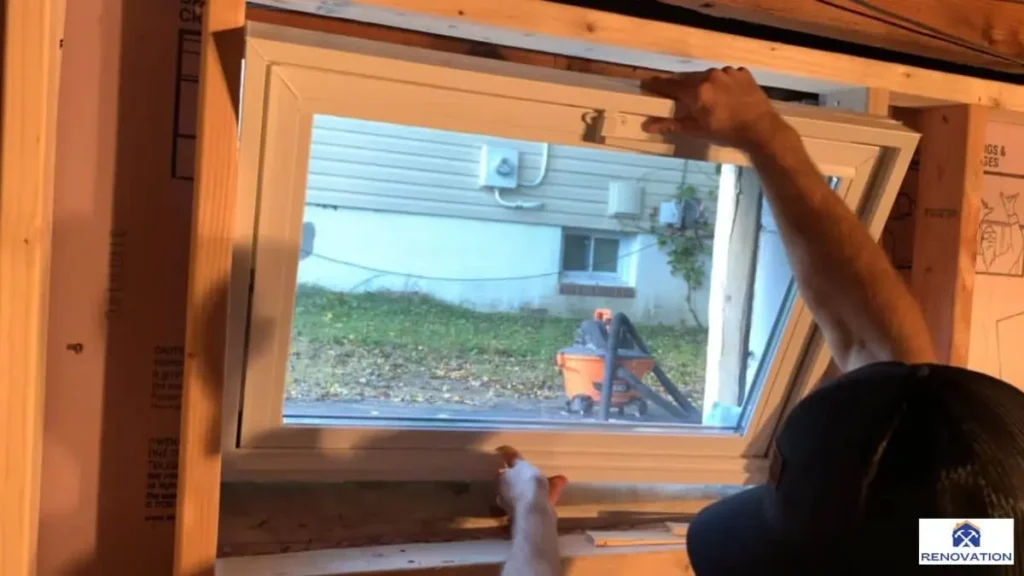
Securing the New Metal
After the sealant has set, measure and cut the new metal to the correct size, ensuring a precise fit around the window frame. Carefully align the metal and press it firmly into place. To secure it, use corrosion-resistant screws or nails, placing them at regular intervals of about six to eight inches for consistent support.
For added waterproofing, consider installing a waterproof membrane or flashing tape beneath the metal before securing it. This additional layer can be particularly useful in areas prone to heavy rain or snow. Once the metal is fastened, check that the fasteners sit flush with the surface to avoid water pooling in those areas.
Recommended: Replacing Windows With Aluminum Siding
Finishing Touches
When it comes to replacing metal around basement windows, the finishing touches are crucial to ensure the durability and aesthetics of the project. From painting or sealing the new metal to ensuring proper insulation around the window, these final steps are essential for a successful replacement. Let’s delve into the details of these finishing touches.
Painting Or Sealing The New Metal
After installing the new metal around the basement window, it’s important to paint or seal it to protect it from corrosion and enhance its appearance. Choose a high-quality exterior metal paint that is resistant to moisture and provides long-lasting protection. Apply the paint evenly using a brush or roller, ensuring full coverage and allowing it to dry completely before exposing it to the elements.
Ensuring Proper Insulation Around The Window
Proper insulation around the window is essential for preventing air leaks and moisture infiltration. Use a foam insulation sealant to fill any gaps or voids between the window frame and the newly installed metal. This will help improve energy efficiency and protect against drafts and water damage.
Maintenance Tips
When it comes to maintaining the metal around basement windows, regular inspections and proper cleaning are essential to prevent rust and damage. By following these maintenance tips, you can ensure that the metal around your basement windows remains in good condition for years to come.
Regularly Inspecting The Metal For Any Signs Of Damage
Inspect the metal around your basement windows on a regular basis to check for any signs of damage such as rust, dents, or corrosion. Look for peeling paint or any areas where the metal may be compromised. Addressing any issues promptly can prevent further damage and extend the lifespan of the metal.
Cleaning And Maintaining The Metal To Prevent Rust
Regularly clean the metal around your basement windows using a mild detergent and water to remove dirt, debris, and any potential contaminants. Ensure that the metal is thoroughly dried after cleaning to prevent moisture buildup, which can lead to rust. Additionally, consider applying a protective coating or paint to the metal to provide an extra layer of defense against rust and corrosion.
Conclusion
Revamping metal around basement windows is crucial for home maintenance. Following these steps will enhance your property’s appearance and durability. Remember to prioritize safety and seek professional help if needed. Maintaining your windows ensures a secure and visually appealing living space.
Take action now for a more comfortable home!

