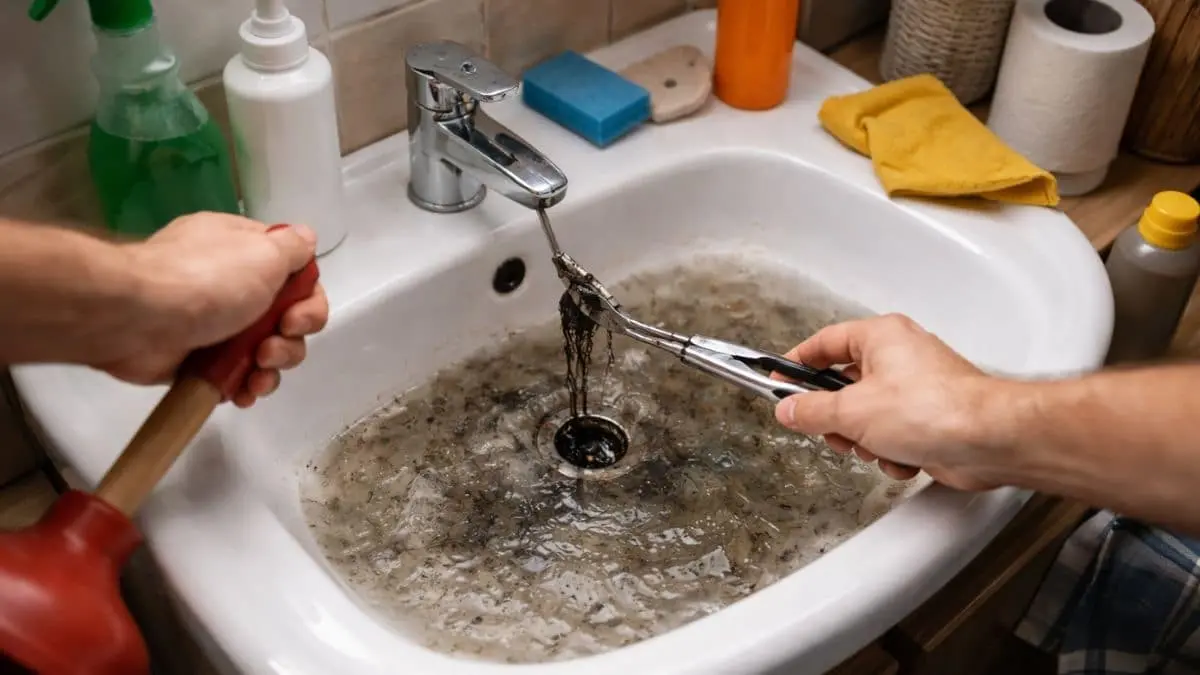
Are you struggling to remove your bathroom sink drain and feeling stuck? You’re not alone.
When a drain won’t budge, it can quickly turn a simple fix into a frustrating challenge. But don’t worry—this problem has solutions, and you can tackle it with the right approach. You’ll discover easy tips and tricks to help you loosen that stubborn drain and get your bathroom back in working order.
Common Causes Of Stuck Sink Drains
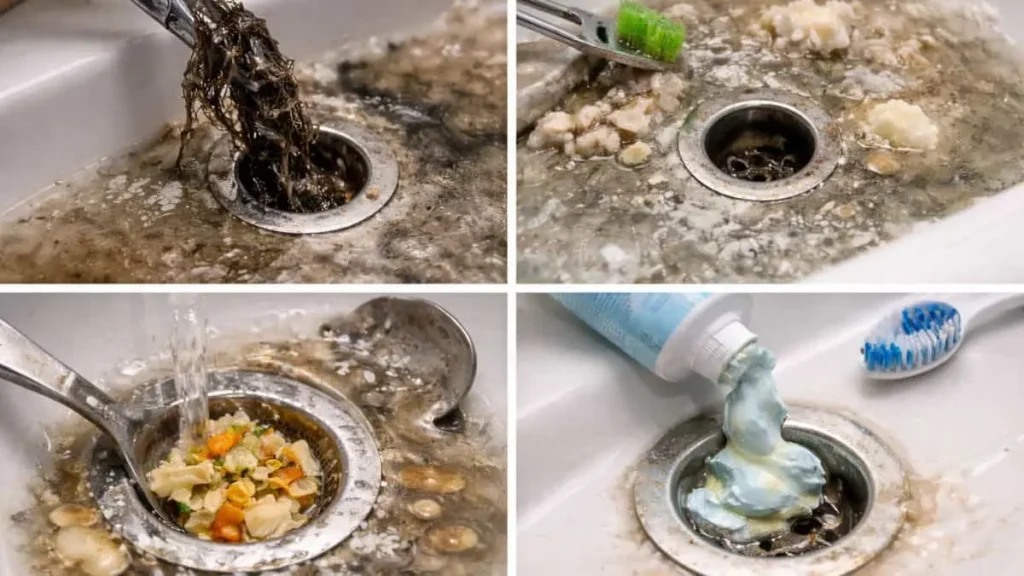
Removing a bathroom sink drain can be tricky when it gets stuck. Many homeowners face this problem and wonder why the drain won’t budge.
Corrosion And Rust Build-up
Corrosion and rust are frequent reasons a bathroom sink drain won’t come loose. Metal parts, especially those made of steel or iron, react with water over time. This causes rust to form, which bonds parts tightly together. Corrosion can cause the drain’s threads to seize, making removal difficult.
Signs of corrosion and rust build-up:
- Orange or brown discoloration around the drain
- Rough, flaky texture on metal surfaces
- Difficulty turning the drain or drain components
Rust weakens the metal and causes parts to stick. The older the plumbing, the higher the chance of corrosion. Bathroom sinks that are used frequently or have leaks under the sink are at greater risk.
Tightened Or Cross-threaded Connections
Sometimes a sink drain won’t come off because the connections are tightened too much. Over-tightening during installation can cause the threads to bind. This makes it nearly impossible to unscrew the drain by hand. Cross-threading is another issue where threads are misaligned. This damages the threading and locks parts in place.
Common signs of tightened or cross-threaded connections:
- Resistance or grinding noise when turning the drain
- Damage or visible wear on the threads
- Drain feels stuck despite applying force
Why does this happen?
- Lack of experience during installation
- Using the wrong tools or forcing parts
- Worn or damaged threads from old parts
To avoid damage, use gentle pressure and proper tools like adjustable wrenches or slip-joint pliers. If cross-threading occurs, replacing the drain or damaged parts may be necessary.
Debris And Mineral Deposits
Debris and mineral deposits build up inside sink drains over time. Hard water causes minerals like calcium and magnesium to form crusty layers. Dirt, hair, soap scum, and other debris add to the blockage. This buildup can glue the drain parts together, stopping them from moving.
Effects of debris and mineral deposits:
- Reduced water flow and drainage speed
- Visible white or green crusts around the drain
- Drain components stuck and hard to turn
Mineral deposits are common in areas with hard water. Soap scum mixes with minerals to create a thick, sticky residue. This residue acts like glue between metal and plastic parts.
Step-by-step Removal Process

Following a clear step-by-step removal process makes the task easier and safer. This guide covers essential steps, from turning off water to handling stubborn nuts.
Shutting Off Water Supply
Before starting any sink drain work, turn off the water supply. This prevents leaks and water damage. Most sinks have shut-off valves located under the basin. These valves control hot and cold water lines separately.
- Locate the valves: Look under the sink for two small knobs or levers.
- Turn valves clockwise: Rotate both valves fully to stop water flow.
- Test the faucet: Open the sink taps to check if water stops.
If your sink lacks shut-off valves, turn off the main water supply for the house. Keep a bucket or towels handy to catch any water left in the pipes. Shutting off water reduces risks and gives you a dry work area.
Loosening The Drain Stopper
The drain stopper often blocks access to the drain assembly. It needs loosening or removal before you can work on the drain pipe. Many stoppers are connected by a pivot rod under the sink.
Follow these steps to loosen the stopper:
- Look under the sink to find the pivot rod attached to the drain pipe.
- Unscrew the retaining nut holding the rod in place.
- Pull the rod out gently; this frees the stopper inside the basin.
- Lift the stopper out from the drain opening.
Some stoppers twist and lift out without tools. Others require unscrewing a cap on top of the sink. Check your stopper type before attempting removal to avoid damage.
Applying Penetrating Oil
Old drain parts often become stuck due to rust or hardened plumber’s putty. Applying penetrating oil helps loosen these parts by breaking down corrosion. Use products like WD-40 or similar penetrating sprays.
Steps to apply penetrating oil:
- Spray the oil around the drain’s threaded areas and nuts.
- Allow the oil to soak for 10 to 15 minutes.
- Apply additional spray if needed on very rusty spots.
Penetrating oil works best when given time to soak. It seeps into tight threads and lubricates stuck parts. Avoid forcing the drain pieces before using oil; this can cause damage.
Dealing With Stubborn Drain Nuts
Drain nuts sometimes refuse to budge despite oil and tools. Tackling stubborn nuts requires patience and extra methods.
Try these techniques:
- Tap gently with a hammer: Light taps around the nut can break rust bonds.
- Use heat: A hairdryer or heat gun warms metal parts, expanding them slightly.
- Apply more penetrating oil: Repeat applications can help over time.
- Use a pipe wrench: It provides more leverage on tight nuts.
Be careful using heat; avoid flammable materials nearby. If a nut still won’t move, consider cutting it with a hacksaw or calling a plumber. Forcing parts too hard can cause leaks or broken pipes.
Alternative Techniques For Stubborn Drains
Alternative techniques can help loosen or remove the drain without causing damage to the sink or pipes. These methods use different tools and approaches to tackle the problem safely and effectively. Below are some useful techniques for dealing with a bathroom sink drain that just won’t come off.
Heat Application
Applying heat is a common method to loosen stuck drain parts. Heat causes metal to expand, which can break the rust or seal holding the drain tight.
Steps for using heat:
- Use a heat gun or hairdryer. Avoid open flames to prevent damage.
- Direct heat on the drain flange or nut for several minutes.
- Check if the drain loosens by gently twisting with a wrench.
- Repeat heating and twisting if needed, but avoid overheating.
Using A Strap Wrench
A strap wrench is a simple, safe tool to remove drains without scratching or damaging surfaces. It uses a strong strap to grip around the drain or pipe.
How to use a strap wrench:
- Place the strap around the drain flange or nut.
- Tighten the strap to get a firm grip.
- Turn the wrench handle counterclockwise to loosen the drain.
- If the drain does not move, try repositioning the strap and apply steady pressure.
Cutting The Drain Assembly
Cutting the drain assembly is a last resort when other methods fail. It involves carefully cutting through the drain to remove it without damaging the sink.
Tools needed:
- Hacksaw or rotary tool with a cutting blade
- Protective gloves and eyewear
- Masking tape to protect surrounding areas
Steps for cutting the drain:
- Cover the sink surface near the drain with masking tape to prevent scratches.
- Slowly cut through the drain flange or nut. Avoid cutting too deep.
- Once cut, remove the broken pieces carefully.
- Clean the drain opening before installing a new drain assembly.
Precautions:
- Cut slowly to avoid damaging the sink or pipes
- Wear safety gear to protect from metal shards
- Use a fine-toothed blade for better control
Cutting requires patience and care. It is best for metal drains that are beyond repair or cannot be loosened by other methods. This technique ensures the sink stays intact while removing the old drain.
Preventing Future Drain Removal Issues
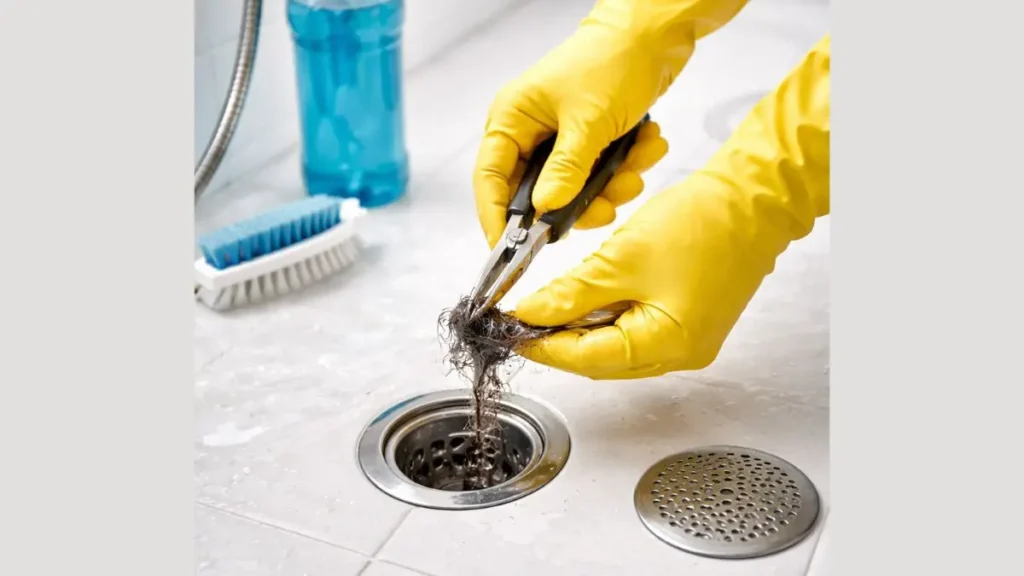
Removing a bathroom sink drain can become a tough task if the drain parts get stuck or corroded. Preventing future drain removal issues is important to save time, effort, and avoid damage. Simple steps and habits help keep the drain easy to remove when needed.
Regular Maintenance Tips
Regular care prevents buildup and corrosion that cause drain parts to stick. Check the drain and pipes often for leaks or signs of rust. Clean the drain area to stop dirt and grime from hardening around the fittings.
- Monthly cleaning: Remove visible debris and wipe around the drain flange.
- Use drain strainers: Catch hair and soap to reduce clogging and buildup.
- Flush with hot water: Pour hot water down the drain weekly to melt grease and loosen dirt.
- Apply baking soda and vinegar: Once a month, pour a mixture of baking soda and vinegar to break down grime inside the drain.
Keeping the drain clean limits rust and mineral deposits that cause the drain to stick. These small habits protect the drain’s moving parts. The table below shows a simple maintenance schedule to follow:
| Task | Frequency | Purpose |
| Clean drain flange | Monthly | Prevents dirt buildup around threads |
| Flush with hot water | Weekly | Clears grease and soap scum |
| Use drain strainer | Always | Catches debris to avoid clogs |
| Baking soda and vinegar flush | Monthly | Breaks down mineral buildup |
Using Anti-seize Compounds
Anti-seize compounds help prevent drain parts from sticking together due to rust or mineral deposits. They create a thin, slippery layer between metal parts. This layer stops corrosion and allows easy removal later.
Apply anti-seize on drain threads before assembly. Use a small amount so it spreads evenly. Common types include copper-based or silicone-based anti-seize. Choose one safe for plumbing use.
- Clean threads well before applying.
- Apply a thin, even coat on all threaded surfaces.
- Reapply when doing regular maintenance or replacing parts.
Proper Installation Practices
Good installation reduces risks of drain removal problems later. Tighten drain parts just enough. Over-tightening damages threads or crushes washers. Under-tightening causes leaks and instability.
Follow these tips for proper drain installation:
- Use plumber’s putty or silicone sealant on drain flange to prevent leaks.
- Hand-tighten parts first, then use tools carefully.
- Check manufacturer instructions for torque or tightening guidelines.
- Ensure washers and gaskets are in good condition and correctly placed.
- Test for leaks before finishing installation.
Proper alignment of drain parts avoids uneven pressure and stress on threads. This protects the drain from damage that makes removal hard. Keep tools clean and avoid forcing parts. Patience during installation prevents future headaches.
You May Also Like: Toilet Drain Through Floor Joist
Conclusion
Removing a stuck bathroom sink drain can be tricky but not impossible. Use basic tools and try gentle twists first. Apply some lubricant to loosen rust or grime. Avoid forcing parts to stop damage. Take your time and stay patient.
Call a plumber if the problem stays tough. Keeping your sink clean helps prevent future clogs. Small fixes today save big headaches later. You can handle this with care and simple steps.