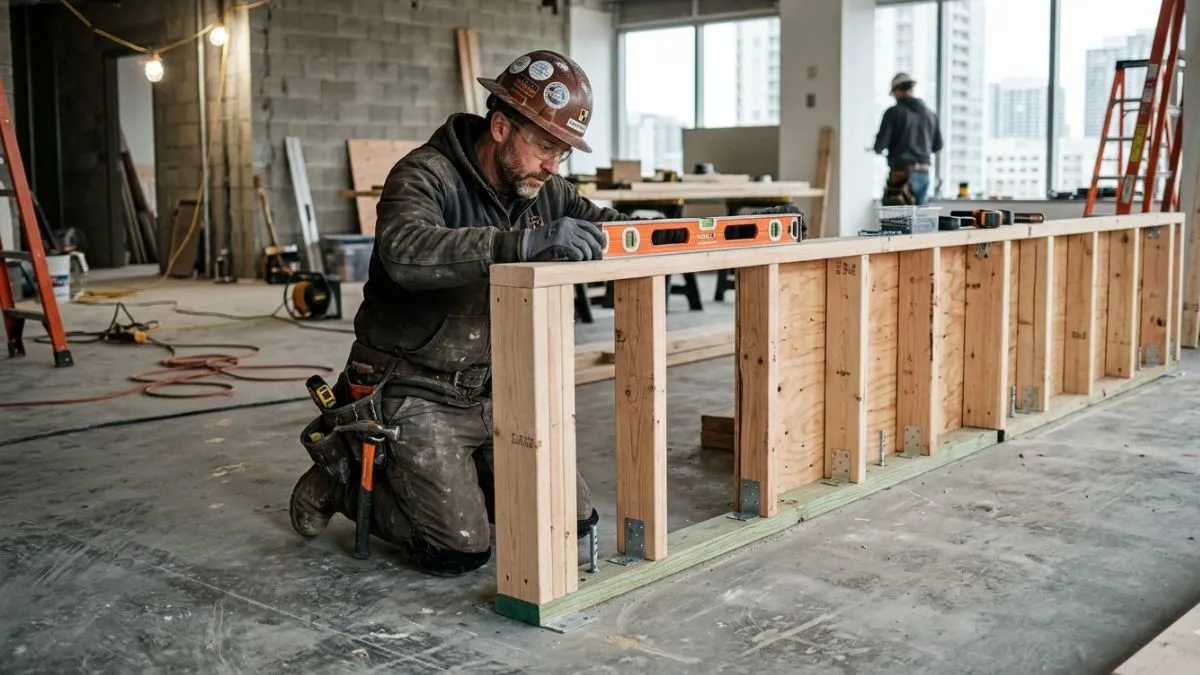
Are you working on a half wall and worried it won’t stay steady on your concrete floor? You’re not alone.
Half walls can add style and function to your space, but if they’re not properly stabilized, they might wobble or even fall over. The good news is, with the right steps, you can secure your half wall firmly and safely.
Preparing The Concrete Floor
Stabilizing a half wall on a concrete floor requires careful preparation of the floor surface. Preparing the concrete floor ensures a strong, secure base for the wall. This step helps avoid future problems like wobbling or cracks. Proper preparation includes cleaning the surface, checking for levelness, and marking attachment points accurately. Each task plays a key role in making sure the half wall stands firm and safe.
Cleaning The Surface
Cleaning the concrete floor is the first step in preparing it for a half wall. Dirt, dust, grease, or loose debris can stop adhesives or anchors from sticking well. A clean surface improves the bond between the floor and the wall’s base, increasing stability.
Follow these steps to clean the surface properly:
- Sweep the area to remove loose dirt and dust.
- Scrub the floor with a stiff brush and warm, soapy water to remove grease or stains.
- Rinse the floor thoroughly with clean water.
- Allow the floor to dry completely before moving to the next step.
Use a vacuum cleaner to pick up fine dust after sweeping. For tough grease spots, a degreaser or concrete cleaner works well. Avoid leaving any cleaning product residue, as this can reduce the adhesion of anchors or glue.
| Cleaning Tool | Purpose |
| Broom or Brush | Remove loose dirt and debris |
| Stiff Scrub Brush | Scrub off stains and grease |
| Vacuum Cleaner | Remove fine dust particles |
| Degreaser or Concrete Cleaner | Eliminate tough grease and oil spots |
Checking For Levelness
Checking if the concrete floor is level is vital. A level floor means the half wall will stand straight and won’t lean or wobble. Use a long spirit level or laser level to test the floor’s flatness.
Steps for checking levelness:
- Place the level tool on different spots on the floor.
- Check the bubble in the spirit level or the laser line.
- Note any areas that are uneven or sloped.
Uneven floors may need filling or grinding to create a flat surface. Use a concrete patch or self-leveling compound for small dips or cracks. Large uneven areas might require professional help.
Why levelness matters:
- Prevents the half wall from leaning
- Reduces stress on wall anchors
- Improves the overall stability and safety
Document the levelness check results to plan adjustments. This record helps decide if extra work is needed before attaching the wall.
Marking Attachment Points
Marking the attachment points on the concrete floor guides where to fix the half wall securely. Proper marking ensures anchors or screws go in the right places, distributing weight evenly and preventing movement.
Follow this process for accurate marking:
- Measure the bottom length of the half wall frame.
- Place the wall frame on the cleaned, level floor where it will be installed.
- Use a pencil or chalk to mark spots along the frame’s base where anchors will go.
- Space the marks evenly, about every 16 to 24 inches for good support.
- Double-check the marks with a tape measure and level before drilling.
Use a template or straight edge to keep marks aligned in a straight line. This helps the wall sit flush and prevents gaps.
Anchor point spacing example:
| Wall Length (ft) | Number of Anchor Points | Spacing Between Points (inches) |
| 4 | 3 | 24 |
| 6 | 4 | 24 |
| 8 | 5 | 24 |
Clear markings make the installation process smoother. Accurate points reduce the risk of drilling mistakes and improve wall stability.
Choosing Fasteners And Anchors
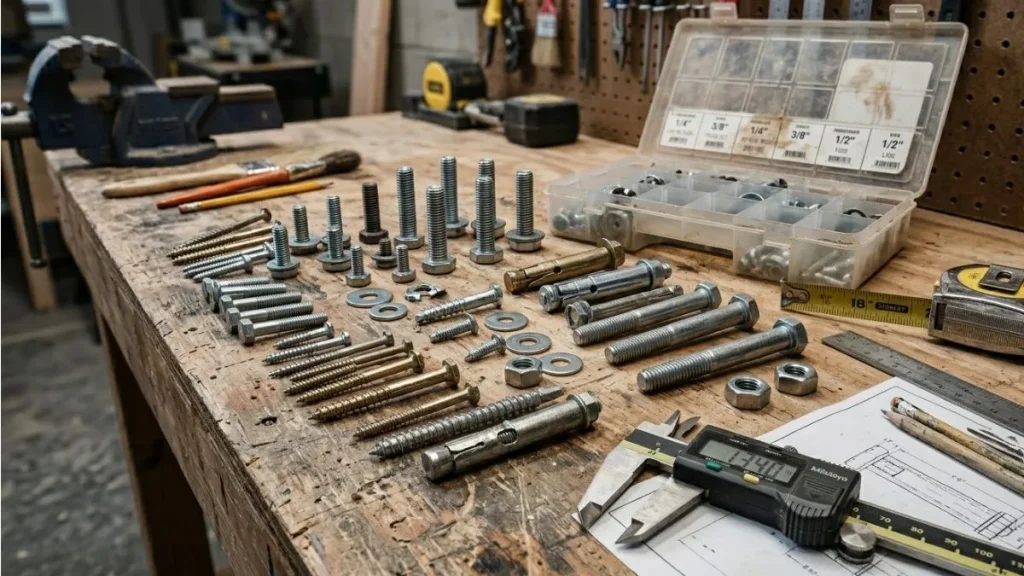
Stabilizing a half wall on a concrete floor requires careful attention to the fasteners and anchors used. These components hold the wall firmly in place and ensure safety. Choosing the right fasteners and anchors strengthens the connection between the wall and floor. This prevents wobbling or shifting over time.
Types Of Concrete Anchors
Concrete anchors come in various types, each designed for specific uses and load capacities. Choosing the right anchor depends on the wall’s weight and the concrete condition. The main types of concrete anchors include:
- Expansion Anchors: These anchors expand inside the drilled hole, gripping the concrete tightly. Examples include wedge anchors and sleeve anchors.
- Drop-in Anchors: Installed flush with the concrete surface, these anchors are ideal for medium loads and require a hammer and setting tool.
- Concrete Screws: Also called masonry screws, these fasten directly into pre-drilled holes without the need for additional hardware.
- Epoxy Anchors: These use a strong adhesive to bond the anchor inside the hole. They work well for heavy loads and cracked concrete.
Expansion anchors work best for securing half walls on solid concrete floors. Epoxy anchors are useful if the floor has cracks or damage.
Selecting Appropriate Fasteners
Fasteners must match the anchor type and the half wall materials. Correct fasteners provide strength and prevent loosening over time. Common fasteners include bolts, screws, and washers. Here are key points for selecting fasteners:
- Match the fastener size to the anchor diameter for a secure fit.
- Use corrosion-resistant materials like stainless steel for durability.
- Choose the right length to penetrate the wall and anchor deeply into the concrete.
- Washers distribute pressure and prevent fastener heads from damaging the wall.
- Thread type matters: Coarse threads work well with concrete anchors.
Here is a quick guide for fastener selection:
| Fastener Type | Best Use | Material | Notes |
| Bolt | Heavy walls, expansion anchors | Stainless steel or galvanized | Use washers for better load distribution |
| Screw | Light walls, concrete screws | Stainless steel | Choose coarse threads for grip |
| Washer | All fastener types | Metal or plastic | Prevents damage to wall surface |
Always follow manufacturer guidelines for fastener compatibility with anchors and wall materials.
Tools Needed For Installation
Using the right tools makes fastener and anchor installation easier and more precise. Basic tools include:
- Hammer Drill: Required to drill holes into concrete. A hammer action drill bit is essential.
- Masonry Drill Bits: Sized to match anchor diameter.
- Socket Wrench or Ratchet: Used to tighten bolts securely.
- Hammer: Needed for drop-in anchors and some expansion anchors.
- Vacuum or Air Blower: To clean dust from drilled holes for better anchor grip.
- Level: Ensures the half wall is plumb and straight.
- Measuring Tape: For accurate placement of anchors.
Additional tools might include:
- Setting Tool: For drop-in anchors.
- Epoxy Injection Gun: For epoxy anchors.
- Protective Gear: Safety glasses and gloves to protect during drilling.
Preparing all tools before starting saves time and reduces errors. A clean, well-drilled hole ensures strong anchoring and a stable half wall.
Attaching Support Brackets
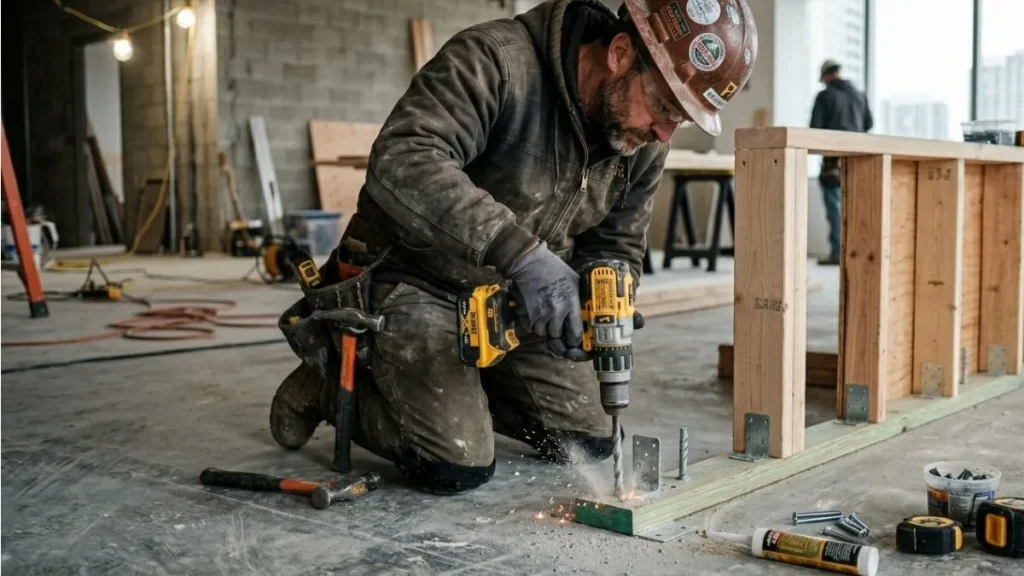
Stabilizing a half wall on a concrete floor requires careful attention to support brackets. These brackets hold the wall steady and prevent it from wobbling or falling. Attaching support brackets correctly is a key step for a strong and safe half wall.
Positioning Brackets On Wall
Start by choosing the right spot for your support brackets. Proper placement helps the wall stay balanced and sturdy. Place brackets near the bottom of the half wall where it meets the floor. Space them evenly, usually about 16 to 24 inches apart. This distance depends on the wall length and weight it must hold.
Use a level to mark the exact spots for the brackets. Make sure the brackets sit flush against both the wall and the floor. Here are tips for positioning:
- Measure the wall length and divide by the number of brackets.
- Mark bracket locations clearly with a pencil.
- Check that brackets will not block any wiring or plumbing.
- Ensure brackets align with wall studs for extra strength.
Mark each bracket’s position clearly. Double-check measurements before drilling. Correct bracket placement saves time and effort later.
Drilling Into Concrete
Drilling into concrete requires the right tools and method. Use a hammer drill with a masonry bit designed for concrete. Normal drill bits will wear out quickly or break. Follow these steps for clean, precise holes:
- Put on safety goggles and gloves.
- Mark drill points on the concrete floor using the bracket marks.
- Start drilling slowly to make a guide hole.
- Increase drill speed and use hammer function to break concrete.
- Drill to the depth needed for your anchor bolts or screws.
- Clear dust from holes using a brush or air blower.
Securing Brackets Firmly
After drilling, attach the brackets using proper anchors and screws. Use anchors designed for concrete, such as sleeve anchors or wedge anchors. These hold tightly and resist movement. Follow these steps to secure brackets firmly:
- Insert anchors into the drilled holes.
- Place the bracket over the anchors, aligning holes.
- Insert screws through bracket holes into anchors.
- Tighten screws with a wrench or drill until secure.
- Check that brackets do not wiggle or shift.
Use a torque wrench if possible to avoid over-tightening. Too much force can damage anchors or concrete. Tighten screws evenly on all brackets for balanced support.
Test the wall’s stability by gently pushing. No movement means your brackets are secure. This step ensures your half wall stands strong and safe for years.
Reinforcing The Half Wall
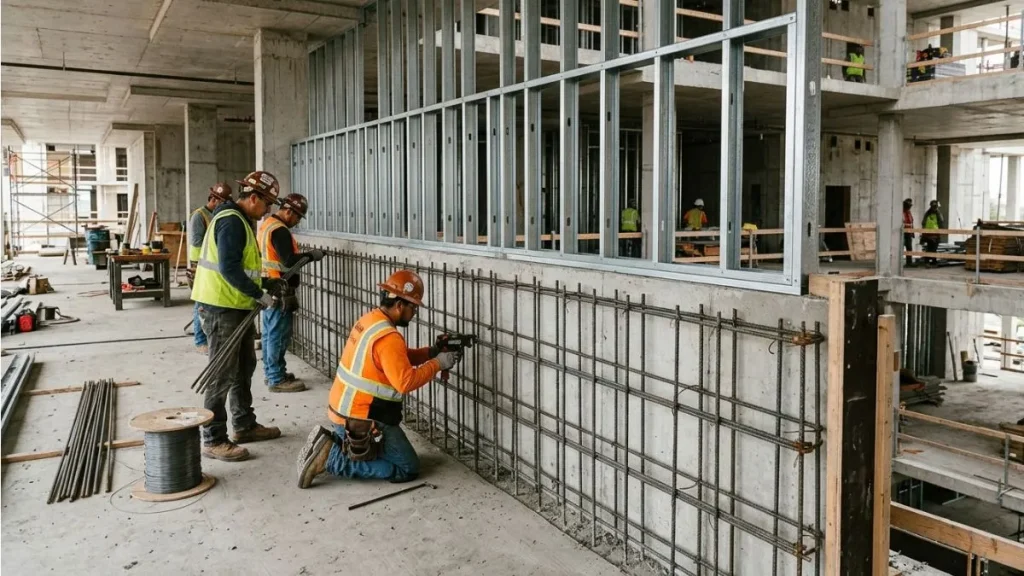
Stabilizing a half wall on a concrete floor requires solid reinforcement to ensure safety and durability. Reinforcing the half wall prevents wobbling and strengthens the structure against daily wear. Proper reinforcement techniques secure the wall firmly to the floor and surrounding framework.
Adding Vertical Supports
Vertical supports provide strong resistance against side-to-side movement. These supports, also called studs or posts, transfer the wall’s load directly to the concrete floor. Installing vertical supports increases the half wall’s ability to stand firm under pressure.
Steps to add vertical supports:
- Measure the height and length of the half wall.
- Cut wooden or metal studs to fit vertically from floor to top plate.
- Space supports evenly, typically 16 inches apart.
- Secure the bottom of each support to the concrete floor using anchor bolts or concrete screws.
- Attach the top of supports to the wall frame using nails or screws.
Vertical supports improve the wall’s load-bearing capacity. They also help resist lateral forces from bumps or pressure.
| Support Material | Advantages | Typical Use |
| Wood Studs | Easy to cut and install | Residential walls |
| Metal Studs | Strong and fire-resistant | Commercial or damp areas |
Using Metal Straps Or Plates
Metal straps or plates add extra strength by securing the half wall to the concrete floor and adjoining walls. These metal reinforcements limit movement and increase stability.
How to use metal straps or plates:
- Choose galvanized steel straps or plates for corrosion resistance.
- Attach straps vertically or diagonally from the wall frame to the floor anchors.
- Secure with concrete screws, bolts, or heavy-duty nails.
- Use metal plates at corners or joints to prevent separation.
Metal straps are strong and flexible. They hold the wall firmly without adding bulk. Plates provide solid reinforcement at weak points.
| Type | Best For | Installation Tip |
| Straps | Securing vertical studs to floor | Use multiple straps spaced evenly |
| Plates | Reinforcing corners and joints | Place flush and fasten tightly |
Applying Construction Adhesive
Construction adhesive enhances the bond between the half wall and concrete floor. It fills gaps and reduces small movements that cause instability.
Using adhesive effectively:
- Clean the concrete floor surface thoroughly.
- Apply a strong construction adhesive designed for concrete and wood or metal.
- Spread adhesive evenly along the base plate of the half wall.
- Press the wall firmly against the floor and hold until set.
- Combine adhesive with mechanical fasteners for best results.
Adhesive creates a continuous bond that reduces vibration and shifting. It works well as a supplement to screws, bolts, or straps.
| Adhesive Type | Features | Recommended Use |
| Polyurethane Adhesive | Strong, flexible, waterproof | Concrete to wood or metal |
| Epoxy Adhesive | Very strong, quick curing | Heavy-duty bonding |
Final Checks And Maintenance
Stabilizing a half wall on a concrete floor is a task that needs care and precision. Once the wall is built and anchored, the final step involves thorough checks and ongoing maintenance. These steps ensure the wall remains safe and sturdy over time. Regular attention prevents small issues from turning into big problems. The following sections cover key actions to keep your half wall solid and reliable.
Testing Wall Stability
Testing the stability of your half wall is crucial before using the space around it. Start by gently pushing the wall at different points to check for any movement or wobbling. A stable wall should not shift or rock under light pressure.
- Apply gentle pressure: Use your hands to push the wall from the front, sides, and top.
- Check for movement: Look for any signs of swaying, creaking, or loose connections.
- Listen carefully: Sounds like cracking or popping may indicate weak spots.
If the wall feels unstable, mark the weak areas for further inspection. Use a level tool to ensure the wall stands perfectly vertical. Unevenness can cause stress and reduce stability.
| Test | What to Look For | Action if Failed |
| Push Test | No wobbling or movement | Tighten anchors or add support braces |
| Level Check | Wall is plumb (vertical) | Adjust framing or shim as needed |
| Sound Check | No cracking or popping noises | Inspect fasteners and joints |
Testing stability regularly helps catch problems early. It keeps the half wall safe for daily use.
Regular Inspection Tips
Regular inspections extend the life of your half wall and prevent damage. A simple routine every few months works best. During inspections, focus on these key areas:
- Anchors and fasteners: Check screws, bolts, and anchors for rust or looseness.
- Wall surface: Look for cracks, chips, or signs of wear in drywall or plaster.
- Base connection: Ensure the bottom of the wall stays firmly attached to the concrete floor.
Use a flashlight to spot hard-to-see issues in corners or behind the wall. Keep a maintenance log to track problems and repairs over time.
Repairing Loose Components
Loose parts weaken the wall and create hazards. Fixing them quickly keeps the wall strong. Start by identifying loose screws, nails, or anchors. Tighten or replace them as needed. Use a drill or screwdriver for best results.
For gaps between the wall base and concrete floor, apply a high-quality construction adhesive or sealant. This stops movement and prevents moisture damage.
- Tighten fasteners: Use the correct size tools to avoid stripping screws.
- Replace damaged anchors: Use heavy-duty anchors designed for concrete floors.
- Fill gaps and cracks: Use caulk or epoxy fillers for a firm seal.
- Reinforce weak spots: Add corner braces or metal straps if needed.
Keep repair tools and materials handy for quick fixes. Document repairs with notes or photos for future reference. This helps track wall condition over time.
You Should Read Also: Best Way to Anchor 2×4 to Concrete Floor
Conclusion
Stabilizing a half wall on a concrete floor takes careful steps. Secure the base firmly to avoid any movement or wobbling. Use the right tools and materials for a strong hold. Check your work often to keep the wall steady and safe.
Small fixes can prevent bigger problems later. A stable half wall adds both function and style to your space. Stay patient and follow each step closely. You will create a lasting, secure wall that fits your needs.