For a vinyl siding 45 degree outside corner, use a miter saw to cut the angles accurately. This ensures a precise fit for a professional finish.
Installing vinyl siding requires attention to detail and proper techniques to achieve a seamless look. By following specific steps and using the right tools, you can create a durable and visually appealing exterior for your home. Understanding the process of working with vinyl siding corners, such as the 45-degree outside corner, is essential for a successful installation.
In this guide, we will discuss the steps involved in creating a clean and polished outside corner using vinyl siding.
Why Vinyl siding 45 degree outside corners?
Vinyl siding 45-degree outside corners are commonly used in home remodeling because they provide several key benefits:
- Aesthetics and Clean Look: A 45-degree angle on outside corners creates a more polished, sleek appearance. It gives the home a sharp, modern look compared to traditional square or 90-degree corners. The angled edges help break up the lines of the siding, creating a more dynamic visual flow.
- Seamless Transitions: The angled corners create a smoother, more seamless transition between different sides of the house. This is especially important if you have varying siding colors or textures, as the angled corners help hide any transitions or seams.
- Durability and Strength: Vinyl siding is designed to expand and contract with temperature changes. Using 45-degree corners can offer added structural integrity, helping to reduce the risk of warping or damage that can sometimes occur with squared-off corners, especially at the joints.
- Easy Installation: Many modern vinyl siding systems are designed with prefabricated 45-degree corner pieces. These pre-formed corners make the installation process faster and more precise, reducing the need for custom cutting and minimizing the chance for mistakes.
- Improved Water Drainage: The angle of the corner can help with better water runoff, reducing the chances of water pooling or seeping into vulnerable areas. This helps in protecting the structure of the home from potential water damage.
- Enhanced Curb Appeal: The use of 45-degree corners can improve the curb appeal of the home, making it look more sophisticated and visually appealing from all angles.
In short, vinyl siding 45-degree outside corners are not only a practical choice for easier installation and long-term durability but also contribute to a more aesthetically pleasing and structurally sound exterior.
Preparing For Installation
Before installing vinyl siding 45 degree outside corner, it’s crucial to properly prepare for the installation process. This involves gathering the necessary tools and ensuring accurate measurements and cuts are made for a seamless and professional finish.
Tools Required
Here are the essential tools needed for preparing the installation of vinyl siding 45 degree outside corner:
- Siding snips
- Tape measure
- Pencil or marker
- Level
- Utility knife
- Speed square
- Hammer
- Power saw or circular saw
Measuring And Cutting The Siding
Accurate measurements and precise cuts are fundamental for a successful vinyl siding installation. Follow these steps for measuring and cutting the siding:
- Measure the length of the wall where the 45-degree outside corner will be installed.
- Transfer the measurements to the vinyl siding and mark the cutting lines using a pencil or marker.
- Use siding snips to make the cuts, ensuring they are straight and clean.
- For angled cuts, utilize a speed square to ensure precise 45-degree angles.
- Double-check the measurements and cuts before proceeding with the installation process.
Installing The Vinyl Siding
Installing the vinyl siding 45-degree outside corner is an essential part of ensuring a professional and polished look for your home exterior. Proper installation not only enhances the aesthetic appeal but also provides protection against the elements.
Starting At The Corner
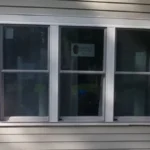
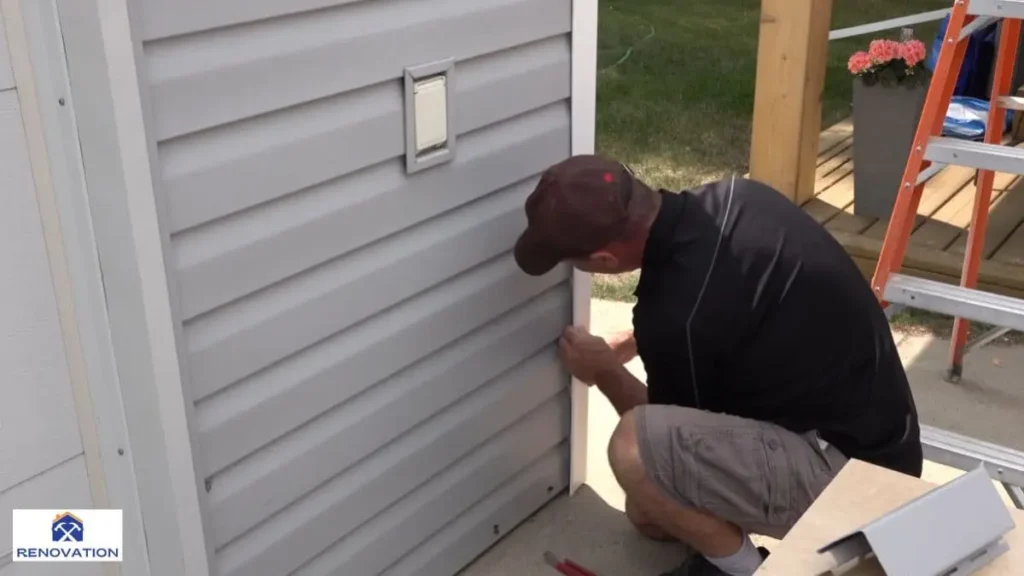
Begin by measuring and cutting the first piece of siding to fit the 45-degree outside corner. Ensure that the cut is precise to achieve a seamless look. Position the siding piece at the corner, making sure it aligns perfectly with the edge of the wall. Use a level to ensure the siding is straight and plumb.
Securing The Siding In Place
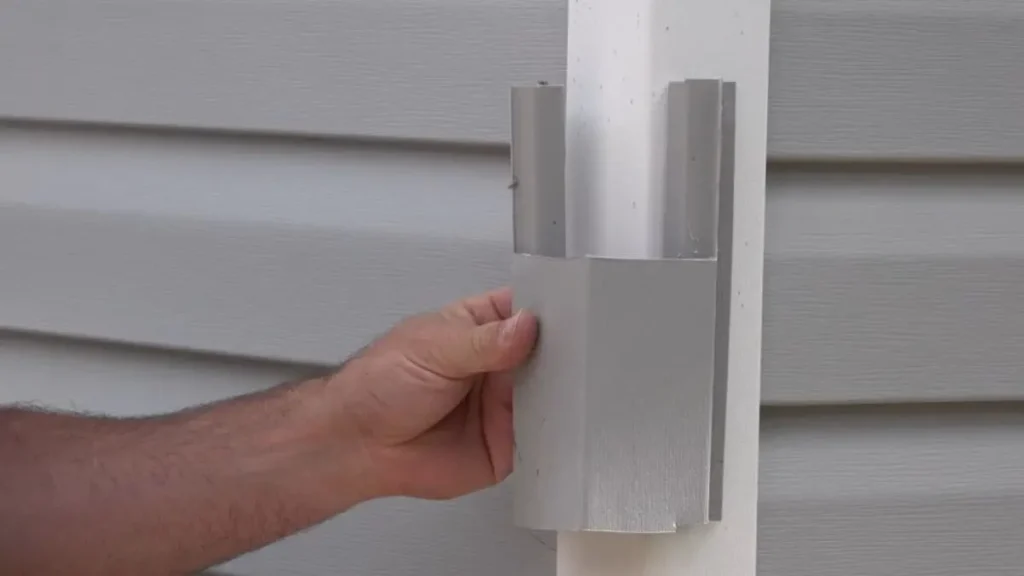
Once the first piece is in position, secure it by nailing it into place. Be mindful of the recommended nailing guidelines provided by the siding manufacturer. As you continue with the installation, make sure each subsequent piece overlaps the previous one to create a watertight seal. Use a snap lock punch tool to secure the overlapping pieces together.
Recommended: How to Update Vinyl Siding
Ensuring Proper Alignment
Proper alignment is crucial for a 45 degree outside corner when installing vinyl siding. It ensures a seamless and professional look, as well as preventing water damage and leaks.
Checking For Angles
Before installing the vinyl siding, it is crucial to check the angles of the outside corner. This ensures that the siding will fit properly and the corner will be seamless. To check the angles, use a protractor or a digital angle finder. Place the tool at the corner of the wall and measure the angle. Repeat this process on both sides of the corner to ensure accuracy.
Adjusting For A Seamless Finish
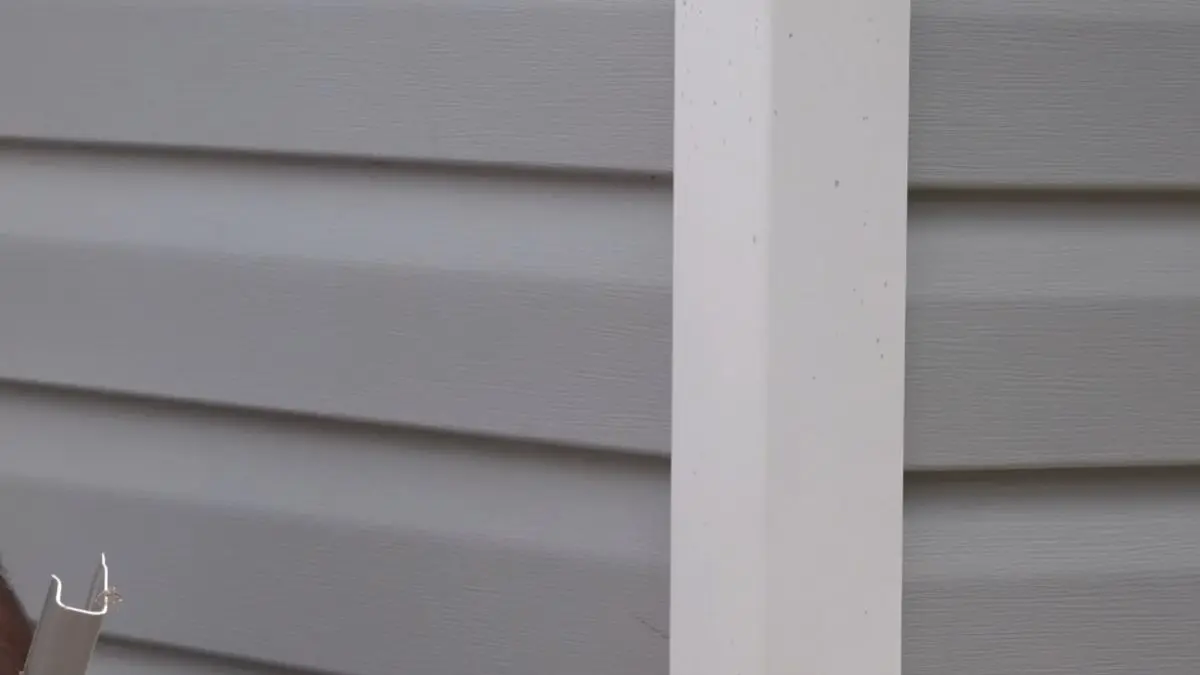
Once you have measured the angles, it’s time to adjust the siding to fit the corner properly. One way to do this is by using a vinyl siding corner post. This post fits over the corner and provides a guide for the siding. You can also use a snip to cut the siding at the correct angle. To ensure a seamless finish, it’s essential to overlap the siding properly at the corner. Make sure the top piece overlaps the bottom piece, and the bottom piece is cut at the correct angle. When installing the siding, ensure that the nails are placed in the center of the nailing slot to allow for proper movement.
Finishing Touches
When it comes to vinyl siding installation, paying attention to the finishing touches is crucial to ensure a professional and polished look. One of the key areas that require attention is the 45-degree outside corners. Properly finishing these corners not only enhances the aesthetic appeal of the siding but also contributes to its durability and longevity.
Trimming Excess Siding
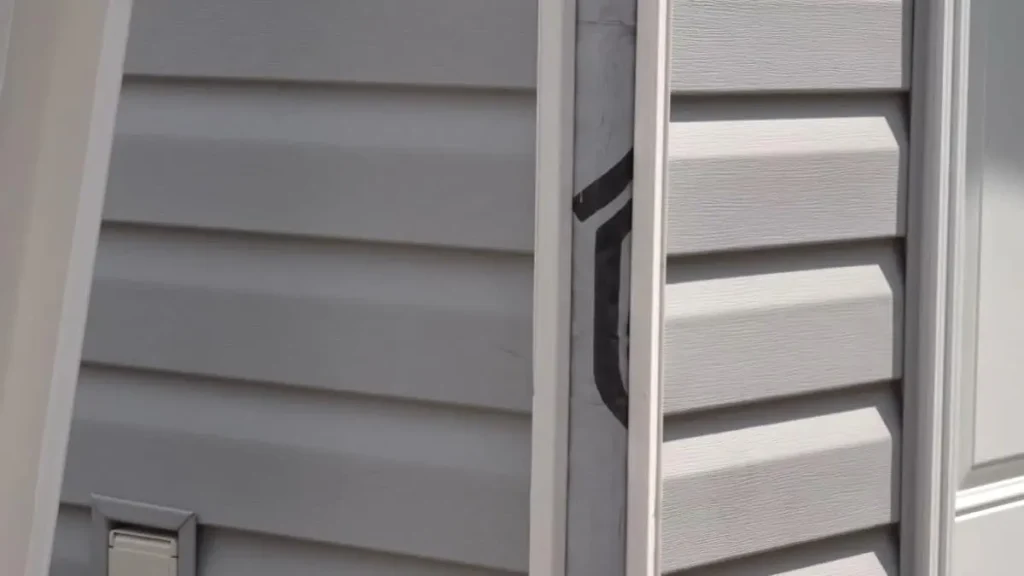
Trimming the excess siding at the 45-degree outside corners is a crucial step in achieving a seamless and neat appearance. Use a utility knife or tin snips to carefully trim the siding to fit precisely at the corner. This meticulous trimming ensures that the siding aligns perfectly, creating a clean and professional finish.
Sealing The Joints
Sealing the joints of the 45-degree outside corners is essential to protect the siding from moisture infiltration and to enhance its weather resistance. Apply a high-quality exterior caulk along the joints to create a watertight seal. This not only prevents water damage but also contributes to the overall structural integrity of the siding.
Maintaining 45-Degree Corners
Vinyl siding 45-degree outside corners add a professional finish to your home’s exterior. Achieving and maintaining these corners requires precise cutting and installation, as well as regular maintenance to keep them looking their best and functioning properly. Proper measurement, careful attention to detail, and the use of the right tools and techniques are essential for a seamless and professional finish.
Regular Maintenance for 45-Degree Corners
To ensure long-lasting durability, it is important to clean, inspect, and repair your vinyl siding 45-degree corners regularly. Here are some key steps for effective maintenance:
1. Cleaning and Inspecting Regularly
Regular cleaning and inspection are crucial for maintaining the integrity of your vinyl siding corners. Follow these steps to keep them in top condition:
- Clean with Mild Soap and Water:
Use a solution of mild soap and water to gently clean the corners, removing dirt, dust, and debris that can accumulate over time. - Inspect for Damage:
Regularly inspect the corners for signs of damage, such as cracks, chips, or warping. Addressing these issues promptly can prevent further deterioration and prolong the lifespan of your siding. - Check for Mold and Mildew:
Look for any signs of mold or mildew growth, especially in areas prone to moisture buildup. Use a solution of water and white vinegar to remove any mold or mildew, wearing protective gloves and eyewear during the process.
2. Repairing Damaged Sections
If your vinyl siding 45-degree corners become damaged, addressing the issues promptly can prevent further deterioration. Here’s how to repair them effectively:
- Replace Damaged Pieces:
Replace any cracked or chipped sections with new vinyl siding pieces to maintain the structural integrity and aesthetic appearance of the corners. - Seal Any Gaps:
Use a high-quality exterior caulk to seal gaps or joints in the corners. This prevents moisture infiltration and enhances the overall weather resistance of the siding. - Seek Professional Assistance:
For extensive damage or complex repairs, consult a qualified siding contractor. They can provide expert guidance and ensure repairs are performed to the highest standards.
Conclusion
Mastering the installation of vinyl siding 45 degree outside corners is essential for a polished look. By following proper techniques, you can ensure durability and aesthetic appeal for your home. Keep these tips in mind for a seamless siding project that stands the test of time.