![Tub To Floor Transition [Made Easy]](https://homeremodelingexpert.com/wp-content/uploads/2025/01/Tub-To-Floor-Transition-Made-Easy.webp)
A tub to floor transition ensures a seamless and waterproof connection between your bathtub and bathroom floor. It prevents water damage and maintains aesthetic appeal.
A tub to floor transition is essential for any bathroom renovation or construction project. This transition not only enhances the visual appeal but also protects the structural integrity of your bathroom. Proper installation prevents water from seeping into the subfloor, which can lead to mold and mildew.
It involves sealing the gap between the tub and the floor using caulk or a specialized trim. Choosing the right materials and techniques ensures a durable, waterproof barrier. This aspect of bathroom design is often overlooked but plays a crucial role in maintaining a functional and beautiful bathroom space.
What Is A Tub To Floor Transition?
A tub to floor transition involves moving from a bathtub to the bathroom floor. This change can make your bathroom safer and more accessible. It’s often a part of a bathroom remodel. It can also enhance the overall look and feel of the space.
Why Consider A Tub To Floor Transition?
People consider this transition for many reasons. Some want to improve bathroom safety. Others seek a modern and stylish look. This change can also add value to your home. It can be a practical choice for families with young kids or older adults.
- Walk-In Showers: These are easy to enter and exit.
- Curbless Showers: They offer a seamless look.
- Wet Rooms: These are fully waterproofed spaces.
Steps To Make The Transition
- Plan: Decide the type of shower you want.
- Remove the Tub: Take out the old bathtub.
- Install the Shower: Fit the new shower in place.
- Finish: Add tiles and seal the area.
Costs Involved
| Item | Cost |
| New Shower | $800 – $2,500 |
| Labor | $500 – $1,500 |
| Tiles | $300 – $1,000 |
Importance Of A Proper Tub To Floor Transition
A proper tub to floor transition is crucial in any bathroom. It ensures safety and enhances the overall look. Without a smooth transition, accidents can happen. Water damage can also occur, leading to costly repairs. A seamless transition keeps your bathroom safe and beautiful.
Ensuring Safety
A smooth transition helps prevent slips and falls. Bathrooms can be very slippery. Especially for kids and elderly people. A proper transition reduces the risk of accidents. This makes your bathroom a safer place for everyone.
Preventing Water Damage
Water can seep through gaps between the tub and floor. This causes damage over time. Proper transitions block this seepage. They protect your floors and walls from water. This saves you money on future repairs.
Enhancing Aesthetic Appeal
A seamless transition looks neat and tidy. It gives your bathroom a polished look. Matching materials and colors create a cohesive design. This enhances the overall beauty of your bathroom.
Choosing The Right Materials
Selecting the right materials is key. They should be durable and water-resistant. Tiles, vinyl, and sealed wood are great choices. These materials withstand water and last longer.
Professional Installation
Hiring a professional ensures quality work. They have the skills and tools needed. Professionals know how to create a seamless transition. This guarantees your bathroom stays safe and beautiful.
Common Issues With Tub To Floor Transitions
Transitions between a bathtub and the floor can be tricky. Common issues with tub to floor transitions often arise due to poor installation or wear and tear. These issues can lead to uneven transitions, water leakage, and poor aesthetic appeal. Each of these problems can cause both functional and visual inconveniences in your bathroom.
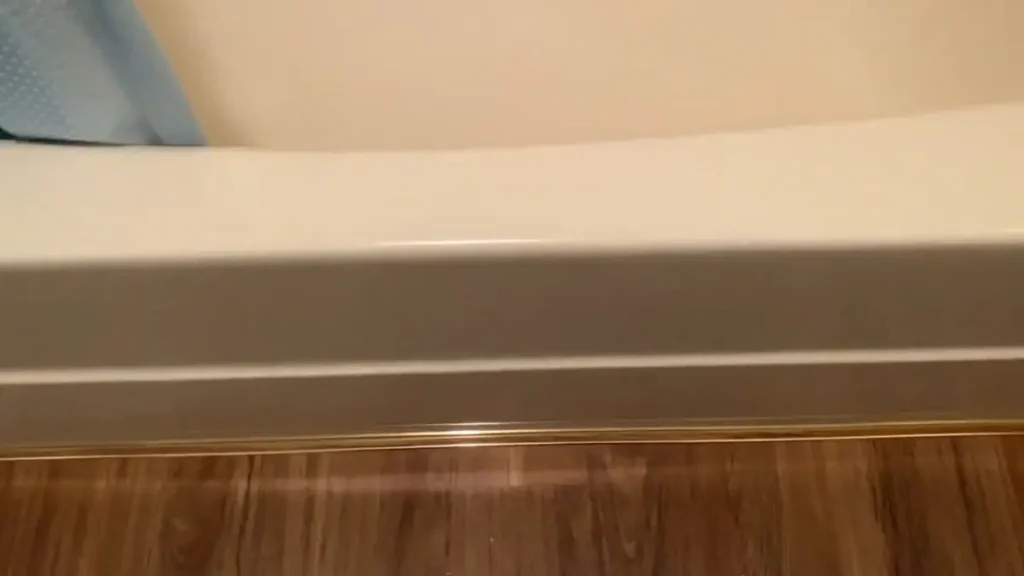
Uneven Transition
An uneven transition between your tub and floor is a common issue. This happens when the height difference between the two surfaces is not properly managed. An uneven transition can cause several problems:
- Tripping hazards: People may trip over the uneven surface, which can be dangerous.
- Water pooling: Water can collect in the lower areas, leading to potential damage.
- Difficult cleaning: An uneven surface makes it hard to clean the area properly.
Proper installation and leveling are crucial to avoid this issue. Contractors should use suitable materials to ensure a smooth transition. A good leveling compound can help create a seamless transition. Regular maintenance checks can also prevent the problem from worsening over time.
Water Leakage
Water leakage is another major problem with tub to floor transitions. This occurs when the seal between the tub and the floor is not watertight. Water can seep through small gaps and cause extensive damage. Here are some common causes of water leakage:
- Poor sealing: Inadequate sealing materials or techniques can lead to leaks.
- Wear and tear: Over time, seals can degrade, allowing water to pass through.
- Improper installation: If the tub or floor is not installed correctly, gaps can form.
To prevent water leakage, use high-quality sealants and ensure proper installation. Regularly inspect the sealant and replace it if you notice any cracks or gaps. Keeping the area dry can also help maintain the integrity of the sealant.
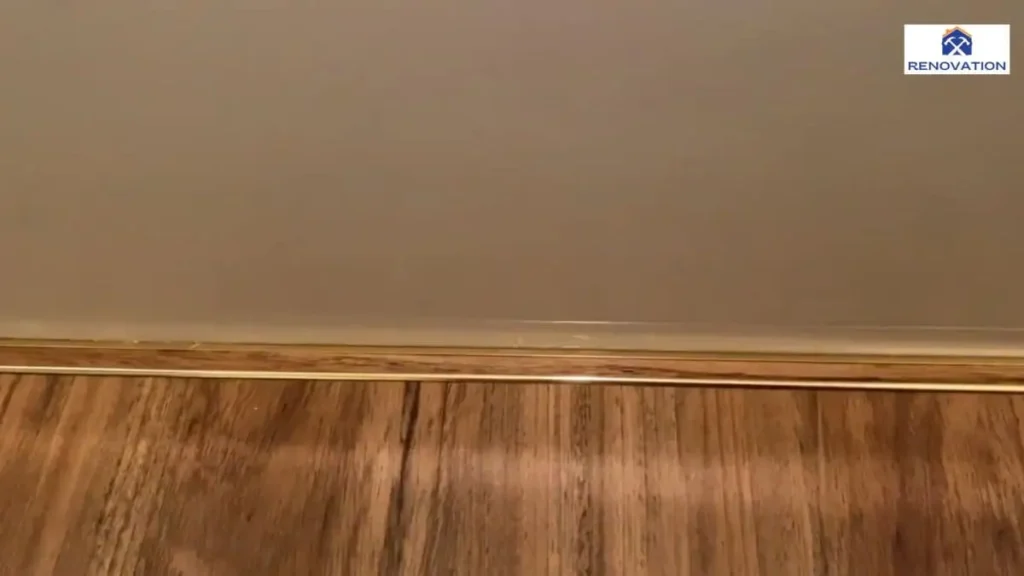
Poor Aesthetic Appeal
Poor aesthetic appeal can be a significant issue in tub to floor transitions. This problem arises when the transition looks unprofessional or mismatched. An unattractive transition can impact the overall look of your bathroom. Some common reasons for poor aesthetic appeal include:
- Mismatched materials: Using different types of materials that don’t blend well.
- Visible gaps: Gaps between the tub and floor can look unsightly.
- Discoloration: Stains or discoloration around the transition area.
To achieve a visually appealing transition, choose materials that complement each other. Ensure the color and texture match the overall bathroom design. Proper sealing and finishing techniques can also enhance the look. Regular cleaning and maintenance can keep the area looking fresh and appealing.
Different Types Of Tub To Floor Transitions
Transitions between a bathtub and the floor are critical in home design. They ensure a seamless look and prevent water damage. Different types of transitions can be used, each offering unique benefits. This blog post explores various types of tub to floor transitions.
Tile Transition
Tile transitions are popular in bathrooms. They offer a seamless look and are easy to clean. You can choose from a variety of tiles to match your bathroom decor. Benefits of tile transitions:
- Durable and long-lasting
- Water-resistant
- Easy to maintain
When installing tile transitions, ensure that the tiles are properly sealed. This prevents water from seeping through. The grout lines should be even and filled to avoid gaps. A table showing different types of tile materials:
| Tile Material | Characteristics |
| Ceramic | Easy to clean, affordable |
| Porcelain | Highly durable, water-resistant |
| Marble | Luxurious look, requires sealing |
Wood Transition
Wood transitions add a warm and natural feel to bathrooms. They are great for creating a cozy atmosphere. Benefits of wood transitions:
- Eco-friendly
- Aesthetic appeal
- Versatile design options
It’s important to use water-resistant wood to avoid damage. Teak and cedar are good choices. These woods are resistant to moisture and decay. Steps to maintain wood transitions:
- Seal the wood to protect against water
- Regularly clean with a damp cloth
- Avoid harsh chemicals that can damage the wood
Metal Transition
Metal transitions provide a modern and sleek look. They are durable and can withstand heavy traffic. Benefits of metal transitions:
- Extremely durable
- Rust-resistant
- Low maintenance
Common metals used for transitions include aluminum and stainless steel. These metals are resistant to corrosion and easy to clean. A table showing different types of metal materials:
| Metal Material | Characteristics |
| Aluminum | Lightweight, rust-resistant |
| Stainless Steel | Strong, corrosion-resistant |
| Brass | Elegant look, durable |
Rubber Transition
Rubber transitions are ideal for safety and comfort. They provide a non-slip surface, making them perfect for bathrooms. Benefits of rubber transitions:
- Slip-resistant
- Soft underfoot
- Easy to install
Rubber transitions are available in various colors and designs. This allows you to match them with your bathroom decor. Steps to maintain rubber transitions:
- Clean regularly to avoid mold
- Use mild soap and water for cleaning
- Avoid sharp objects that can puncture the rubber
Steps To Install A Tub To Floor Transition
Creating a seamless transition from tub to floor can enhance the look of your bathroom. It can also provide a safer and more accessible environment. The process might seem daunting, but with the right steps, you can achieve a professional finish. Follow these steps to install a tub to floor transition easily and efficiently.
Prepare The Area
Preparing the area is crucial for a smooth installation. Start by gathering all necessary tools and materials. This includes a measuring tape, saw, adhesive, and sealant. Ensure the bathroom floor and tub are clean and dry.
Remove any old transition pieces or debris. Use a vacuum cleaner to get rid of dust and small particles. Check the floor and tub for any damage or uneven spots. Repair these areas before proceeding.
Here are some steps to prepare the area:
- Gather tools and materials
- Clean the floor and tub
- Remove old transition pieces
- Repair any damages
Measure And Cut The Transition Piece
Accurate measurements are vital for a perfect fit. Use a measuring tape to determine the length and width of the transition area. Write down these measurements to avoid mistakes.
Select a transition piece that matches your bathroom’s style. Using a saw, cut the transition piece according to your measurements. Make sure the cuts are straight and smooth.
Check the fit of the transition piece by placing it between the tub and floor. If necessary, make minor adjustments for a snug fit. Ensure the piece lies flat without any gaps.
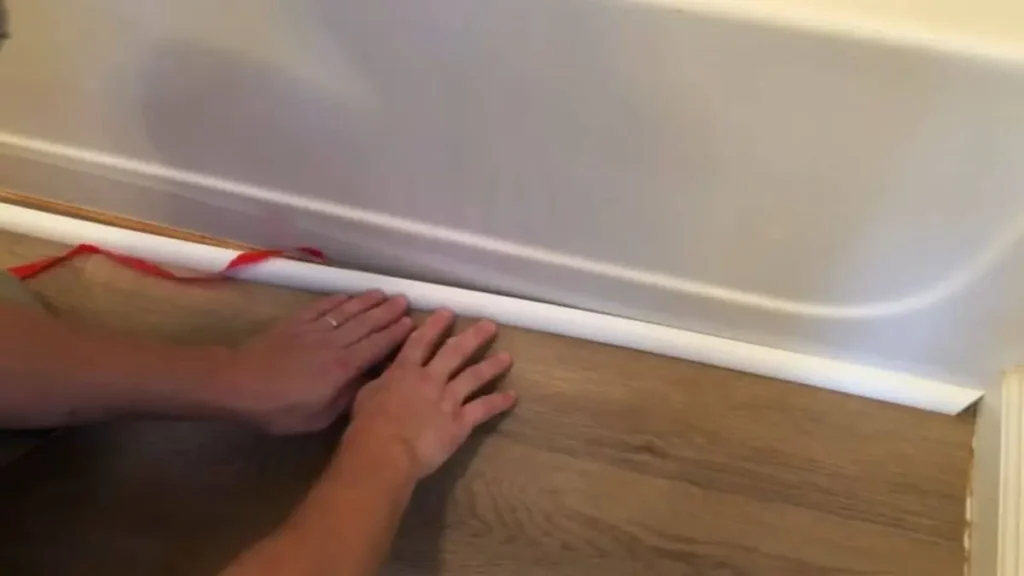
Install The Transition Piece
Install the transition piece carefully to ensure it stays in place. Apply a thin layer of adhesive on the bottom of the transition piece. Spread it evenly to cover the entire surface.
Press the transition piece firmly into place between the tub and floor. Hold it for a few minutes to let the adhesive set. Use a level to make sure the piece is even.
Allow the adhesive to dry completely before moving on to the next step. This might take a few hours. Follow the adhesive manufacturer’s instructions for the best results.
Seal The Edges
Sealing the edges is essential to prevent water from seeping under the transition piece. Use a high-quality sealant for this purpose. Apply a thin bead of sealant along the edges of the transition piece.
Use a caulk smoothing tool or your finger to smooth the sealant. Ensure it fills all gaps and adheres well to both the tub and floor. Wipe away any excess sealant with a damp cloth.
Allow the sealant to dry completely. This usually takes about 24 hours. Check the seal after it dries to ensure there are no gaps or weak spots.
Read Also: Crown Molding in Bathroom Transition From Wall to Tile
Maintaining And Repairing Tub To Floor Transitions
The tub to floor transition is a crucial part of bathroom design. This area connects your bathtub to the floor. Keeping this transition in good shape is important. It ensures both aesthetics and safety. Maintaining and repairing this area can prevent leaks and other issues. Let’s explore how to keep your tub to floor transition in top condition.
Regular Cleaning
Regular cleaning is essential for maintaining the tub to floor transition. Dirt and grime can build up over time. This can lead to mold and mildew. Keeping this area clean helps prevent these issues. Here are some tips for cleaning:
- Use a mild cleaner to scrub the area.
- Rinse well with warm water.
- Dry with a clean towel to prevent water spots.
Using a soft brush can help you clean hard-to-reach areas. Avoid using harsh chemicals. They can damage the caulking and seals. Keeping this area dry is important. Water can seep into cracks and cause damage. Regular cleaning can help you spot issues early. This makes repairs easier and less costly.
Repairing Damaged Transitions
Sometimes, the tub to floor transition can get damaged. Cracks and gaps can appear. These can lead to water damage. Repairing these issues quickly is important. Here are the steps to follow:
- Remove any old, damaged caulking.
- Clean the area thoroughly.
- Apply new caulking to seal the gaps.
- Let the caulking dry completely before using the tub.
Using a high-quality caulk can make your repairs last longer. It creates a good seal and prevents water from seeping in. Make sure the area is completely dry before applying new caulk. This helps it adhere better. Regular checks can help you spot damage early. This way, you can repair it before it becomes a bigger problem.
Replacing The Transition
In some cases, you may need to replace the entire transition. This can happen if the damage is too severe. Replacing the transition can be a big job. Here are the steps to follow:
- Remove the old transition piece carefully.
- Clean the area thoroughly.
- Measure and cut the new transition piece to fit.
- Install the new piece using adhesive or screws.
- Seal the edges with caulking to prevent water leaks.
Choosing the right materials is important. You want something that will last and withstand moisture. Ensuring a good fit is crucial. This helps prevent future issues. Proper sealing is also key. It keeps water from getting underneath the transition. Following these steps can help you replace the transition successfully.
Conclusion
Achieving a seamless tub to floor transition enhances both safety and aesthetics. It’s a practical upgrade for any bathroom. With proper planning and execution, you can create a smooth, stylish transition. Whether for remodeling or new construction, this change adds value and comfort to your space.
Start your project today!