To seal the bottom of T1-11 siding, use a high-quality caulk that is compatible with wood surfaces. Apply the caulk along the bottom edges of the siding to create a watertight seal.
T1-11 siding is a popular choice for many homes due to its durability and rustic appearance. However, proper sealing is essential to prevent moisture damage and prolong the lifespan of the siding. By following the correct sealing process, you can ensure that your T1-11 siding remains in top condition and protects your home for years to come.
Let’s explore the steps involved in sealing the bottom of T1-11 siding to maintain its integrity and aesthetic appeal.
What Is T1-11 Siding?
T1-11 siding is a type of exterior wood paneling commonly used in construction. To seal the bottom of T1-11 siding, it’s essential to use a high-quality sealant to prevent moisture and water damage. Proper sealing helps maintain the durability and longevity of the siding, protecting it from potential issues.
T1-11 siding is a type of exterior wood paneling made from plywood or oriented strand board (OSB). This type of siding is commonly used on sheds, barns, and other outdoor structures due to its durability and affordability. T1-11 siding comes in different sizes and styles, including grooved, textured, and smooth finishes. However, one of its drawbacks is that it is prone to moisture damage if not properly sealed.
Why Is Sealing The Bottom Of T1-11 Siding Important?
Properly sealing the bottom of T1-11 siding is a crucial step in protecting the structural integrity and longevity of your exterior surfaces. This process prevents a host of potential issues, ensuring your siding delivers optimal performance over time. Below are the key reasons why sealing the bottom of T1-11 siding is essential:
Prevents Moisture Damage
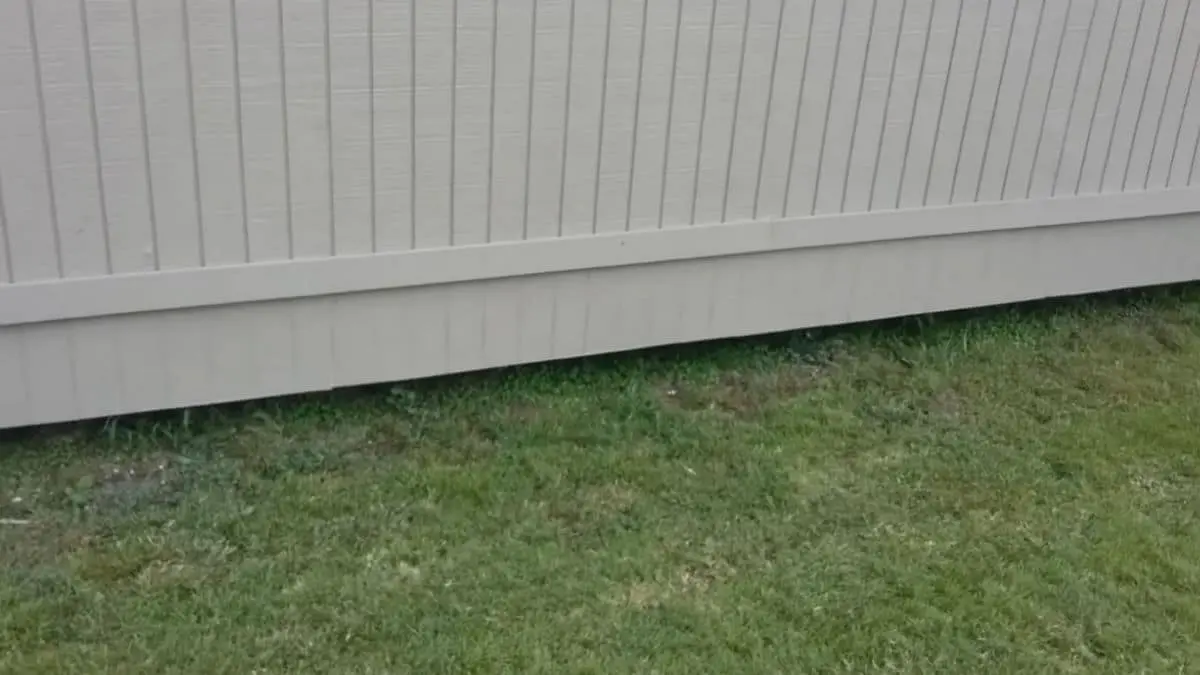
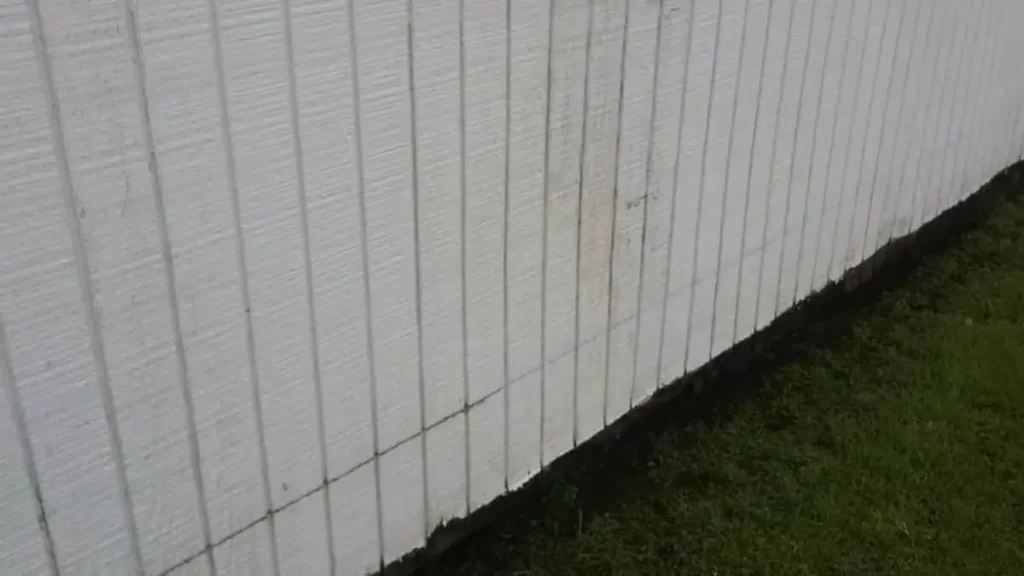
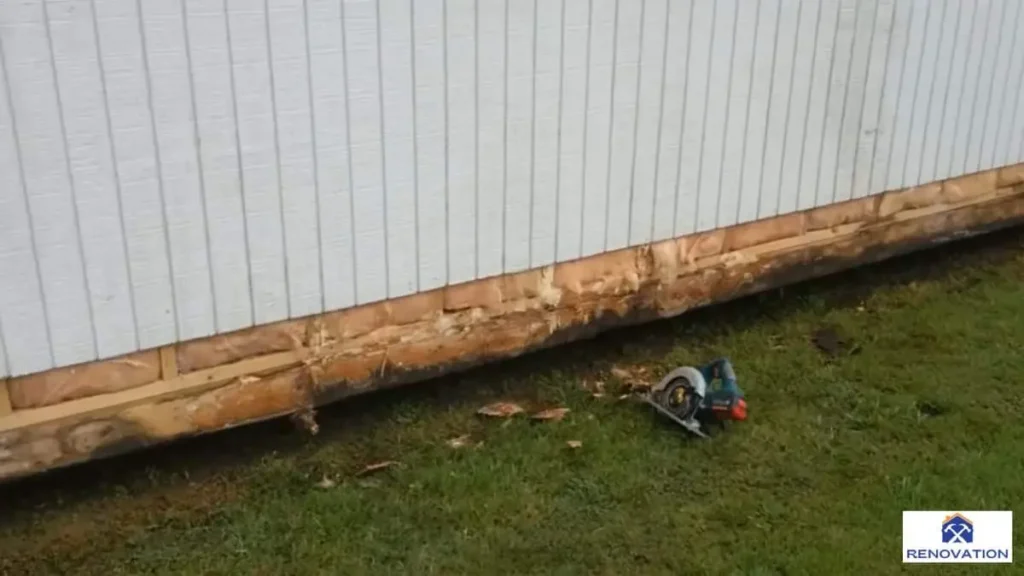
The bottom edge of T1-11 siding is particularly vulnerable to moisture exposure, as it is closest to the ground where water runoff, splashing, or pooling may occur. If left unsealed, water can seep into the wood fibers, leading to swelling, warping, or even rot. Over time, moisture damage can compromise the overall stability of the siding and may require costly repairs or replacements.
Protects Against Mold and Mildew
When moisture penetrates unsealed T1-11 siding, it creates an ideal environment for the growth of mold and mildew. These fungi not only degrade the appearance of the siding but also pose health risks for occupants due to the potential release of allergens. Sealing the bottom edge effectively mitigates this risk by reducing moisture retention.
Enhances Longevity
T1-11 siding is an investment, and sealing the bottom edge helps maximize its lifespan. By preventing moisture-related damage, you protect the material from premature wear and tear, ensuring that it continues to shield your structure from external elements year after year.
Improves Structural Integrity
Unsealed T1-11 siding can weaken over time as moisture infiltrates the fibers and causes decay. This can impact not only the siding itself but also the overall structure of the building it protects. Ensuring the bottom edge is sealed reinforces the strength of the siding, maintaining the stability of your shed, barn, or other outdoor structure.
Prepares the Siding for Harsh Weather
Harsh weather conditions, such as heavy rain, snow, or humidity, pose a significant threat to exterior siding. Proper sealing creates a water-resistant barrier that safeguards the bottom edge and the rest of the siding from these environmental effects, maintaining its efficiency and durability.
Materials Needed For Sealing The Bottom Of T1-11 Siding
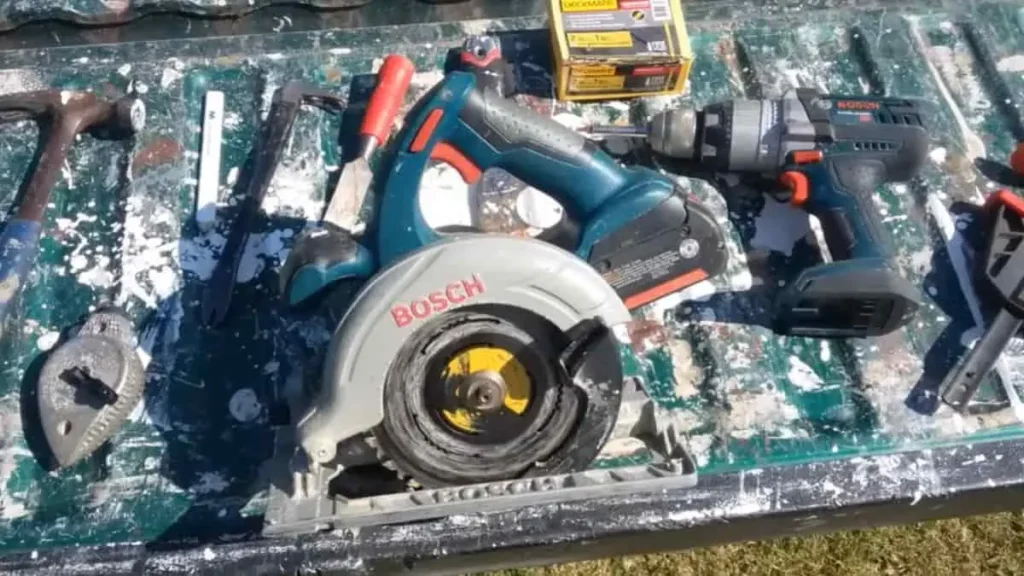
To effectively seal the bottom of T1-11 siding, you’ll need a combination of tools and materials specifically designed for the task. Gathering all necessary items beforehand ensures a smooth and efficient sealing process. Below is a list of materials you will need:
- High-quality caulk (recommended: silicone-based or polyurethane-based)
- Caulking gun
- Utility knife or caulk cutting tool
- Sandpaper (optional)
- Paintbrush (optional)
Also Read: Do I Need Tyvek under T1-11 Siding?
Step-by-step Guide To Seal The Bottom Of T1-11 Siding
Sealing the bottom of T1-11 siding is essential to protect it from moisture, rot, and pests. By following a step-by-step guide, you can ensure that your siding remains in top condition for years to come. Below, we’ll walk you through the process of cleaning the area, choosing the sealing product, applying the product, and allowing it to dry.
Clean The Area
Before sealing the bottom of T1-11 siding, it’s crucial to clean the area thoroughly. Use a stiff brush or pressure washer to remove any dirt, debris, or old sealant. Ensure that the surface is dry before proceeding to the next step.
Choose The Sealing Product
When selecting a sealing product, opt for a high-quality exterior caulk or sealant specifically designed for wood siding. Look for a product that is weather-resistant, flexible, and provides a strong bond to the wood surface.
Apply The Sealing Product
- Using a caulking gun, carefully apply the sealing product along the bottom edges of the T1-11 siding.
- Ensure that the product fills any gaps or cracks, creating a tight seal to prevent moisture penetration.
- Smooth the sealant with a putty knife for a neat and uniform finish.
Reapply The Sealing Product (if Necessary)
Inspect the sealed area and reapply the sealing product if any gaps or imperfections are found. It’s crucial to achieve a complete and effective seal to protect the siding from potential damage.
Allow The Sealing Product To Dry
After applying the sealing product, allow sufficient time for it to dry completely according to the manufacturer’s instructions. Avoid any contact with water or extreme weather conditions during the drying process to ensure optimal results.
Recommended: T1 11 Siding Installed Horizontally
Alternative Methods To Seal The Bottom Of T1-11 Siding
Explore alternative methods for sealing the bottom of T1-11 siding to protect your home from moisture and pests. Some options include using flashing or drip caps, applying exterior paint or stain, or installing a drainage system. Consult with a professional contractor for the best method for your specific siding and climate.

Install Flashing or Drip Caps
Flashing or drip caps are effective barriers that direct water away from the bottom edge of T1-11 siding, preventing moisture from seeping in. These metal or plastic strips are installed at the base of the siding and are angled to guide water outward. Flashing is particularly useful in areas with consistent rain or snow, as it acts as the first line of defense against water exposure. Proper installation is key, so ensure the flashing overlaps the siding and is sealed with caulk to prevent gaps where water could enter.
Apply Exterior Paint or Stain
Coating T1-11 siding with high-quality exterior paint or stain adds a protective layer that helps repel moisture. Opt for paints or stains specifically designed for wood and exterior use, as they provide resistance to weathering and UV damage. Before applying, make sure the siding is dry and clean for better adhesion. Touch up any missed or worn areas regularly to maintain the seal and prolong the life of the siding.
Use Caulk to Seal Gaps
Applying a durable, waterproof caulk along the bottom edges and seams of the siding can prevent water infiltration. This method is particularly useful for sealing minor cracks or spaces that might otherwise allow moisture and pests to enter. Choose a caulk suitable for exterior use, and apply it evenly to ensure complete coverage. Reapply periodically as caulk may degrade over time due to exposure to the elements.
Install a Drainage System
A drainage system beneath the siding can be an excellent long-term solution for water management. This involves creating a small, angled trench filled with gravel or installing a strip of perforated pipe to channel water away from the siding. By reducing standing water near the base of the siding, you protect it from prolonged exposure to wet conditions, which could lead to rotting or deterioration. This method works best in tandem with other sealing techniques.
Add a Water-Resistant Barrier
Incorporating a water-resistant barrier such as house wrap or a layer of plastic sheeting behind the T1-11 siding provides an extra layer of defense against moisture. This barrier prevents water from reaching the wooden surface and instead redirects it downward. While more involved, this method is particularly effective in rainy climates or for homes located in flood-prone areas.
Each of these methods has its strengths and is best suited for specific climates and siding conditions. A combination of approaches often provides the most comprehensive protection, and consulting a professional can offer tailored solutions for optimal results.
Tips For Maintaining T1-11 Siding
T1-11 siding is a popular choice for many homeowners due to its natural wood appearance and durability. However, to ensure its longevity, it’s essential to maintain and protect it properly. Here are some essential tips for maintaining T1-11 siding:

Inspect Regularly
Regular inspections are crucial for identifying any issues with your T1-11 siding. Look for signs of water damage, rot, or insect infestations. Pay close attention to the bottom edges where water and moisture can seep in and cause damage. Inspecting your siding regularly can help you catch any problems early on and prevent them from escalating.
Clean The Siding
Regularly cleaning your T1-11 siding is essential for preserving its appearance and preventing the buildup of dirt and grime. Use a mild detergent and a soft brush to gently scrub the surface, making sure to rinse thoroughly. Avoid using high-pressure washers, as they can damage the siding. By keeping your siding clean, you can prolong its lifespan and maintain its aesthetic appeal.
Repair Damages Immediately
Address any damages or issues with your T1-11 siding as soon as they arise. Whether it’s a small crack, hole, or area of rot, prompt repairs can prevent further damage. Use wood filler to patch small holes and cracks, and replace any severely damaged sections. Maintaining your siding in good repair will help protect it from moisture and pests.
Related Read: T1-11 Siding Alternatives for Your Home
Conclusion
To sum up, sealing the bottom of T1-11 siding is crucial for protecting your home from moisture and pests. By following the steps outlined in this guide, you can ensure a durable and long-lasting siding installation. Don’t overlook this important step in maintaining the integrity of your property. Regular inspections and maintenance will go a long way in preserving the beauty and functionality of your T1-11 siding for years to come.
So, be proactive in caring for your siding, and consult with professionals if necessary for the best results. With proper care, your T1-11 siding can continue to enhance your home’s curb appeal and provide reliable protection against the elements. Happy sealing!