Plaster walls are a staple in many older homes, known for their durability and classic look. Over time, these walls can develop cracks, holes, or other damage due to settling, moisture, or wear. Repairing plaster walls restores their appearance and prevents further structural issues.
This guide offers a step-by-step approach to fixing plaster walls, whether you’re dealing with small cracks or larger repairs. Readers will learn practical tips, tools needed, and when to seek professional help, ensuring their home stays beautiful and functional.
Plaster Walls and Common Problems
Plaster walls, crafted from lime, sand, and water, are a hallmark of homes built before the 1950s. Renowned for their smooth finish and durability, these walls add charm but are susceptible to damage over decades.
House settling, humidity, and temperature shifts often lead to cracks, holes, or deteriorating plaster. Timely repairs preserve the wall’s strength, insulation, and visual appeal. Ignoring damage can escalate minor issues into costly structural problems.
Types of Plaster Damage
Plaster walls face distinct forms of wear, each requiring tailored repair methods. Understanding these issues helps homeowners assess damage and choose the right approach.
Hairline Cracks
Hairline cracks, measuring less than 1 millimeter wide, are the most common plaster issue. These thin, superficial lines often stem from minor house settling or seasonal temperature changes. Typically found in older homes, hairline cracks pose little structural concern but can detract from a wall’s appearance if left unaddressed.
Large Cracks
Large cracks, exceeding 2 millimeters in width, signal more serious issues. These fissures may result from significant foundation shifts, structural stress, or prolonged settling. Spanning several feet, large cracks compromise the wall’s stability and often require reinforcement to prevent further deterioration.
Holes and Dents
Holes in plaster walls vary from small punctures, caused by nails or screws, to larger dents from furniture or impacts. Small holes, under 2 inches wide, are straightforward to patch, while larger ones, up to 12 inches, demand more extensive repair techniques to restore a seamless finish.
Water Damage and Mold
Water damage manifests as discoloration, bubbling plaster, or mold growth. Leaks from plumbing, poor ventilation, or roof issues are common culprits. Affected areas, often spanning 6 inches to several feet, require immediate attention to prevent mold spread and further plaster breakdown.
Signs You Need Professional Help
Many plaster repairs suit DIY efforts, but certain scenarios demand professional skills. Recognizing these signs ensures safety and effective restoration.
Extensive Structural Damage
Wide cracks or walls that feel unstable indicate deep structural problems, such as foundation issues. These repairs, often covering entire walls or rooms, require advanced tools and expertise to address underlying causes and prevent recurrence.
Electrical Wiring Risks
Plaster walls in older homes may conceal outdated or damaged electrical wiring. If repairs expose wires or involve drilling near electrical components, professionals must handle the job to avoid shocks or fire hazards. This is critical in areas with visible wiring damage.
Large-Scale Loose Plaster
When plaster detaches from the lath across large sections, particularly in ceilings or multi-room areas, it poses a collapse risk. Professionals use specialized techniques, like re-securing lath or replacing sections, to safely restore stability across areas spanning 10 square feet or more.
Tools and Materials Needed for Plaster Wall Repair
| Category | Item | Purpose |
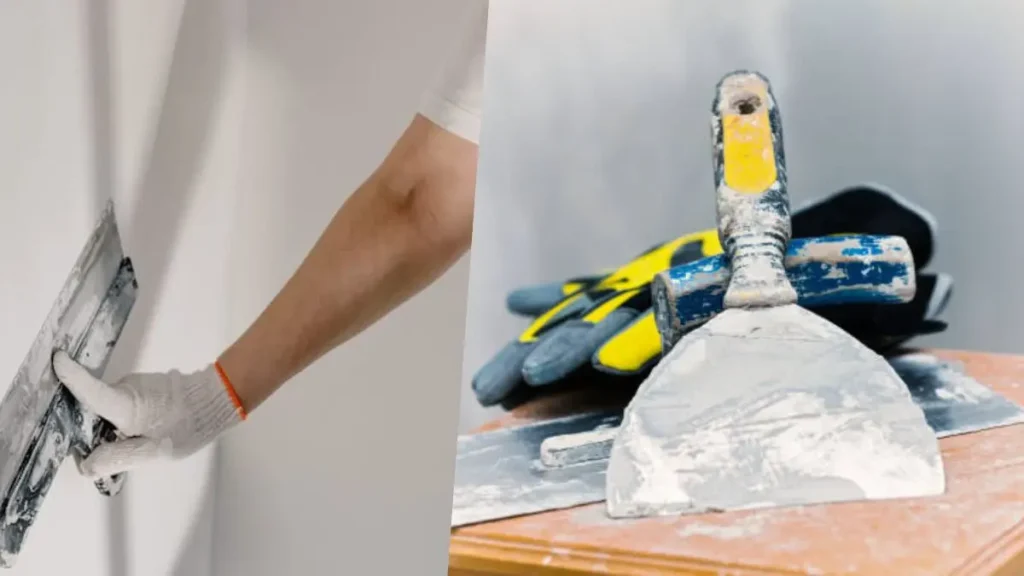
| Tools | Putty knife | Apply and smooth patching plaster |
| Sandpaper (120-grit) | Smooth repaired surfaces | |
| Plastering trowel | Spread plaster evenly for larger repairs | |
| Drill with mixing bit | Mix plaster for consistent texture | |
| Safety gear (gloves, goggles) | Protect against dust and debris | |
| Materials | Patching plaster | Fill cracks and holes |
| Mesh tape | Reinforce large cracks | |
| Primer | Seal repaired plaster before painting | |
| Paint (latex-based) | Match existing wall color | |
| Sponge and bucket | Clean and smooth repaired areas |
Step-by-Step Guide to Repairing Plaster Walls
Repairing plaster walls restores their beauty and strength, whether addressing minor cracks or larger damage. This process requires careful preparation, precise techniques, and proper finishing to achieve a seamless result.
Homeowners can tackle most repairs with basic tools and materials, saving costs compared to professional services. The following steps outline how to fix plaster walls effectively, covering preparation, repair techniques, and final touches for a polished outcome.
Preparing the Area
Preparation ensures a clean and safe workspace for plaster repairs. Start by moving furniture away from the damaged wall to create ample room. Cover floors with a drop cloth to protect against dust and debris. Use a dry brush or vacuum to remove loose plaster, dirt, or dust from the damaged area.
For water-stained sections, wipe with a damp sponge and mild detergent, then dry thoroughly to prevent mold. Assess the damage size and type—hairline cracks, holes, or loose plaster—to determine the repair approach. Wear safety gear, including gloves and goggles, to shield against debris. This step typically takes 15-30 minutes, depending on the damage extent.
Fixing Small Cracks and Holes
Small cracks and holes, under 2 inches wide, are straightforward to repair. Use a putty knife to apply patching plaster, pressing it into the crack or hole to fill completely. For hairline cracks, a thin layer of plaster suffices, while small holes may need slightly more to level the surface. Smooth the plaster with the putty knife, removing excess to match the wall’s texture.
Allow the plaster to dry for 24 hours, as drying times vary based on humidity and plaster thickness. Once dry, lightly sand the area with 120-grit sandpaper to create a smooth, even finish. Check for uneven spots and apply a second thin layer if needed, repeating the drying and sanding process. This repair typically takes 1-2 hours of active work, spread over a day.
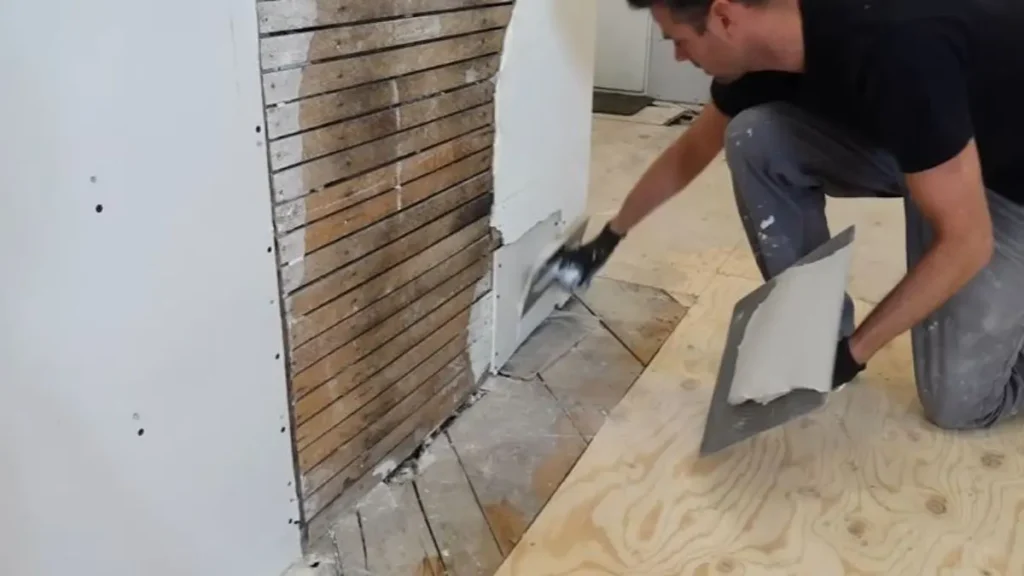
Repairing Large Cracks or Loose Plaster
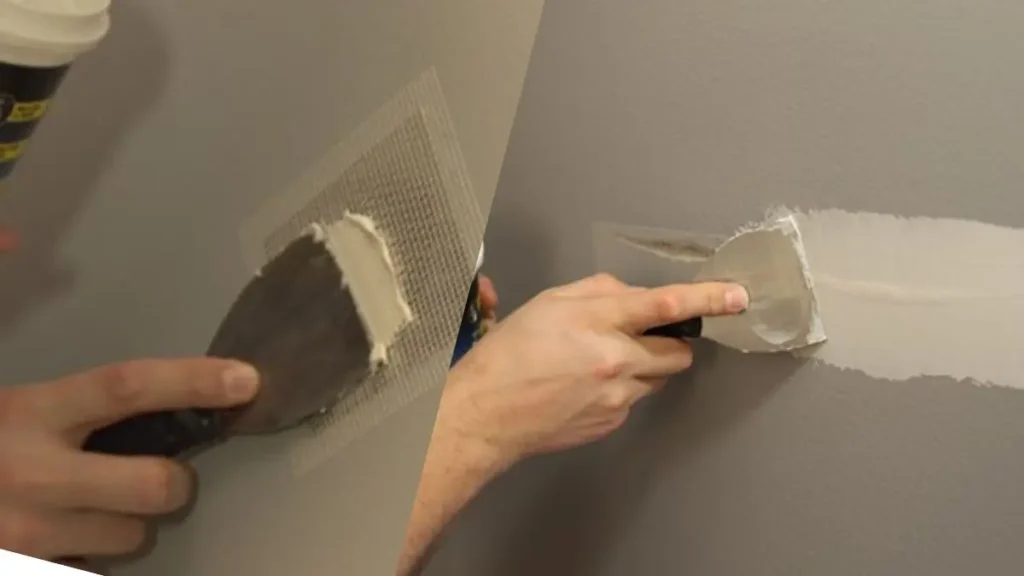
Larger cracks, over 2 millimeters wide, or areas with loose plaster require more effort to ensure stability. Begin by securing loose plaster to the underlying lath using plaster screws or a bonding adhesive, applied with a caulking gun. For cracks, widen them slightly with a scraper to create a stable base for patching. Apply mesh tape over the crack to reinforce the repair and prevent future splitting.
Mix patching plaster to a creamy consistency, then use a plastering trowel to apply it in thin layers, each about 1/8 inch thick. Allow each layer to dry for 24 hours before adding the next, typically requiring 2-3 layers for deep cracks or loose areas. Sand lightly between layers to maintain a smooth surface. This process can take 2-3 days due to drying times but ensures a durable repair.
Tips for a Professional Finish
Achieving a seamless repair requires attention to detail. Apply plaster in thin, even layers to avoid lumps or air bubbles, which can weaken the repair. Use a damp sponge to blend the edges of the plastered area with the surrounding wall for a polished look. Check for unevenness by running a straightedge over the repair; sand or add plaster as needed.
Maintain consistent pressure when smoothing with the trowel to match the wall’s texture. For textured walls, mimic the original pattern by dabbing the wet plaster with a sponge or brush. These techniques, honed over 10-15 minutes per repair, elevate the result to a professional standard.
Finishing Touches
Finishing the repair ensures the wall looks cohesive and protected. Apply a latex-based primer over the repaired area to seal the plaster and improve paint adhesion. Use a small roller for even coverage, allowing the primer to dry for 4-6 hours. Select a paint that matches the existing wall color, typically a latex-based interior paint with a matte or eggshell finish.
Apply 1-2 coats of paint with a brush or roller, letting each coat dry for 2-4 hours. For large repairs, blend the paint outward to avoid visible patches. Clean tools and remove the drop cloth, then inspect the wall under different lighting to confirm a uniform finish. This final step takes 1-2 hours and completes the restoration, leaving the wall looking as good as new.
Recommended Post: How To Clean Flat Paint Walls
Common Challenges and How to Overcome Them
Repairing plaster walls can present obstacles, especially for DIY enthusiasts tackling older homes. Issues like brittle plaster, recurring cracks, or deciding between repair and replacement often arise. Addressing these challenges with proven techniques ensures a successful outcome.
Dealing with Old or Brittle Plaster
Older plaster, common in homes built before 1950, often becomes brittle, crumbling under pressure. This fragility complicates repairs, as new plaster may not adhere well to deteriorated surfaces. To improve adhesion, apply a bonding agent, such as a liquid primer, to the damaged area before patching. Brush the agent evenly and let it dry for 1-2 hours to create a stable base.
For added strength, embed fiberglass mesh tape into the first layer of patching plaster, covering cracks or weak spots. This reinforcement, spanning areas up to 12 inches, prevents future crumbling. If the plaster is extensively degraded, remove loose sections with a scraper, typically clearing 6-12 inches around the damage, before applying new plaster in thin layers.
Preventing Future Damage
Repaired plaster walls can develop new cracks or damage if underlying issues persist. Moisture, often from leaks or poor ventilation, weakens plaster over time, affecting areas as small as 6 inches or entire walls. Install a dehumidifier in damp rooms, maintaining humidity below 50%, to protect repairs. Ensure exterior maintenance, such as clearing gutters and sealing roof leaks, to prevent water infiltration.
House settling, another common cause, can reopen cracks within 1-2 years. Monitor repaired areas monthly for hairline cracks, addressing them promptly with a thin layer of patching plaster. These preventive measures, implemented over 10-20 minutes monthly, extend the lifespan of plaster walls.
When to Upgrade to Drywall
Deciding whether to repair plaster or replace it with drywall depends on damage extent and long-term goals. Plaster repairs cost $20-$100 in materials for small projects, while drywall installation for a 100-square-foot area ranges from $200-$500, including labor. Plaster offers a classic, durable finish but requires 24-48 hours of drying per repair layer.
Drywall, installed in 1-2 days, is easier to work with and resists cracking in modern homes. If damage exceeds 20 square feet or involves frequent repairs, drywall provides a cost-effective, low-maintenance alternative. For historic homes, preserving plaster maintains authenticity, especially in rooms with ornate molding. Evaluate repair frequency and budget, consulting a contractor for areas over 50 square feet, to make an informed choice.
Benefits of Repairing Plaster Walls Yourself
Tackling plaster wall repairs as a DIY project offers homeowners practical advantages. From cost savings to skill development, handling these repairs empowers individuals to maintain their homes effectively.
Saving on Professional Costs
Hiring professionals for plaster repairs can be expensive, with costs ranging from $300 to $1,000 for moderate damage spanning 10-20 square feet. DIY repairs, using materials like patching plaster and mesh tape, typically cost $20-$100, depending on the damage size. By investing 2-5 hours in the project, homeowners avoid labor fees, which often account for 60-70% of professional quotes. These savings can be redirected to other home improvement projects, such as painting or lighting upgrades, enhancing overall property value.
Enhancing Home Value and Appearance
Well-maintained plaster walls contribute to a home’s aesthetic and market appeal. Repaired walls, free of cracks or holes, create a polished look, especially in older homes where plaster adds historic charm. A seamless repair, covering areas as small as 6 inches or as large as 10 square feet, can increase a home’s resale value by 1-2%, according to real estate studies. Smooth, freshly painted walls also improve room ambiance, making spaces feel brighter and more inviting for residents and potential buyers.
Building DIY Skills
Repairing plaster walls hones practical skills applicable to other home projects. Homeowners learn to mix plaster, apply it evenly, and sand for a smooth finish, skills that transfer to tasks like drywall patching or tile grouting. Completing a repair, which takes 1-3 days including drying time, boosts confidence in handling tools like putty knives and trowels. Over time, these skills reduce reliance on contractors, saving thousands of dollars on future repairs across the home.
Supporting Eco-Friendly Practices
DIY plaster repairs promote sustainability by reusing existing materials instead of replacing walls with new drywall. Manufacturing drywall generates approximately 1 ton of carbon emissions per 1,000 square feet, while patching plaster produces minimal waste. Using eco-friendly patching compounds, available for $10-$30 per gallon, further reduces environmental impact. Homeowners can complete repairs with 1-2 pounds of plaster for small fixes, minimizing landfill contributions and preserving the home’s original materials.
Conclusion
Repairing plaster walls restores their beauty and strength, preserving the charm of older homes. This guide covers essential steps, from fixing small cracks to addressing larger damage, empowering homeowners to tackle DIY repairs confidently. Benefits include cost savings, skill-building, and enhanced home value, all while supporting eco-friendly practices.
For complex issues, professional help ensures safety and quality. Try these techniques to refresh your walls, or explore our other home improvement guides for more tips. Share your questions or experiences in the comments below!