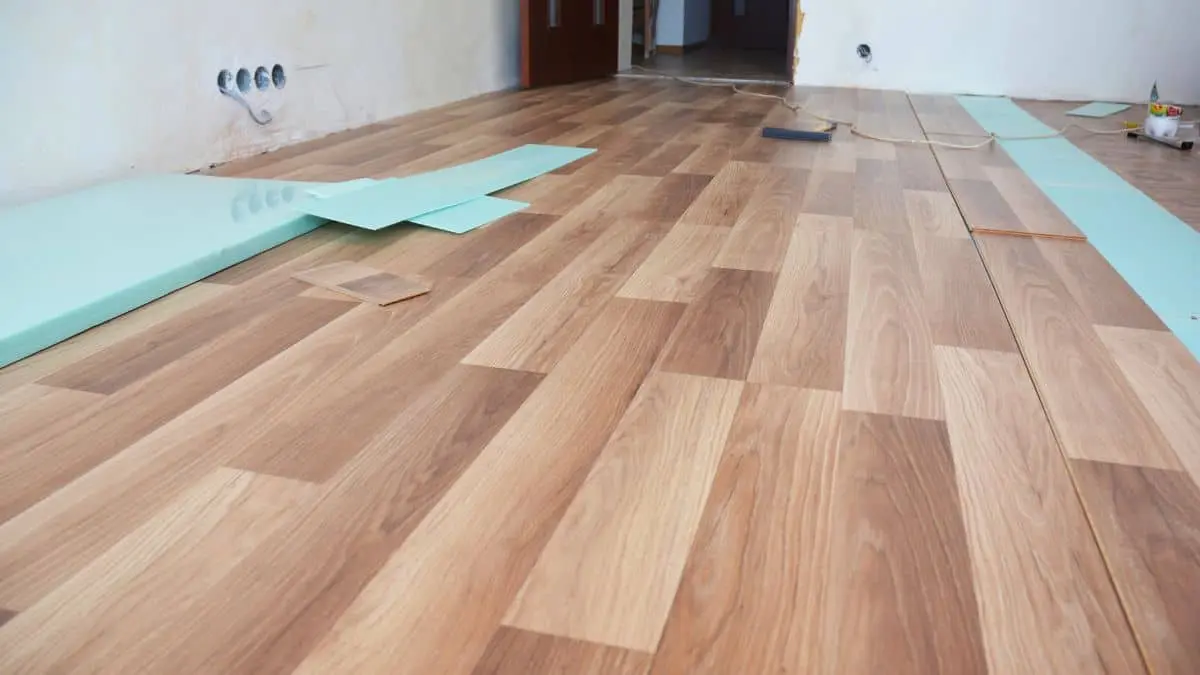
To match laminate flooring, ensure the color, style, and thickness are consistent throughout the installation. Begin by selecting the desired laminate flooring that complements your space.
Consider factors such as color, texture, and plank size to create a cohesive look. Once you have chosen the flooring, check that the thickness matches to avoid uneven surfaces. Properly matching laminate flooring will enhance the overall aesthetic appeal and create a harmonious design in your space.
It is essential to pay attention to details during the selection process to achieve a seamless and professional finish.
Choosing The Right Laminate Flooring
Choosing the right laminate flooring for your home can be overwhelming with the vast array of options available in the market. Laminate flooring is a popular choice for homeowners due to its durability, low maintenance, and affordability. However, to ensure you get the best out of your investment, it is essential to choose the right laminate flooring that suits your needs and preferences.
Considering Durability And Thickness
The durability and thickness of the laminate flooring are crucial factors to consider when shopping for laminate flooring. Laminate flooring comes in different thicknesses, ranging from 6mm to 12mm. The thicker the laminate, the more durable and long-lasting it is. Therefore, if you have high-traffic areas in your home, it is recommended to choose a thicker laminate flooring to withstand the wear and tear.
Another factor to consider is the AC rating, which is a measure of the durability of the laminate flooring. AC rating ranges from AC1 to AC5, with AC5 being the most durable and suitable for commercial use. For residential use, an AC3 or AC4 rating is sufficient to withstand the traffic in your home.
Exploring Different Styles And Finishes
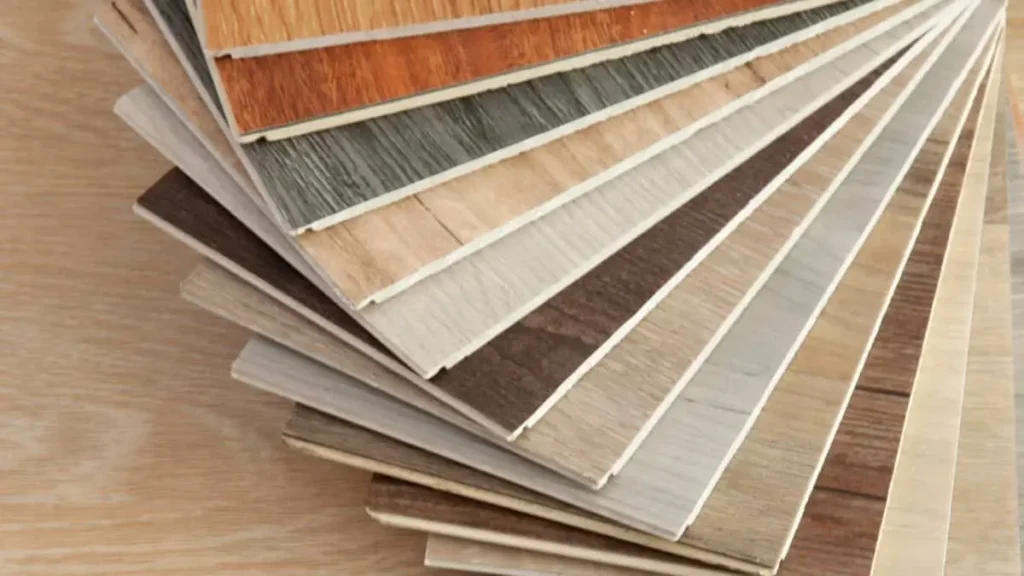
The style and finish of the laminate flooring can significantly impact the overall look of your home. Laminate flooring comes in various styles and finishes, from natural wood looks to tile and stone finishes. The style and finish you choose should complement your home’s decor and color scheme.
You can choose a high gloss or matte finish depending on your preference. High gloss finishes give a modern and sleek look, while matte finishes give a more natural and rustic look. Additionally, consider the texture of the laminate flooring, which can range from smooth to textured, to add depth and dimension to your flooring.
Finally, choose a laminate flooring that is easy to install and maintain. Laminate flooring with click-lock systems is easy to install without the need for adhesives or special tools. Additionally, look for laminate flooring that is easy to clean and requires minimal maintenance.
Preparing The Subfloor Before Matching
To match laminate flooring, it’s essential to prepare the subfloor properly. Start by ensuring the subfloor is clean, level, and free of any imperfections. Use underlayment to provide a smooth surface and reduce noise. This will ensure a seamless installation and a long-lasting result.
Cleaning the Subfloor
The first step to preparing your subfloor is thoroughly cleaning it. Remove all debris, dust, and dirt from the surface using a vacuum or broom. If needed, use a damp mop to eliminate any lingering grime, but make sure the subfloor is completely dry before proceeding. A clean surface ensures better adhesion for the underlayment and prevents imperfections from affecting the laminate flooring.
Leveling and Checking for Imperfections
Once the subfloor is clean, inspect it for any irregularities. Uneven surfaces, cracks, or dips can prevent the laminate flooring from laying flat, potentially causing issues in the future. Use a straight edge or a leveling tool to identify problem areas. For minor irregularities, apply a leveling compound to smooth out the surface. For more significant issues, consider professional assistance to properly address the subfloor.
Repairing Damages
If the subfloor has visible damages such as cracks, holes, or loose boards, repair these areas before moving forward. Patch small holes or cracks with a filler appropriate for the subfloor material. Tighten any loose nails or screws in wooden subfloors. A well-repaired subfloor will provide a secure foundation for your laminate flooring.
Installing the Underlayment
Underlayment is a crucial component when preparing a subfloor for laminate flooring. It not only smooths out minor imperfections but also acts as a barrier against moisture and reduces noise. Choose an underlayment that suits the specific type of laminate flooring and subfloor in your home. Roll out and cut the underlayment to fit your floor area, ensuring there is no overlap and any seams are taped together securely.
Testing for Moisture
Before installing laminate flooring, it’s vital to test the subfloor for moisture levels, particularly for concrete subfloors. Excess moisture can cause laminate planks to warp or expand. Use a moisture meter to check the levels and take necessary steps, such as installing a vapor barrier if the moisture level is too high, to prevent future issues.
Gathering The Necessary Tools And Materials
Before beginning the installation of laminate flooring, it is crucial to ensure that you have all the essential tools and materials at your disposal. Gathering these items beforehand will not only streamline the installation process but also ensure a successful outcome. Here’s a breakdown of the essential tools and materials required for a seamless laminate flooring installation.
Tools
- Tape measure and pencil for measuring and marking cuts
- Straight edge or T-square for making straight cuts
- Jigsaw or circular saw for cutting the laminate planks to fit the room’s edges
- Hammer and tapping block for securing the planks in place
- Spacers to create an expansion gap between the flooring and walls
- Pry bar for removing baseboards if necessary
Materials
- Laminate flooring planks of your choice
- Underlayment specific to your subfloor and type of laminate flooring
- Vapor barrier, if needed, for moisture protection
- Adhesive or click-lock system depending on the type of installation
With these tools and materials, you will have everything you need to successfully install your laminate flooring. However, always refer to the manufacturer’s instructions for any additional tools or materials recommended for your specific laminate flooring.
Measuring And Cutting Laminate Planks
When it comes to installing laminate flooring, one of the most crucial steps is measuring and cutting the planks to fit the room perfectly. This process requires precision and the right tools to ensure a seamless and professional-looking installation.
Taking Accurate Room Measurements
Before you start cutting any laminate planks, it’s essential to take accurate measurements of the room where the flooring will be installed. Measure the length and width of the room, and don’t forget to account for any alcoves, closets, or irregularly shaped areas. Use a tape measure to ensure precision, and make note of any obstructions or angles that may affect the cutting and installation process.
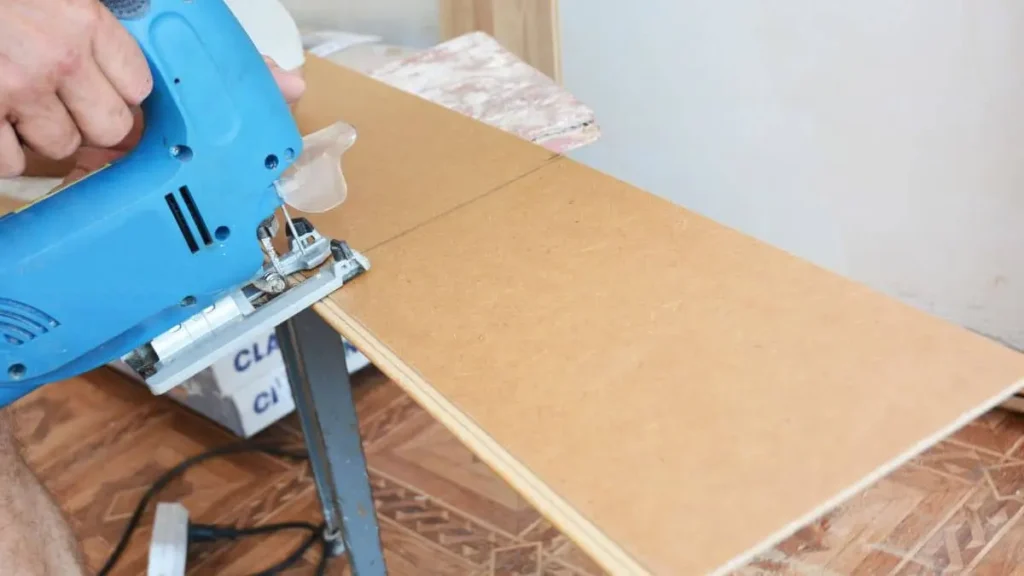
Using Proper Tools For Cutting Laminate Flooring
When it comes to cutting laminate flooring, having the right tools is crucial for achieving clean and precise cuts. Invest in a quality laminate cutter or a circular saw with a fine-toothed blade designed for laminate. These tools will ensure that you can make straight and accurate cuts without damaging the planks. Additionally, using a speed square or a straight edge guide can help you achieve perfectly straight cuts, especially when dealing with angles or irregular shapes.
Laying The First Row
The first row is crucial when it comes to laying laminate flooring. It sets the foundation for the rest of the installation, so it’s important to get it right. In this section, we will go over the key steps for laying the first row of laminate flooring to ensure a smooth and professional-looking finish.
Starting In The Right Direction
When laying the first row of laminate flooring, it’s essential to start in the right direction. This typically means starting in a corner of the room and working towards the opposite wall. Ensure the grooved side of the planks is facing the wall to allow for expansion space along the length of the boards.
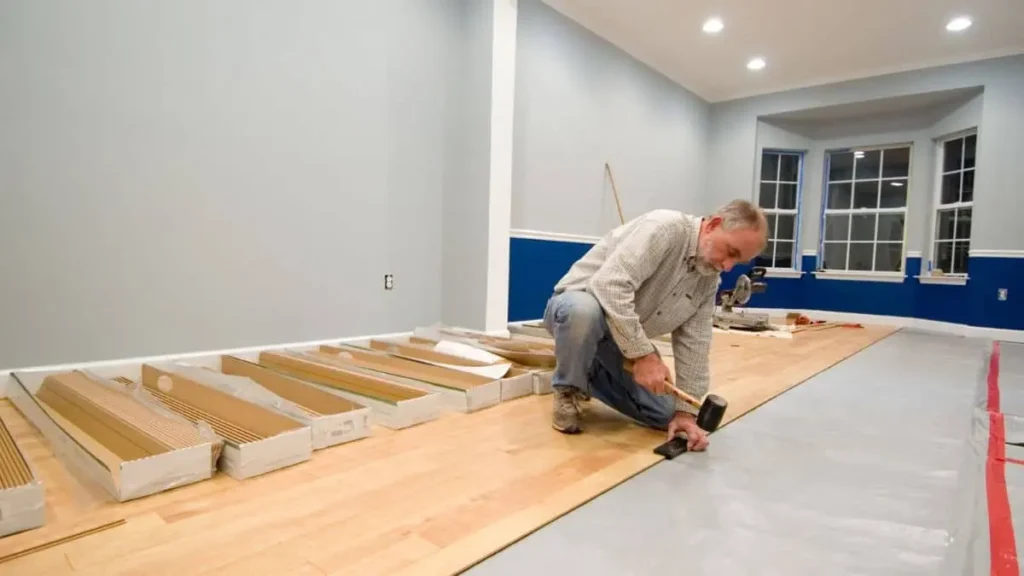
Ensuring Proper Spacing And Alignment
Proper spacing and alignment are crucial for a seamless laminate flooring installation. Use spacers to maintain the recommended expansion gap around the perimeter of the room. Check the alignment of the planks as you go, making sure they fit snugly together without gaps or overlaps. Use a tapping block and hammer to secure the planks in place.
Cutting The Last Plank In The Row
When you reach the final plank in the first row, you may need to cut it to fit. Measure the remaining space between the last plank and the wall, accounting for the expansion gap. Use a saw or cutter to make a precise cut, ensuring that the cut edge is facing towards the wall.
With these tips and instructions, you can confidently install laminate flooring in any room of your home. Remember to always follow manufacturer instructions and take your time to ensure a professional finish. With proper preparation and careful execution, your laminate flooring will provide beautiful and durable flooring for years to come.
Related Post: Changing Direction of Laminate Flooring Between Rooms
Installing The Rest Of The Flooring
Once you have successfully laid the first few rows of laminate flooring, it’s time to proceed with the rest of the installation. This crucial step involves interlocking the planks correctly and dealing with obstacles and tricky areas to ensure a seamless and professional finish.
Interlocking The Planks Correctly
Properly interlocking the laminate planks is essential for a secure and visually appealing installation. Ensure that the tongue and groove edges are aligned perfectly before pressing the planks together. Use a tapping block and a mallet to gently tap the planks into place, ensuring a snug fit without causing any damage to the edges.
Dealing With Obstacles And Tricky Areas
When encountering obstacles such as doorways, vents, or irregularly shaped rooms, it’s important to carefully measure and cut the planks to fit. Take precise measurements and use a jigsaw or a handsaw to cut the planks accurately. Additionally, for areas with irregular shapes, create a template using cardboard to ensure an exact fit before cutting the laminate planks.
When installing laminate flooring, one important consideration is how to properly secure it. While most laminate floors are designed to be floated over the subfloor, you may be wondering if it’s possible to nail down laminate flooring. For more information on this topic, check out our guide on Can You Nail Down Laminate Flooring to explore the pros and cons, as well as other installation tips.
Adding Finishing Touches
Once the laminate flooring is installed, adding finishing touches is essential for a polished look. This includes installing transition strips and applying baseboards or quarter round molding.
Installing Transition Strips
Transition strips are crucial for connecting the laminate flooring to other types of flooring or areas with different heights. They provide a smooth transition and protect the edges of the laminate. To install transition strips, measure the width needed, cut the strip to size, and secure it in place using adhesive or screws.
Applying Baseboards Or Quarter Round Molding
Baseboards or quarter-round molding are used to cover the expansion gap around the perimeter of the room, giving the flooring a clean and finished appearance. Measure, cut, and attach the baseboards or quarter-round molding to the walls using finishing nails or adhesive to complete the installation.
Conclusion
Installing laminate flooring can transform the look of any room, offering durability, style, and affordability. By following the step-by-step process, from preparing the subfloor to adding the finishing touches like transition strips and baseboards, you can achieve professional results that elevate your space.
Whether you’re a seasoned DIY enthusiast or a beginner, taking the time to plan and execute each step with care ensures a long-lasting and visually stunning floor. If you’re ready to upgrade your home with laminate flooring, start today and enjoy the satisfaction of a beautiful and functional new floor!