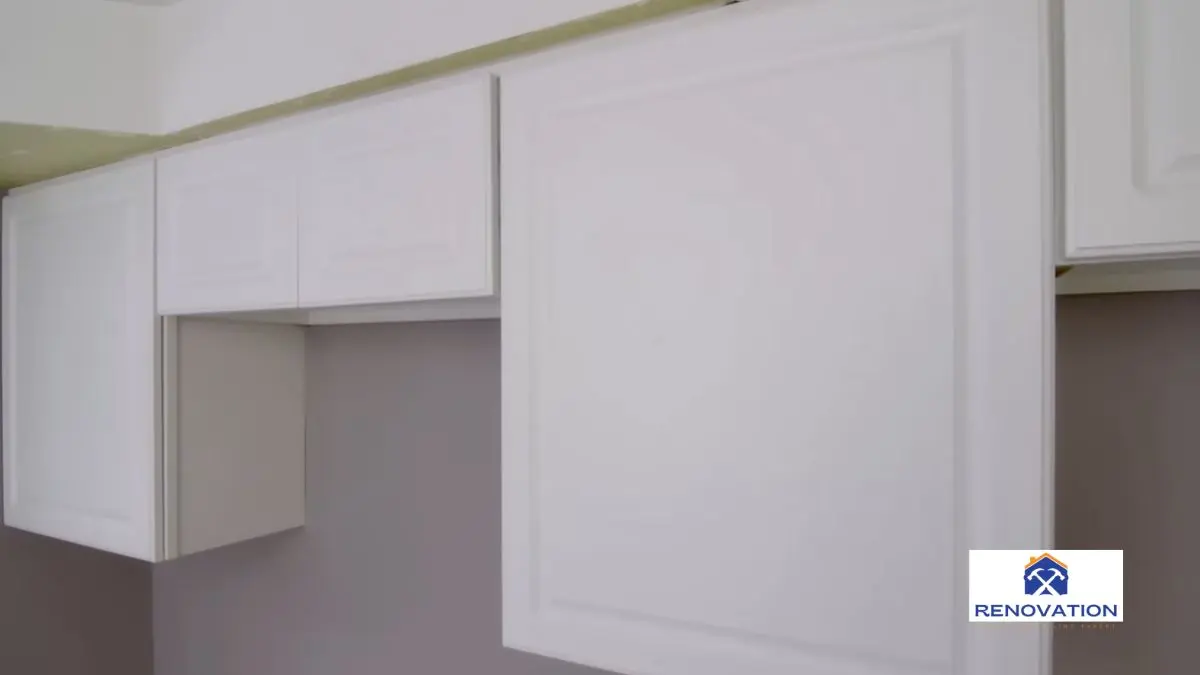
Use a suspension rail and cabinet hangers to install upper cabinets away from the wall. This method allows for flexibility in placement and proper support for the cabinets.
Upper cabinets can be a great addition to any kitchen, providing extra storage space and improving the room’s overall look. However, sometimes it may be necessary to install the cabinets away from the wall due to design or functional requirements.
This can be achieved by using a suspension rail and cabinet hangers. This method provides flexibility in placement and ensures proper support for the cabinets. We will discuss the steps involved in installing upper cabinets away from the wall, including measuring and marking the placement, installing the suspension rail, attaching the hangers, and finally, hanging the cabinets.
Importance Of Upper Cabinet Placement
Proper placement of upper cabinets is crucial in a kitchen for both functional and aesthetic reasons. Installing upper cabinets away from the wall can enhance the overall look of the space and provide additional storage solutions.
Enhancing Accessibility
Installing upper cabinets away from the wall can make storage more accessible for users. By adjusting the placement slightly, it becomes easier to reach commonly used items without straining or requiring additional tools, such as step stools. This is especially helpful in household settings where multiple users of varying heights may access the cabinets. Thoughtful placement ensures ease of use while maintaining an organized kitchen.
Improving Aesthetic Appeal
Strategic placement of upper cabinets can transform the kitchen’s visual appeal. Cabinets mounted slightly away from the wall can create a unique, customized design that elevates the overall ambiance of the space. This method allows for creative options, such as incorporating open shelving or decorative lighting, which can add dimension and personality to the kitchen.
Maximizing Space
Functionality in the kitchen is influenced greatly by how well space is utilized. Installing cabinets slightly off the wall provides an opportunity to increase storage capacity without overcrowding. For example, this configuration might leave room for slim shelving units, hooks, or a backsplash ledge, effectively optimizing every available inch.
Promoting Versatility in Layout
Upper cabinets installed away from the wall open possibilities for versatile kitchen layouts. This approach can accommodate unique design choices, such as floating cabinets or creating an open, modular feel. It’s an excellent option for kitchens with non-standard dimensions or layouts, ensuring the space remains flexible and practical.
Tools And Materials Needed
To install upper cabinets away from the wall, you will need a specific set of tools and materials to ensure a secure and level installation. Here’s a breakdown of the tools and materials needed for this project:
Upper Cabinets
Before starting the installation, ensure that you have the upper cabinets ready. Make sure they are of the correct size and dimensions for the space where you plan to install them.
L-brackets
L-brackets are essential for securing the upper cabinets in place. These brackets provide additional support and stability, especially when the cabinets are installed away from the wall.
Screws
Choose durable screws that are suitable for securing the L-brackets to the cabinets and the wall. Opt for screws that are long enough to provide a secure hold but not too long that they penetrate through the cabinet material.
Drill
A reliable drill is necessary for creating pilot holes for the screws and for attaching the L-brackets to the cabinets and the wall. Make sure the drill is fully charged and equipped with the appropriate drill bits.
Level
Using a level is crucial for ensuring that the upper cabinets are installed evenly and in a straight line. This tool helps prevent any slanted or uneven installation, which can affect the overall appearance and functionality of the cabinets.
Measuring Tape
A measuring tape is essential for accurately measuring the placement of the upper cabinets away from the wall. Precise measurements are crucial for achieving a balanced and visually appealing installation.
Preparation Before Install Upper Cabinets
Before starting the installation process, prepare the area by clearing out any obstacles and ensuring a clean, clutter-free workspace. Ensure that you have all necessary tools and materials on hand to avoid interruptions during the installation.
Clear the Workspace
Before beginning the installation, ensure that the workspace is clean and clutter-free. Remove any items or furniture near the wall space where the cabinets will be installed. This will give you ample room to work and help avoid any potential obstructions during the process. Additionally, inspect the wall for any damages or uneven surfaces and address these issues before proceeding.
Gather Necessary Tools and Materials
Having the right tools and materials prepared in advance will save time and reduce stress during the installation. Along with a level and measuring tape, make sure to gather items such as a pencil for marking, screws, a drill, a stud finder, and wood shims. Depending on your cabinetry style, you might also need brackets or mounting strips.
Locate and Mark Wall Studs
Using a stud finder, identify the location of the wall studs in the area where the upper cabinets will be installed. Mark the center of each stud with a pencil to ensure a secure attachment point for the cabinets. Properly securing the cabinets to the studs is essential for stability and safety.
Plan Cabinet Placement
Carefully map out where each cabinet will be positioned on the wall. Use the measuring tape to ensure correct spacing between the cabinets and maintain a consistent height from the floor or countertop. Mark these measurements on the wall, and double-check for accuracy to prevent alignment issues later.
Ensure Proper Lighting
Good lighting is key to ensuring precision during installation. If the area is not well-lit, consider setting up temporary work lights. Proper illumination will help you accurately measure, mark, and install the cabinets without errors.
Prepare the Cabinets
Before mounting, ensure all cabinets are properly assembled, and their hinges and doors are aligned. If the cabinets require modifications or adjustments, take care of these steps beforehand to avoid complications during installation.
Installation Process for Upper Cabinets Away From Wall
When installing upper cabinets away from the wall, the process requires careful attention to detail to ensure stability and safety. The installation process involves attaching L-brackets to the wall, hanging the upper cabinets, and securing them in place.
Step 1: Mark the Layout
Begin by identifying the placement of the upper cabinets away from the wall. Use a measuring tape to carefully measure and mark the desired position on the floor and ceiling. Use a chalk line or laser level to ensure your markings are perfectly straight. Double-check measurements to ensure the cabinets will align evenly and sit symmetrically in the space.
Step 2: Install Support Braces
To keep the cabinets stable during installation, temporarily install support braces on the floor. These can be simple wooden cleats or adjustable stands. Ensure the supports are level and sturdy, as they will hold the weight of the cabinets while you secure them in place.
Step 3: Prepare for Ceiling Anchoring
For cabinets installed away from the wall, ceiling anchors are critical for stability. Identify ceiling joists using a stud finder and mark their locations. Pre-drill holes in the ceiling, corresponding to the desired position of the cabinet screws. Use heavy-duty anchors or brackets designed to hold substantial weight, ensuring they match the cabinet specifications.
Step 4: Secure the Cabinet Frame
Position the first cabinet on the support braces and align it carefully with your ceiling and floor markings. Fasten the top of the cabinet to the ceiling using screws and brackets, connecting it to the joists for maximum support. Check the cabinet for level and plumb, making any necessary adjustments before fully tightening the screws.
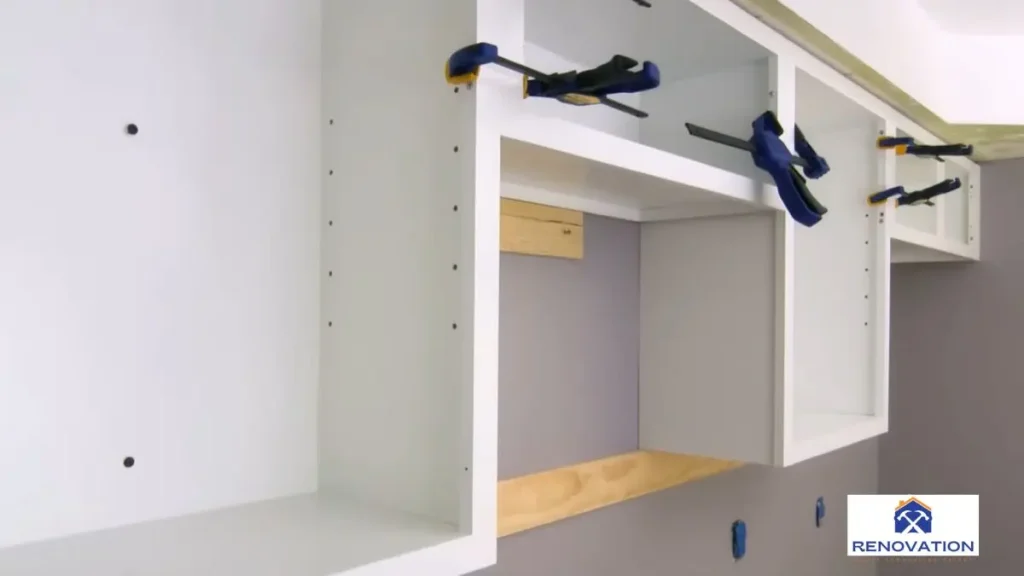
Step 5: Attach Adjacent Cabinets
If installing multiple cabinets, repeat the process for the remaining units. Use clamps to align the edges of adjacent cabinets tightly and ensure they are flush. Secure the cabinets to each other by drilling screws through the side panels at pre-drilled pilot holes. This step ensures a seamless and professional finish.
Step 6: Reinforce the Base
Once the upper cabinets are anchored to the ceiling and secured to one another, reinforce their connection with the floor. Install base brackets or additional supports to provide extra stability and weight distribution. This step is particularly important for free-standing cabinets to prevent any wobbling.
Step 7: Perform a Final Check
After all cabinets are installed, perform a thorough check to ensure everything is level, secure, and aligned. Adjust any screws, braces, or supports as necessary. Double-check that all cabinet doors, hinges, and shelves operate smoothly without obstruction. The final result should look polished and be perfectly functional.
Read Also: Installing Cabinets on Concrete Floor
Ensuring Stability And Safety
When installing upper cabinets away from the wall, ensuring stability and safety is paramount. Properly securing the cabinets and checking for level are crucial steps in this process. By adhering to these guidelines, you can ensure that your cabinets are securely installed and pose no safety hazards.
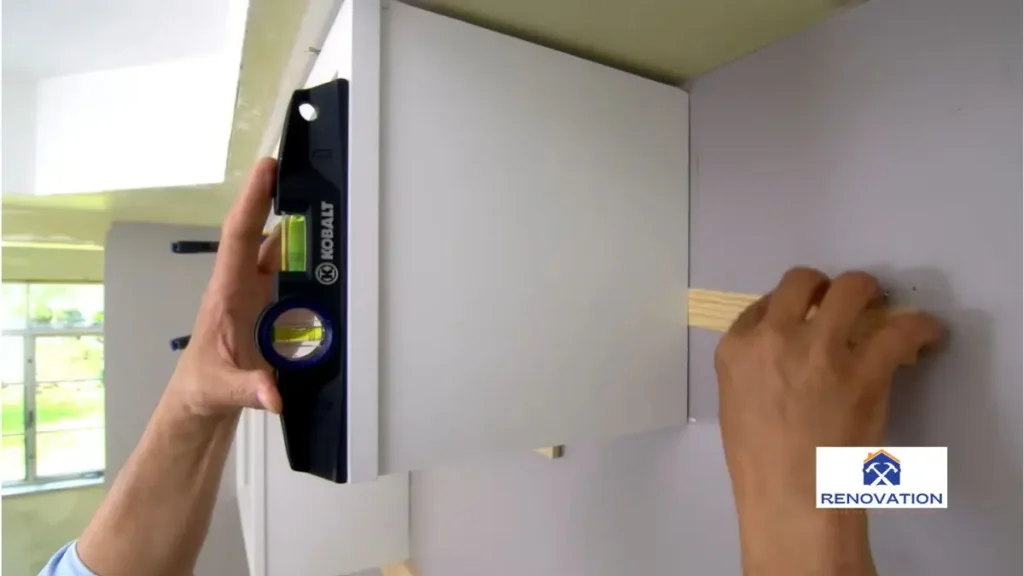
Checking For Level
Before installing upper cabinets, it’s essential to check for level to guarantee a stable and balanced installation. Use a level tool to ensure that the cabinets will be installed evenly and securely. This step is crucial to prevent any potential issues with the stability of the cabinets once they are in place.
Securing Cabinets Properly
Securing the cabinets properly is vital for their stability and safety. Use sturdy and appropriate hardware to secure the cabinets to the support structure. This will prevent the cabinets from shifting or becoming unstable over time. Ensure that the fasteners are of high quality and suitable for the type of wall or support they are being attached to.
Professional Installation
For a more complex or challenging installation, it may be best to hire a professional. This will ensure that the cabinets are installed correctly and securely, minimizing any potential risks. A professional installer will have the necessary tools, experience, and expertise to handle any challenges during the process. Additionally, they can offer advice and suggestions for optimal cabinet placement and stability.
If you’re giving your kitchen a budget-friendly facelift, you might be focusing on the cheapest way to reface kitchen cabinets. Learn how to do it step by step in our guide on The Cheapest Way to Reface Kitchen Cabinets.
Customization And Design Options
When it comes to installing upper cabinets away from the wall, there are several customization and design options to consider. These options allow you to create a unique and functional kitchen space that reflects your personal style and meets your specific needs. From adjusting the height for comfort to adding decorative trim, the customization possibilities are endless.
Adjusting Height For Comfort
Adjusting the height of upper cabinets can significantly impact the comfort and functionality of your kitchen. By customizing the cabinet height, you can ensure that the storage space is easily accessible and convenient to use. Consider the needs of all family members and adjust the height accordingly to accommodate everyone. This customization option allows for a more ergonomic and user-friendly kitchen design.
Adding Decorative Trim
Enhance the aesthetic appeal of your upper cabinets by adding decorative trim. This customization option allows you to add a touch of elegance and personality to your kitchen space. From crown molding to decorative accents, there are various trim options to choose from. Carefully select trim that complements your overall kitchen design and reflects your individual style. This simple addition can make a significant impact on the visual appeal of your cabinets.
Creating Open Shelves
For a more modern and open concept, consider removing the doors and creating open shelves on your upper cabinets. This customization option allows for easy access to items and creates an airier feel in the kitchen. You can also add decorative elements or lighting to create a focal point within the cabinet space. Careful planning and organization of items placed on these shelves is essential for maintaining a neat and visually appealing display.
Recommended: 10×10 Kitchen Cabinets Cost
Conclusion
To sum up, installing upper cabinets away from the wall can enhance both functionality and aesthetics in your kitchen. By following the step-by-step guide provided in this blog post, you can achieve a professional-looking result with ease. Don’t hesitate to experiment and customize to fit your space perfectly.
Remember to prioritize stability and safety throughout the installation process. With proper planning and execution, you can create a unique kitchen space that reflects your personal style and meets all your storage needs. So, go ahead and give it a try! Your newly installed upper cabinets will surely elevate the look and functionality of your kitchen. Happy installing!