

Kitchen remodels or upgrades often mean dealing with the ghost of your old appliances, like a lingering kitchen exhaust fan hole. Whether you’re switching to a ductless range hood or simply sealing up unused space, knowing how to close off that gap is crucial. Why? Because leaving the hole open can lead to energy loss, pest problems, or an eyesore in your otherwise polished kitchen.
This step-by-step guide will walk you through everything you need to know about sealing a kitchen exhaust fan hole. Whether you’re a seasoned DIY enthusiast or just beginning to dabble, you’ll find expert tips, tricks, and insights to ensure the job is done perfectly.
Why Should You Seal Your Kitchen Exhaust Fan Hole?
You might be wondering, “Why should I bother sealing an old exhaust hole?” It turns out there are some compelling reasons:
- Improves energy efficiency: Openings in your walls—especially for exterior holes—can lead to drafts and higher energy bills.
- Prevents pests: Unsealed holes are an open invitation for unwelcome guests like rodents and insects.
- Enhances aesthetics: A smooth, finished wall is much more visually appealing than a random, gaping hole.
- Protects your home: Proper sealing prevents moisture buildup, which could lead to mold or structural damage.
Think of this as an upgrade for both functionality and style!
Step-by-Step Guide on How to Close a Kitchen Exhaust Fan Hole
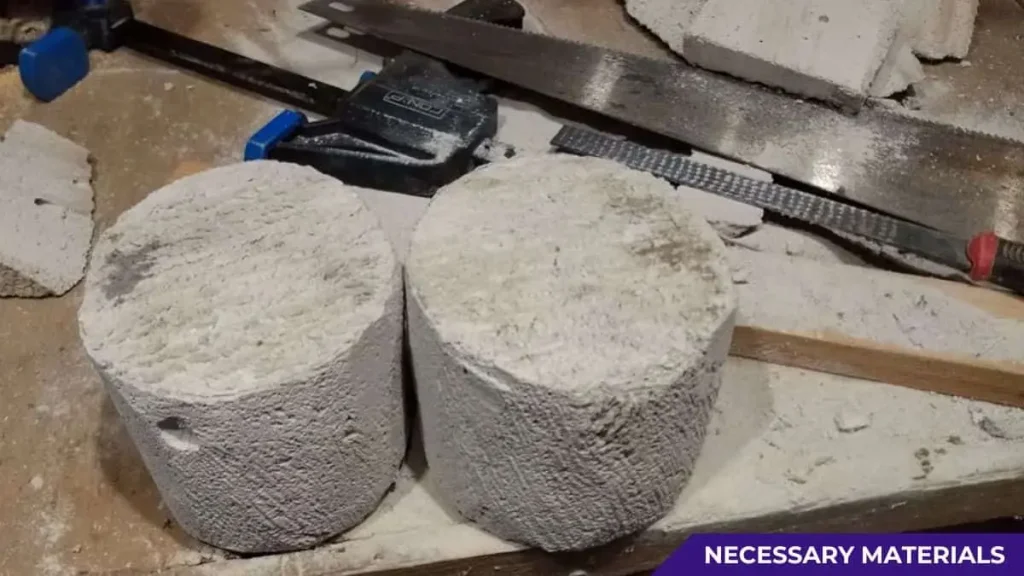
Step 1: Gather Your Materials
Before starting, make sure you have all the necessary tools and materials. You’ll need sealant (like silicone caulk or expanding foam), a putty knife, sandpaper, a utility knife, a cleaning solution, a dry cloth, and possibly a patch kit or drywall if the hole requires more substantial repair.
Step 2: Clean the Area
It’s essential to begin with a clean surface. Use a cleaning solution and a dry cloth to remove any grease, dust, or debris from around the hole. This ensures the sealant or patch adheres properly and provides a long-lasting finish.
Step 3: Inspect and Measure the Hole
Carefully examine the size and shape of the hole. If the hole is large, you may need to use a patch or replacement material. For smaller holes, a high-quality sealant or caulk should suffice. Take measurements if you’re applying a patch so you can cut it to the correct size.
Step 4: Apply the Patch (If Needed)
For larger holes, cut a piece of drywall or other material to fit snugly into the hole. Secure it in place with adhesive, drywall screws, or mesh tape, depending on the depth and location of the hole. Ensure the patch is flush with the surface for a smooth finish.
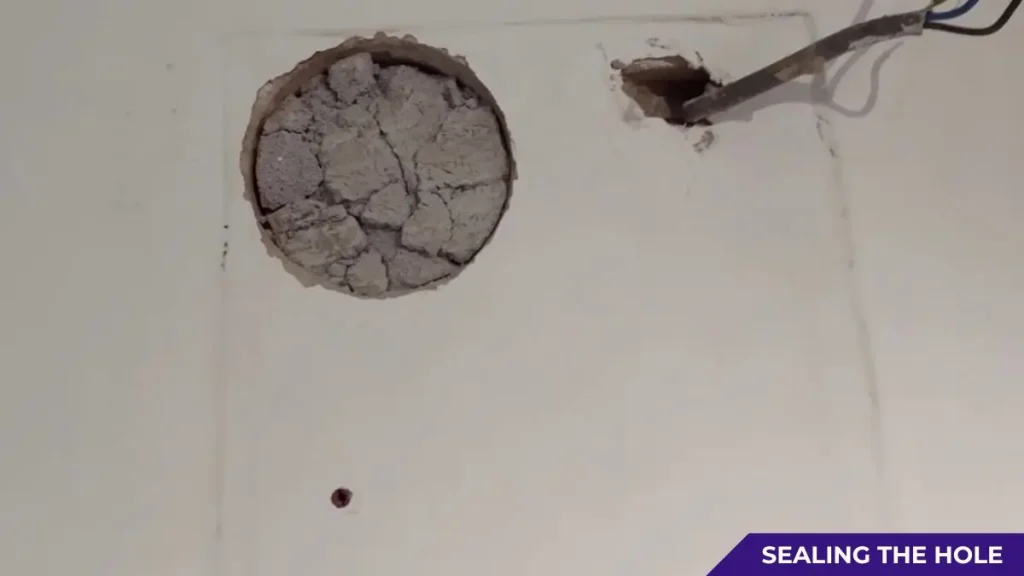
Step 5: Seal the Edges
Once the patch is in place (if using one), or directly onto the hole for smaller gaps, apply your sealant. Use a utility knife or caulking gun for precision. Spread the sealant evenly around the edges to cover all gaps and ensure an airtight seal.
Step 6: Smooth the Surface
Using a putty knife or similar tool, smooth out the sealant or compound to create a seamless surface. For larger patches, apply a thin layer of joint compound over the repair area and feather out the edges to blend with the surrounding wall.
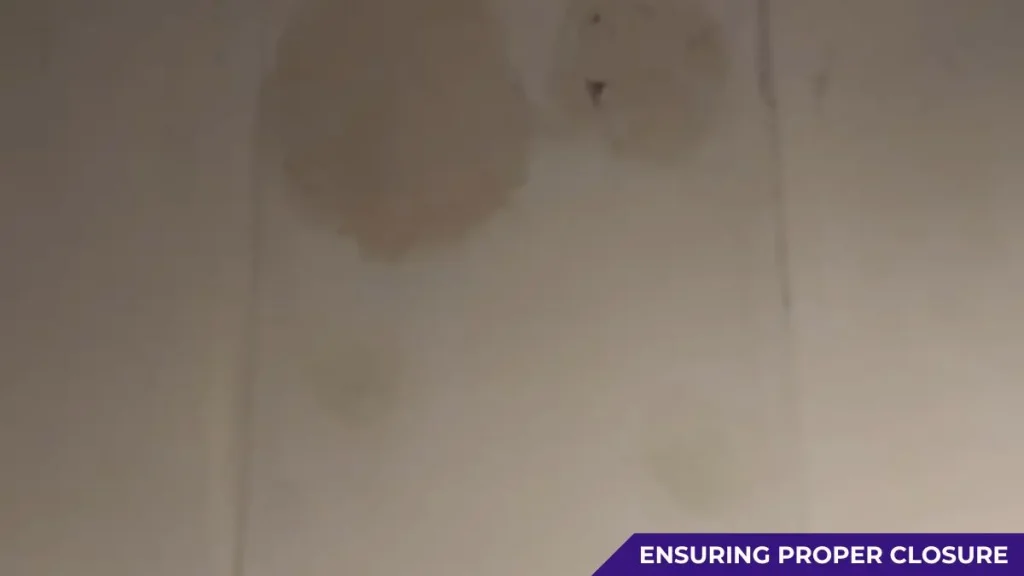
Step 7: Allow to Dry
Read the drying time on your sealant or compound packaging and allow it to set completely. This is an important step to ensure your repair remains durable and effective.
Step 8: Sand and Paint (Optional)
If aesthetics are a concern, lightly sand the area once it’s dry to remove any uneven surfaces. Afterward, apply matching paint to restore the wall’s original look and make the repair virtually unnoticeable.
Recommended: Old Kitchen Exhaust Fan Replacement
Safety Tips to Keep in Mind
Safety should always be a top priority When sealing a kitchen exhaust fan hole. Follow these tips to ensure a smooth, hazard-free process.
Use Proper Protective Gear
Before starting, equip yourself with the right protective gear. Wear safety goggles to shield your eyes from dust and debris. Gloves are essential to protect your hands from sharp edges on the fan hole or tools, as well as from skin irritation caused by sealants or compounds. If you’re using a strong adhesive or paints, consider using a respirator mask to avoid inhaling harmful fumes.
Ensure Proper Ventilation
When sealing a hole, you may work with materials that emit fumes or odors. Always ensure the workspace is well-ventilated to prevent dizziness or difficulty breathing. Open nearby windows and doors or use a fan to circulate fresh air while you work.
Handle Tools with Care
Use tools like putty knives, caulking guns, or sanders with caution. Improper handling or rushing through the task can lead to injuries. Make sure to follow the manufacturer’s instructions for each tool and inspect them beforehand to ensure they’re in good working condition.
Be Cautious Around Electrical Components
Kitchen exhaust fans are often close to electrical wiring. Before beginning, switch off the power supply to the area to reduce the risk of electric shock. Avoid using tools near exposed wires, and if you’re unsure about working around electricity, consult a licensed electrician.
Take Care When Working at Heights
If your kitchen exhaust fan hole is located near the ceiling, you may need to use a step stool or ladder. Ensure that the ladder is securely positioned on a stable surface, and never overreach while standing on it. Use a helper to hold the ladder steady if possible.
Cost Estimates for Closing a Kitchen Exhaust Fan Hole
Wondering how much this will cost? Here’s a breakdown:
Materials
The cost of materials plays a significant role in your overall expenses. Common supplies include sealant, a caulk gun, painter’s tape, and possibly a patching material for larger holes. Sealants typically range from $5 to $15 per tube, depending on the quality and brand. A good caulk gun can cost between $10 and $25 if you don’t already own one, while tape and other accessories may add $5 to $10. If you need additional tools, like a spatula or sandpaper, expect another $10 to $15. Altogether, material costs can range from $30 to $50 on average.
Labor Costs
If you choose to hire a professional, labor costs will be a significant expense but may save you time and ensure long-lasting results. Depending on your location and the complexity of the job, labor charges can range from $50 to $150 or more. Handy professionals or contractors typically provide an estimate after considering factors like the size of the hole, the type of wall, and accessibility. Many contractors have minimum service fees, so even small repairs might incur higher costs.
Additional Costs to Consider
Some repairs may require additional steps, such as repainting the area around the sealed hole or ensuring the exhaust fan system is properly ventilated. Paint matching and repainting can cost $10 to $40, depending on whether you already have the necessary materials. If the repair reveals issues with ventilation, you might need additional components, adding to the overall expense. It’s wise to budget for unexpected costs, which may range from $20 to $50, just in case.
Final Cost Estimates
For a simple DIY sealing project, you can expect total costs to fall between $30 and $70, depending on your supplies. On the other hand, hiring a professional can cost anywhere from $100 to $250 or more, depending on the scope of work and extra repairs needed. Consider your particular situation, and weigh the costs of time, effort, and expertise to determine the best option for you.
Read Also: How to Insulate Around Bathroom Exhaust Fan
DIY vs. Hiring a Professional
Still unsure if you should tackle this yourself or call in the experts? Here’s a quick comparison:
DIY Sealing of a Kitchen Exhaust Fan Hole
Taking on the task yourself can be a satisfying and cost-effective option, especially for those who enjoy home improvement projects. Here’s what to consider:
Pros
- Cost Savings: DIY projects are usually budget-friendly. You only need to purchase the necessary materials, such as sealant, patching materials, or any tools you might not already have. This can save you significant money compared to hiring a professional.
- Flexibility: You can work on your own schedule, taking your time to ensure the job is done to your standards.
- Learning Experience: Completing the project on your own allows you to learn new skills and gain confidence for future repairs or upgrades.
Cons
- Time-Consuming: This project may require several hours or more of your time, depending on your skill level.
- Risk of Mistakes: Without proper experience or knowledge, there’s room for errors, such as improper sealing, which could lead to issues down the line.
- Tools and Supplies: You may need to invest in tools or materials that you don’t already own, which could reduce the cost savings.
Hiring a Professional to Seal a Kitchen Exhaust Fan Hole
Bringing in a professional can often be the best option for those who want high-quality results with minimal effort.
Pros
- Expertise: Professionals come with the knowledge and experience to get the job done right the first time, reducing the risk of future issues or leaks.
- Time-Saving: With an expert on the job, you can focus on other tasks and leave the work to someone trained for the job.
- Warranty and Assurance: Many professionals offer warranties or guarantees on their work, providing you peace of mind.
Cons
- Higher Cost: The biggest downside of hiring a professional is the expense. Expect to pay more for labor, expertise, and materials.
- Scheduling Constraints: Depending on their availability, you may need to work around the professional’s schedule.
Frequently Asked Questions (FAQs)
Can I seal an exterior vent hole myself?
Yes, but be sure to use weatherproof materials and sealants to protect your home from the elements. It’s also essential to follow all instructions and safety precautions.
How long will the seal last?
A well-sealed exhaust fan hole should last for many years. However, factors like weather conditions and proper maintenance can impact its lifespan.
Can I paint over the sealed area?
Yes, as long as you use a paint that is suitable for the material used to seal the hole. Be sure to check with the manufacturer for recommendations.
How long does it take to complete this project?
Roughly 2–4 hours, depending on the size of the hole and your experience. Hiring a professional may take less time, depending on their expertise and the scope of work.
Do I need a building permit?
Typically, no. But it’s safest to check your local regulations beforehand. If you’re unsure, it’s always best to consult with a professional.
What happens if I don’t seal the hole?
Leaving an unsealed hole can lead to unwanted pests and drafts. This could result in higher energy bills or damage to your home’s interior. It’s best to seal the hole as soon as possible.
Ensure Your Kitchen is Clean and Sealed
Closing a kitchen exhaust fan hole may seem intimidating, but you can tackle this project like a pro with the right tools, materials, and instructions. By sealing the space properly, you improve your kitchen’s energy efficiency, aesthetics, and even its long-term durability.
If you’ve completed this project or have questions, share your experience in the comments section below! Sometimes, a little community wisdom is all it takes to perfect a DIY project like this.

