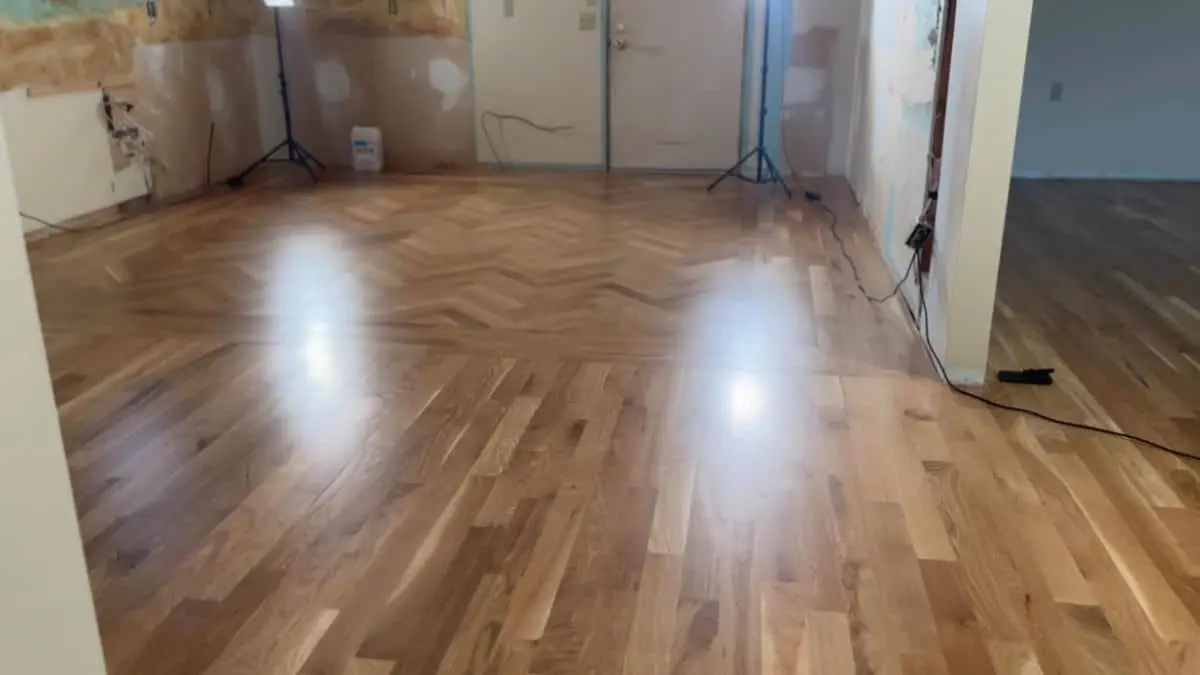
When transitioning hardwood floors from a room to a hallway, use a T-molding or threshold strip. This creates a seamless and visually appealing connection between the spaces.
Hardwood floor transitions between rooms and hallways play a crucial role in the overall aesthetic and functionality of a space. Proper transition strips not only provide a smooth surface for foot traffic but also help to prevent tripping hazards. By selecting the right type of transition piece, such as a T-molding or threshold strip, you can ensure a cohesive and polished look throughout your home.
In this guide, we will explore different options for transitioning hardwood floors and provide tips for achieving a seamless finish that enhances the beauty of your living space.
The Importance Of Transition Strips
Transition strips are crucial for creating a seamless flow between different flooring materials, especially in the transition from a room to a hallway.

Enhancing Safety
One of the primary reasons transition strips are essential for hardwood floor transitions is the safety they provide. Uneven surfaces or abrupt changes in flooring height can create tripping hazards, especially in busy areas like hallways. Transition strips help to bridge the gap between rooms and hallways, forming a smooth, level surface that reduces the risk of accidents. They are particularly beneficial in homes with children, elderly individuals, or frequent foot traffic, where safety is a top priority.
Preserving Flooring Integrity
Transition strips also play a crucial role in protecting the longevity of your hardwood floors. By creating a buffer at the edges where two surfaces meet, they help prevent damage caused by wear and tear or movement. For instance, without a proper transition strip, the edges of your hardwood planks might become chipped, warped, or scratched over time. These strips act as a safeguard, distributing pressure evenly and preserving the structural integrity of your flooring.
Adaptability to Flooring Types
Transition strips are not just functional but versatile as well. They can accommodate transitions from hardwood to other types of flooring, such as tile, carpet, or vinyl. This adaptability ensures that no matter the flooring combination in your home, you can achieve a clean and seamless connection. Whether the hallway has a slightly higher or lower elevation than the room, the right transition strip can be selected to handle the difference effectively.
Noise Reduction
An often-overlooked benefit of using transition strips is noise reduction. When installed correctly, these strips can minimize the sound caused by footsteps, particularly when transitioning between flooring materials with different acoustic properties. This is especially useful in homes with multi-level floors where sound can easily travel through hallways.
When transitioning your hardwood flooring from one room to a hallway, it’s important to consider both functionality and aesthetics. While some homeowners prefer a seamless look, others opt for transition strips to address height differences or expansion gaps. If you’re wondering whether transition strips are necessary, especially between rooms with the same flooring, check out our detailed guide: Do You Need Transition Strips between Rooms With Same Flooring?. This post dives into the pros and cons, helping you make an informed decision for your space.
Types of Transition Strips for Hardwood Floors
When transitioning from a room to a hallway with hardwood flooring, there are several types of transition strips available. Each type serves a specific purpose and complements different design preferences or functional needs:
- T-Molding: Ideal for surfaces of equal height, T-molding creates a smooth connection between hardwood in the room and hallway, offering a clean and continuous look. It’s commonly used for transitions within the same material or height.
- Reducer Strips: If the hardwood in one area is at a different height compared to the hallway, reducer strips are perfect. They provide a gradual slope that bridges the height difference seamlessly, reducing any tripping hazards.
- Threshold Strips: These strips are suitable for transitions between hardwood and other types of flooring materials, such as carpet or tile, offering a step-like design for thresholds while maintaining an elegant appearance.
- Flush and Overlap Strips: Flush transition strips sit level with adjacent floors for a subtle, seamless visual effect. Overlap strips, slightly raised, are ideal for situations where slight movement in the floor material might occur.
Choosing The Right Transition Strip
Transition strips are essential for a smooth and visually appealing connection between different flooring materials in your home. When it comes to transitioning from a room to a hallway with hardwood floors, selecting the right transition strip is crucial for a seamless finish.
Material Compatibility
When choosing a transition strip for a hardwood floor transition from a room to a hallway, it’s essential to ensure the material of the strip complements the hardwood. Wood transition strips are a popular choice as they blend naturally with the hardwood flooring, offering a cohesive and polished look. However, you can also consider metal or vinyl options if durability and contrast are priorities. Make sure the strip’s finish and color harmonize with the existing floor for a balanced aesthetic.
Type of Transition Strip
The type of transition strip you use depends on the specifics of your flooring and the area. For a same-level transition between hardwood floors, T-molding is an excellent option as it creates a smooth juncture while allowing for slight movement between the floorboards. If the hallway floor is slightly higher or lower than the room floor, a reducer molding could be the ideal choice. This style provides a gentle slope to bridge the height difference without creating a tripping hazard.
Measurements and Precision
Accurate measurements of the transition area are critical to ensure a snug and seamless fit. Begin by measuring the width and length of the gap between the two floors. Carefully cut the transition strip to match the dimensions, ensuring there are no gaps once installed. Precision is key to achieving a professional appearance and a secure attachment.
Installation Method
The installation process varies depending on the type of transition strip and your flooring. Most wood strips can be secured with adhesive or small nails, providing a firm grip without damaging the floorboards. Ensure the surface is clean before installation to prevent any debris from hindering adhesion. For a more durable option, screw-down metal transition strips might be better suited, particularly in high-traffic areas.
Durability and Maintenance
Finally, prioritize durability when selecting a transition strip, especially for areas like hallways that experience heavy foot traffic. Hardwood strips can be finished or sealed to enhance their lifespan and match existing flooring. Similarly, regularly cleaning and inspecting the transition area ensures the strip remains secure and in excellent condition over time. A well-maintained transition strip not only adds aesthetic value but also improves the safety and functionality of your home.
Related Read: Dark to Light Hardwood Floor Transition
Hardwood Floor Transition Process
When it comes to installing a transition strip for hardwood floor from a room to a hallway, the process can seem daunting at first. However, with the right guidance, it can be a straightforward and rewarding project. The installation process involves measuring and cutting the strip as well as securing the transition piece in place. Let’s delve into the details of each step:
Step 1: Measure the Transition Area
Begin by accurately measuring the width of the doorway or hallway where the transition strip will be installed. Use a tape measure to determine the exact distance. Be sure to account for any slight variations in width that could occur due to uneven walls or flooring. Mark these measurements clearly on the transition strip to ensure a precise fit.
Step 2: Choose the Appropriate Transition Strip
Select a transition strip that complements your hardwood floor and meets your functional needs. Common types include T-molding for floors of equal height or reducer strips for transitioning between floors of different heights. Ensure the material and color match your existing flooring for a seamless look.
Step 3: Cut the Transition Strip
Using the measurements gathered earlier, cut the transition strip to the required length. For this step, a miter saw is recommended for clean and accurate cuts. Double-check your measurements before cutting to avoid any mistakes. Smooth the edges with sandpaper if necessary to remove any roughness.
Step 4: Prepare the Installation Surface
Before attaching the transition strip, thoroughly clean the surface where it will be placed. Remove any dust, debris, or adhesive residue that could interfere with the installation. If needed, ensure the subfloor is level to improve adherence and stability.
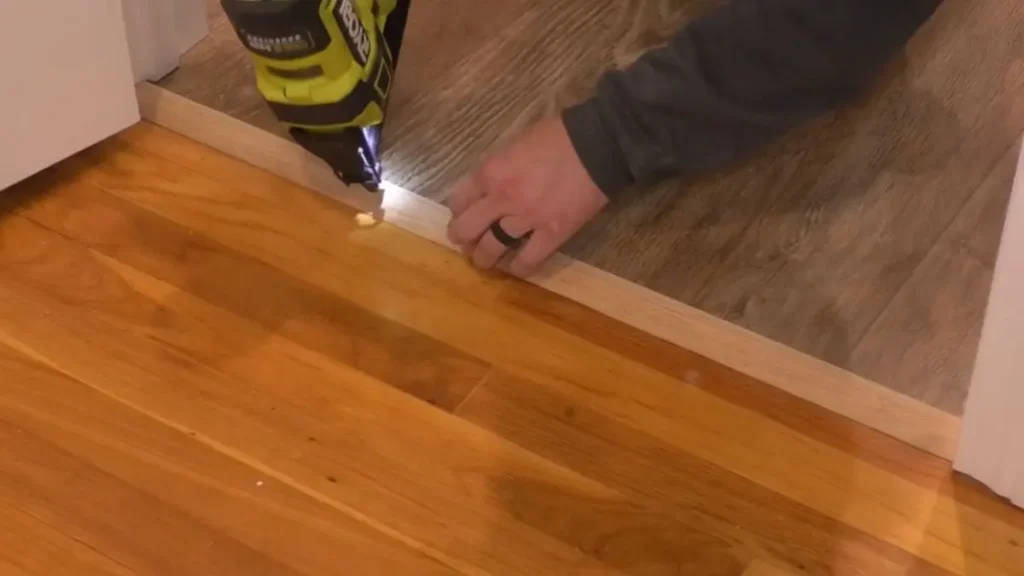
Step 5: Secure the Transition Strip
Depending on the type of transition strip and manufacturer recommendations, you may need to use adhesive, nails, or screws for securing. Apply a quality flooring adhesive to the base of the strip if adhesive attachment is preferred. Press the strip firmly into place and allow the adhesive to set according to the product’s instructions. For strips requiring screws or nails, pre-drill holes to prevent cracking and fix them securely in place.
Step 6: Finishing Touches
Once the transition strip is secured, inspect the installation for gaps or misalignments. If any adhesive has seeped out, wipe it away promptly with a clean, damp cloth. Step back and ensure the transition strip fits snugly and aligns with the surrounding flooring.
Installing a transition strip may take some time and patience, but the result is a polished and functional hardwood floor transition that enhances the overall look and feel of your home.
Read Also: Baseboard Transitions for Different Floor Heights
Dealing With Height Differences
When transitioning hardwood floors from a room to a hallway, dealing with height differences is crucial to ensure a seamless and visually appealing transition. Addressing height variations between the two surfaces is essential for both safety and aesthetics. Here are some effective methods to handle height differences when transitioning hardwood floors.
Leveling The Floor Surface
Before installing transition strips, it’s important to ensure that the floor surface is level. Use a self-leveling compound to fill in any gaps or inconsistencies in the subfloor. This will create a smooth and even surface for the transition strips to sit on, preventing any tripping hazards and creating a polished look.
Using Ramp Transition Strips
Ramp transition strips are an excellent solution for addressing height differences between rooms and hallways. These strips gradually slope from one surface to the other, effectively bridging the gap while providing a smooth transition. They come in a variety of materials and finishes, allowing you to choose the best option to complement your hardwood floors.
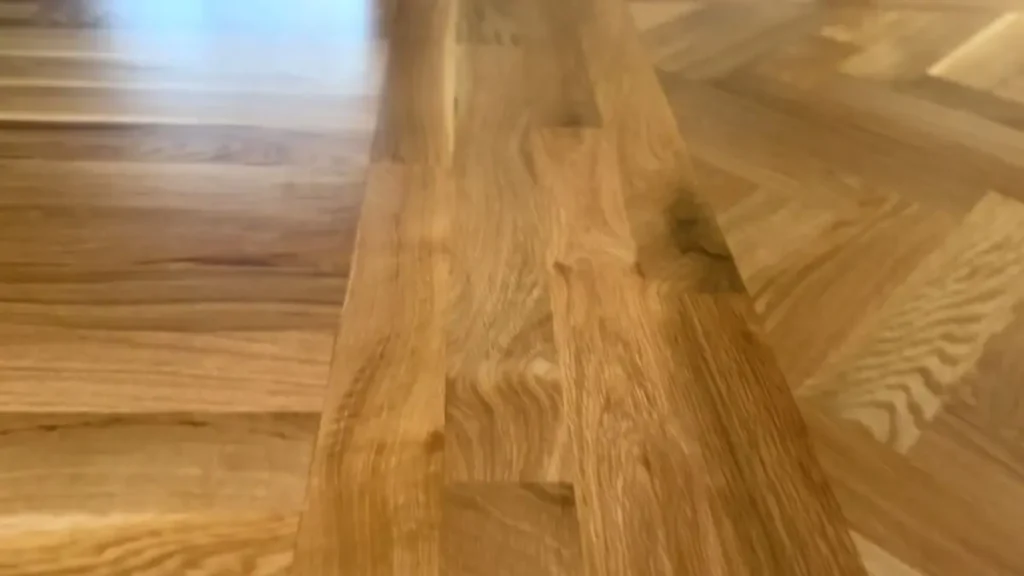
Creating A Step Transition
For larger height differences, creating a step transition is an effective solution. This involves building up the subfloor in the transition area to create a small step that gradually slopes down to the new surface. The top of the step can then be covered with a matching hardwood plank or a ramp transition strip for a cohesive look.
Conclusion
As you can see, transitioning hardwood floors from a room to a hallway can be a bit tricky. However, with the right tools, knowledge, and patience, you can achieve the perfect look you desire. Remember to measure carefully, use the right tools, and take your time to ensure a seamless transition.
With these tips in mind, you can enjoy a beautiful and functional hardwood floor transition that will last for years to come. Happy renovating!