
To fill gaps around window frames, use caulking or weatherstripping for a seamless finish. Proper sealing prevents drafts and energy loss.
Windows are essential features in a home that provide natural light and ventilation. However, gaps around window frames can lead to energy inefficiency and air leaks. By filling these gaps with the right materials, you can improve the comfort and energy efficiency of your space.
We will explore the different methods and materials available for filling gaps around window frames, ensuring a snug and well-insulated environment in your home. Let’s dive into the details of how to tackle this common issue effectively and efficiently.
The Importance of Filling Gaps Around Window Frames
Properly sealing gaps around window frames is essential for maintaining the comfort and efficiency of your home. These seemingly small openings can create a multitude of issues if left unaddressed, ranging from higher energy bills to potential structural damage over time. Understanding why filling these gaps matters can help you take proactive steps to protect your living space.
Improved Energy Efficiency
Gaps around window frames act as gateways for air leaks, allowing warm air to escape during the winter and cool air to seep out during the summer. This forces your heating and cooling systems to work harder to maintain the desired temperature, resulting in higher energy consumption and increased utility bills. By filling these gaps, you create a tighter seal that helps maintain consistent indoor temperatures and reduces energy usage, ultimately lowering costs.
Enhanced Comfort
Drafts caused by unsealed window frames can make rooms feel chilly in winter or stiflingly hot during the warmer months. By addressing these gaps, you prevent unwanted airflow, creating a cozier and more comfortable environment for you and your family.
Protection Against Moisture Damage
Unsealed gaps can allow water to seep into your walls during rainstorms or when snow melts. Over time, this moisture can lead to mold, mildew, and even structural deterioration. Properly filling gaps around window frames protects your home’s interior and ensures the longevity of your windows and surrounding structures.
Noise Reduction
Filling gaps also helps to reduce noise pollution. Openings around windows can allow outside sounds like traffic or construction noise to infiltrate your home. A well-sealed window frame acts as a barrier, maintaining a quieter, more peaceful indoor environment.
Aesthetic and Structural Integrity
Gaps not only compromise performance but can also detract from the overall appearance of your home. Sealing them ensures a clean and polished look, while also preventing insects and pests from finding their way inside. It contributes to the structural integrity of your home by closing off potential weak spots.
Identifying and Addressing Gaps Around Window Frames
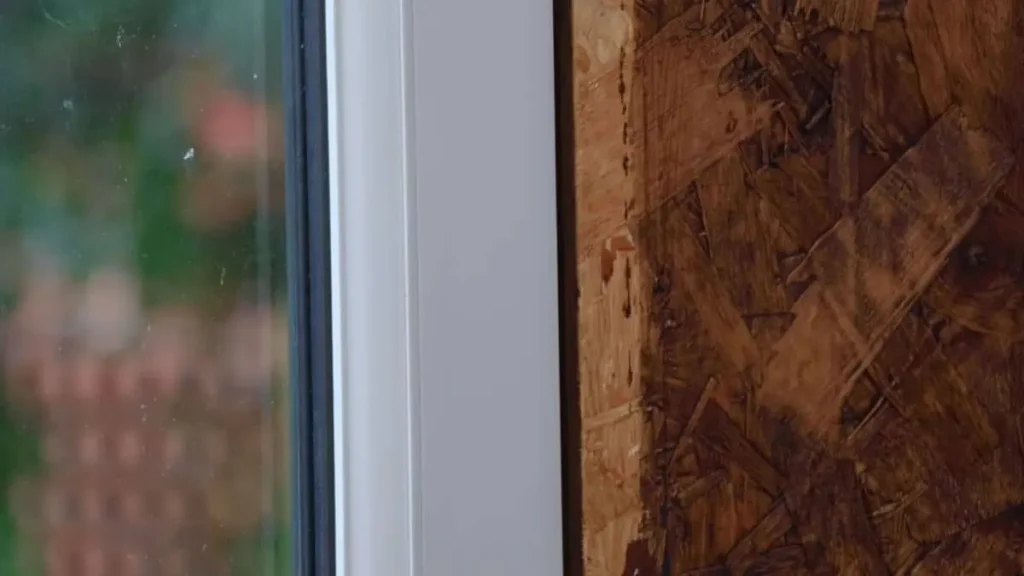
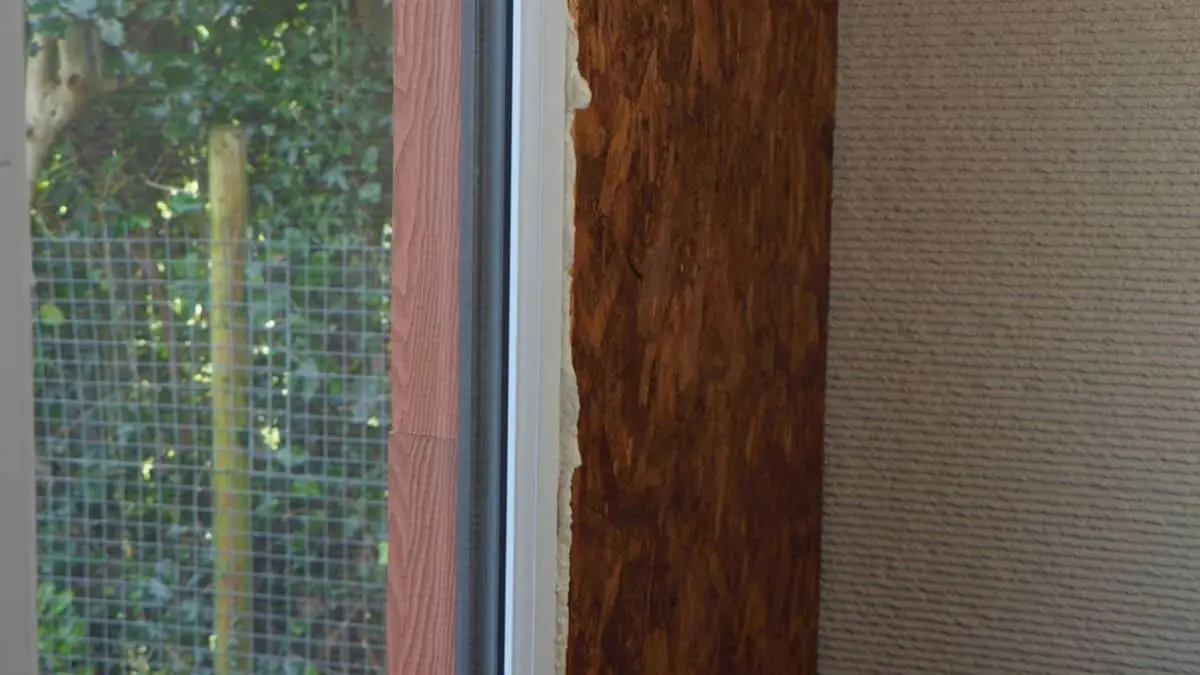
Identifying Gaps
When identifying gaps around window frames, start by inspecting them closely. Look for visible cracks, holes, or spaces where the frame meets the wall or where parts of the frame connect. Pay special attention to corners and joints, as these areas are more prone to wear and tear.
Checking for Air Leaks
Next, check for any air leaks that may be present around the window frames. A simple way to do this is by running your hand along the edges of the frame to feel for drafts. Alternatively, you can use a lit candle or incense stick—move it slowly around the frame and watch for flickering or smoke movement, which indicates an air leak. Conduct this test on a windy day or when there’s a significant temperature difference between indoors and outdoors for better results.
Testing with Light or Sound
If the gaps are too small to notice visually, try turning off the lights inside the room during the day and looking for light seeping through the edges of the window frame. For a quieter method, listen for outdoor noise that may seem unusually loud, which could signal an air passage.
Marking the Problem Areas
Once gaps or leaks are identified, mark them clearly with tape or a pencil so you can easily find and address them later. Prioritize the larger gaps first, as these contribute most to energy loss and drafts.
Tools and Techniques for Filling Gaps
After identifying the gaps, you can move on to sealing them. Use weatherstripping for movable parts of the window, like sashes, and caulk for fixed joints or cracks. Make sure the materials are suitable for your window type and the weather conditions in your region.
Choosing The Right Materials
When it comes to filling gaps around window frames, choosing the right materials is crucial to ensure proper insulation and energy efficiency. The right materials can make a significant difference in preventing drafts and reducing energy costs. Let’s explore the types of sealants and weatherstripping options that can effectively fill gaps and improve the overall performance of your windows.
Types Of Sealants
Sealants play a critical role in sealing the gaps around window frames, preventing air and moisture infiltration. There are various types of sealants available, each with its own set of characteristics and applications. Here are some commonly used sealants:
- Silicone Sealants: Known for their flexibility and durability, silicone sealants are ideal for outdoor applications and areas prone to moisture exposure.
- Acrylic Latex Sealants: These sealants are paintable and easy to apply, making them suitable for indoor use and minor gap filling.
- Polyurethane Sealants: With excellent adhesion and weather resistance, polyurethane sealants are suitable for both indoor and outdoor applications, providing a strong barrier against air and water infiltration.
Weatherstripping Options
Weatherstripping is another essential component for filling gaps around window frames, helping to create a tight seal and improve energy efficiency. Different weatherstripping options are available to cater to various window styles and gap sizes. Here are some common weatherstripping options:
- Felt Weatherstripping: Easy to install and cost-effective, felt weatherstripping is suitable for sealing small to medium-sized gaps, providing a cushioned barrier against drafts.
- Foam Tape Weatherstripping: This self-adhesive weatherstripping is effective for sealing irregular or uneven gaps, offering excellent insulation properties.
- V-Seal Weatherstripping: Designed to fit into the grooves of double-hung or sliding windows, V-seal weatherstripping provides a tight seal and is resistant to compression.
Preparing Window Frames for Filling Gaps
Proper preparation is the key to achieving a flawless and long-lasting seal around window frames. Here’s a step-by-step guide to ensure your surface is ready before you start filling any gaps:
Clean the Surrounding Area
Begin by thoroughly cleaning the area around the window frame. Use a soft brush or vacuum with a nozzle attachment to remove dust, dirt, and debris. For stubborn grime, a damp cloth with a mild detergent can help. Ensuring a clean surface is essential for the sealant to adhere properly and form a tight bond.
Remove Old Caulk or Sealant
If there’s old caulk or sealant present, use a utility knife or a caulk removal tool to carefully scrape it away. This step is crucial, as leftover residue can prevent the new sealant from sticking effectively. Take care to avoid damaging the window frame or surrounding wall while removing the old material.
Inspect for Damage or Weakness
Once the area is clear, inspect the window frame and edges for any signs of damage, such as cracks or rotting wood. Any issues should be addressed prior to sealing, as underlying structural problems can compromise the durability of your work.
Tape Off the Edges
To achieve a clean and professional finish, apply painter’s tape along the edges of the window frame. This will help you create a neat line when applying the sealant while also preventing accidental smudges on the window or surrounding walls.
Ensure a Dry Surface
Before filling any gaps, make sure the area is completely dry. Moisture can interfere with the adhesion of the sealant, so it’s essential to wait for the surface to be dry to the touch, particularly after cleaning.
Applying the Sealant for Filling Gaps
Sealing gaps around window frames is an essential step to improve energy efficiency, prevent drafts, and enhance the overall appearance of your home. Applying sealant may seem intimidating, but with the right tools and a little guidance, the process is straightforward and rewarding. Follow these steps to ensure a clean and durable seal:
1. Gather Your Tools and Materials
Before starting, make sure you have everything you need. Essential items include a high-quality sealant (silicone or acrylic-based, depending on your needs), a caulk gun, a utility knife, cleaning supplies, and a damp cloth. Choosing the right sealant is crucial—look for options labeled as weather-resistant and suitable for windows.
2. Prepare the Surface
Clean the area around the window frame thoroughly to remove dust, debris, and any old, peeling sealant. This step ensures that the new sealant bonds properly to the material. Use a utility knife to scrape away old sealant and a damp cloth to wipe down the surface, leaving it smooth and dry.
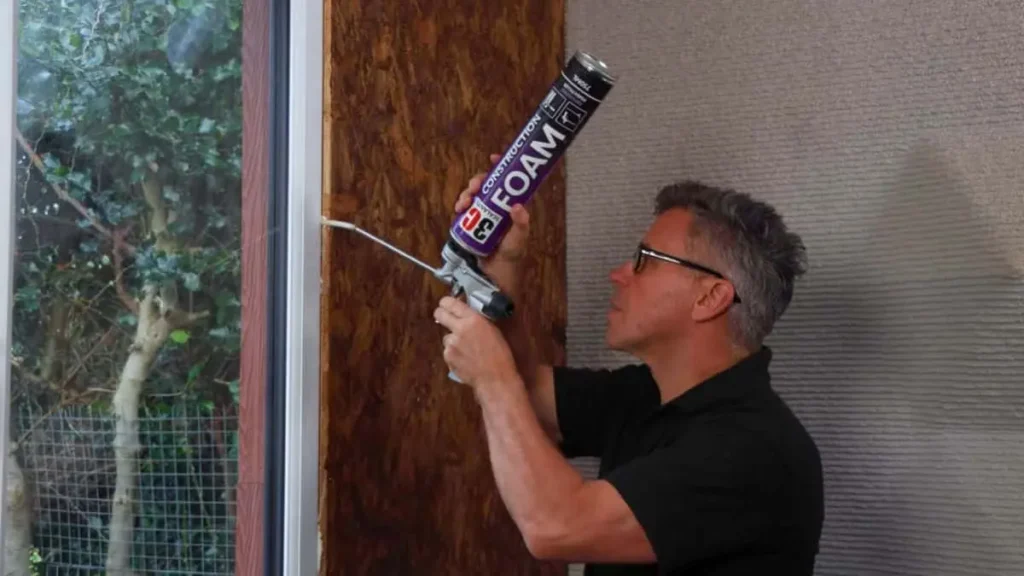
3. Apply the Sealant
Load the sealant tube into the caulk gun and cut the nozzle tip at a 45-degree angle to match the width of the gap you’re sealing. Start at one corner of the window frame and apply a consistent bead of sealant along the gap, moving steadily to avoid uneven lines. If needed, use a gloved finger or a caulking tool to smooth the sealant for a professional finish.
4. Allow to Cure
After application, give the sealant the recommended time to cure and set. This usually takes 24-48 hours but may vary depending on the product used. Avoid touching or disturbing the sealant during this time to ensure a strong and lasting seal.
Installing Weatherstripping Around Window
Weatherstripping is an easy and effective solution for preventing drafts and maintaining a comfortable indoor environment. Installing it around window frames helps seal gaps, improving energy efficiency and lowering utility costs. Follow these steps to successfully install weatherstripping:
1. Gather Your Materials and Tools
Before starting, ensure you have the appropriate weatherstripping material for your window type, such as foam tape, V-strip, or rubber gaskets. You will also need tools like a utility knife, measuring tape, scissors, and a clean rag. Having everything you need on hand will make the process quicker and more efficient.
2. Clean the Window Frame
For the weatherstripping to adhere properly, the window frame must be clean and dry. Use a damp rag to remove dirt, dust, and debris. Afterward, wipe the frame with a dry cloth to ensure no moisture remains.
3. Measure and Cut the Weatherstripping
Use a measuring tape to determine the precise length of the gaps you need to seal. Cut the weatherstripping material accordingly with a pair of scissors or a utility knife. Make sure your cuts are straight and precise to ensure a snug fit.
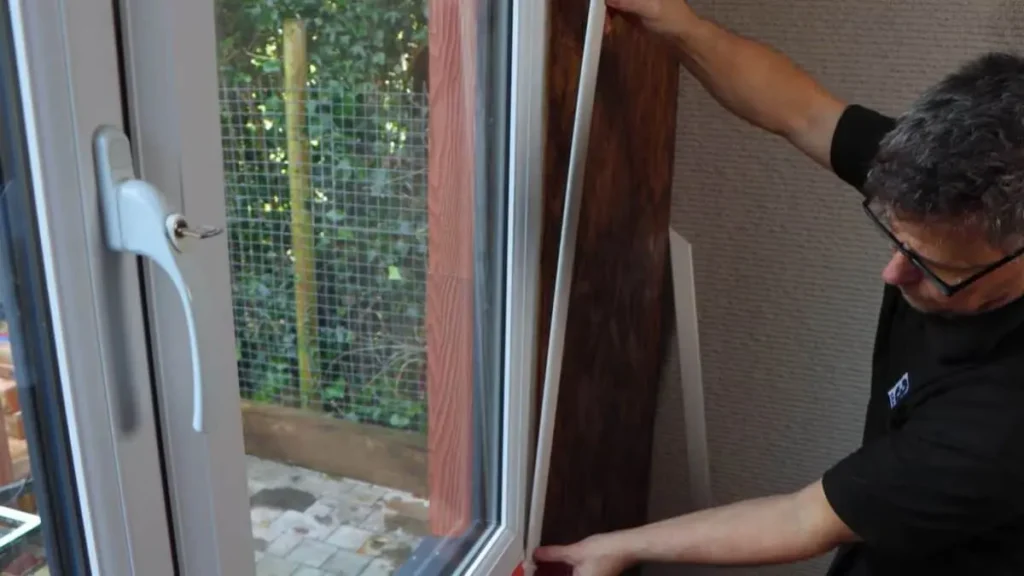
4. Apply the Weatherstripping
Peel off the backing of the adhesive strip (if your material includes it) and carefully align the weatherstripping along the gap. Press it firmly in place to ensure proper adhesion. For non-adhesive weatherstripping, use nails or staples to secure it wherever necessary.
Recommendation for you: Best Adhesive for Weather Stripping
5. Test and Adjust
After installation, open and close the window to ensure it operates smoothly without interference. If needed, adjust or trim the weatherstripping to achieve the perfect fit.
6. Inspect and Maintain
Once the weatherstripping is installed, periodically check it for wear and tear. Replace any sections that have degraded over time to maintain the effectiveness of the seal.
Installing weatherstripping is an inexpensive and effortless home improvement task that can make a big difference in comfort and energy savings. By following these steps, you’ll create a tighter seal around your windows and keep your home cozy all year round!
Conclusion
Filling gaps around window frames is crucial to prevent air leaks, water damage, and energy waste. It is a simple DIY task that can be done with minimal effort and cost. By following the steps outlined you can ensure that your windows are properly sealed and your home is more comfortable and energy-efficient.
Don’t let these gaps go unnoticed and take action today to improve your home’s insulation. With the right tools and materials, sealing gaps and installing weatherstripping is quick and easy. Enjoy a more comfortable home, lower energy bills, and increased curb appeal with these simple fixes. Get started now! Let’s make your windows more efficient together. Happy DIY-ing!

