
Romex wire is one of the most commonly used electrical cables in residential wiring. It consists of multiple insulated conductors encased in a non-metallic sheath, making it flexible and easy to install. Stripping Romex correctly is essential for making secure electrical connections and preventing damage to the inner wires.
Incorrect stripping can lead to exposed conductors, weakened connections, or electrical hazards. Using the right tools and techniques ensures safety and efficiency when working with Romex. This guide provides a step-by-step process for stripping Romex properly, covering essential tools, common mistakes, and expert tips for clean and precise wire preparation.
What Is Romex Wire?
Romex is a brand name for non-metallic (NM) sheathed electrical cable commonly used in residential wiring. It is manufactured by Southwire and is widely recognized for its ease of use and flexibility.
Composition of Romex Wire
Romex cable consists of three main components:
- Outer Sheathing – A plastic insulation layer that protects the internal conductors. It is color-coded to indicate wire gauge:
- White – 14-gauge wire
- Yellow – 12-gauge wire
- Orange – 10-gauge wire
- Inner Conductors – Typically, Romex contains:
- Hot Wire (Black or Red) – Carries electrical current.
- Neutral Wire (White) – Completes the circuit.
- Ground Wire (Bare Copper or Green) – Provides a safe path for excess current.
- Paper or Nylon Filler – Keeps conductors separated and reduces friction inside the sheath.
Common Uses of Romex Wire
Romex is widely used in residential electrical systems for applications such as:
- Lighting circuits – Powering ceiling lights and wall fixtures.
- Outlet wiring – Connecting standard 120V electrical outlets.
- Appliance connections – Used for devices like refrigerators and dishwashers.
Why Romex Is Popular for Home Wiring
- Easy to install – Its flexible, non-metallic sheath allows for simple routing.
- Cost-effective – More affordable than metal-clad (MC) cable.
- Code compliance – Approved for indoor residential use per National Electrical Code (NEC) standards.
Romex is designed for use inside walls, ceilings, and dry locations but is not suitable for outdoor or wet environments unless enclosed in a conduit. Understanding its structure and applications ensures proper handling and safe electrical installations.
Tools and Materials Needed to Strip Romex
Stripping Romex wire requires the right tools to ensure clean, precise cuts without damaging the internal conductors. Using improper tools can result in nicks, broken wires, or unsafe connections.
Essential Tools
| Tool | Purpose |
| Wire Strippers | Removes insulation from individual conductors without damaging them. |
| Utility Knife | Scores and cuts the outer sheathing cleanly. |
| Lineman’s Pliers | Helps grip and pull off the outer sheath after scoring. |
| Cable Ripper | Specifically designed for removing the outer Romex sheath quickly. |
| Electrical Tape | Optional for insulating minor sheath damage or securing connections. |
| Safety Gloves & Goggles | Protects hands from cuts and prevents debris from entering the eyes. |
Choosing the Right Wire Stripper
Not all wire strippers are designed for Romex. Selecting the right type ensures efficiency and prevents conductor damage.
- Manual Wire Strippers – Have notches for different wire gauges to strip individual conductors precisely.
- Automatic Wire Strippers – Clamp onto the wire and strip the insulation effortlessly, reducing hand fatigue.
- Romex-Specific Strippers – Some tools have built-in slots for stripping both the sheath and the internal conductors.
How to Strip Romex: Step-by-Step Guide
Stripping Romex correctly ensures safe and efficient electrical connections. The process involves removing the outer sheathing and stripping the individual conductors without damaging them. Using proper techniques prevents conductor nicks, which can weaken the wire and lead to poor electrical performance or safety hazards.
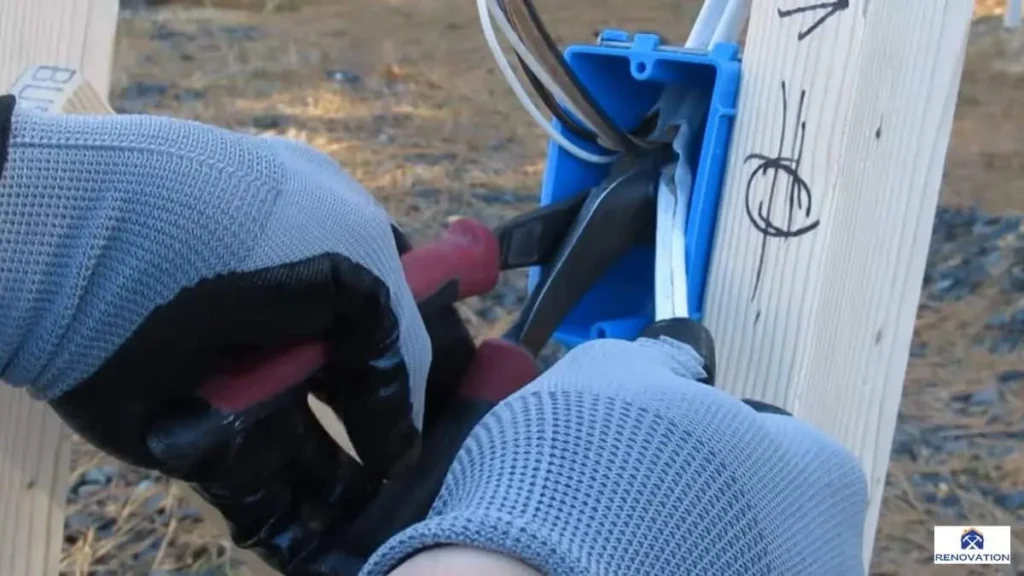
Step 1: Cut the Outer Sheathing
Before stripping Romex, determine how much sheath needs to be removed. A standard practice is to strip about 6 to 8 inches of the outer sheath to allow enough exposed wire for proper connections.
Place the Romex cable on a stable surface and hold it firmly. Using a utility knife or cable ripper, score the outer sheath by making a shallow cut along its length. It is crucial to apply just enough pressure to slice the plastic covering without cutting too deep, as this could damage the internal wires. A cable ripper is a specialized tool that simplifies this process by automatically cutting only the sheath without touching the conductors.
If using a utility knife, avoid pressing too hard. A slight bend in the cable will cause the cut to widen, making it easier to peel the sheath away without cutting into the inner insulation. After scoring the sheath, run a finger along the cut to ensure the conductors remain undamaged before proceeding to the next step.
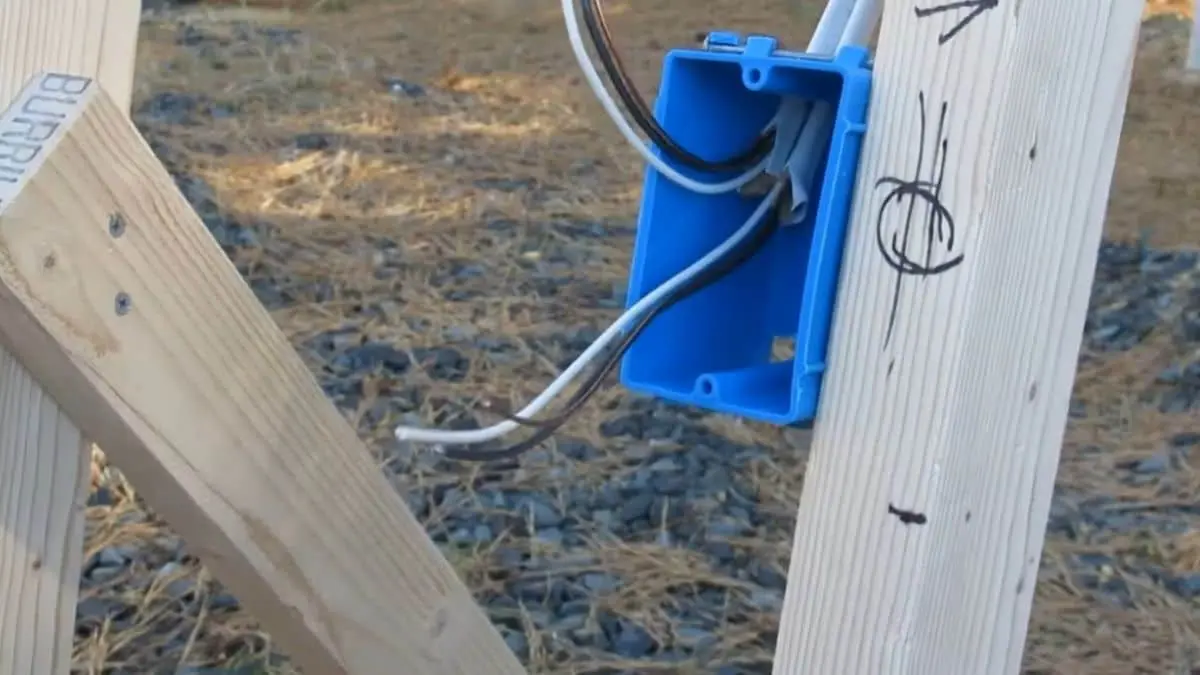
Step 2: Separate and Expose the Conductors
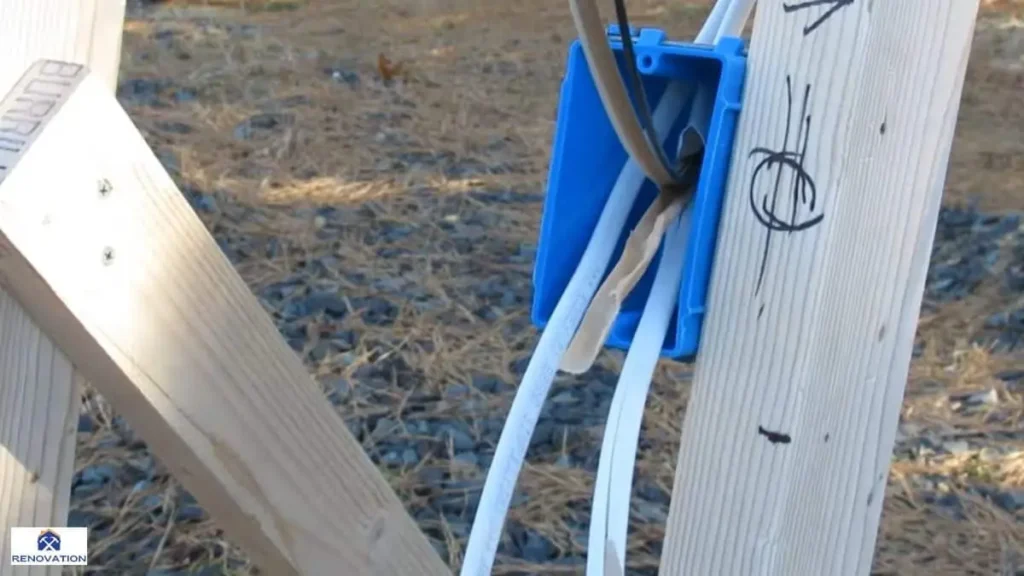
Once the sheath is cut, grip the outer covering near the scored section and gently pull it apart. If using a utility knife, bending the cable slightly will help split the sheath along the scored line. Peel the sheath back to expose the individual wires inside. Some Romex cables include a paper or nylon filler that should be removed entirely to prevent interference with electrical connections.
Inspect the conductors for any signs of damage. If any insulation is nicked or partially cut, the wire may need to be trimmed and re-stripped. Damaged insulation can lead to short circuits or fire hazards. The exposed conductors should be clean and intact, with their insulation fully covering the copper wire except for the areas that will be stripped in the next step.
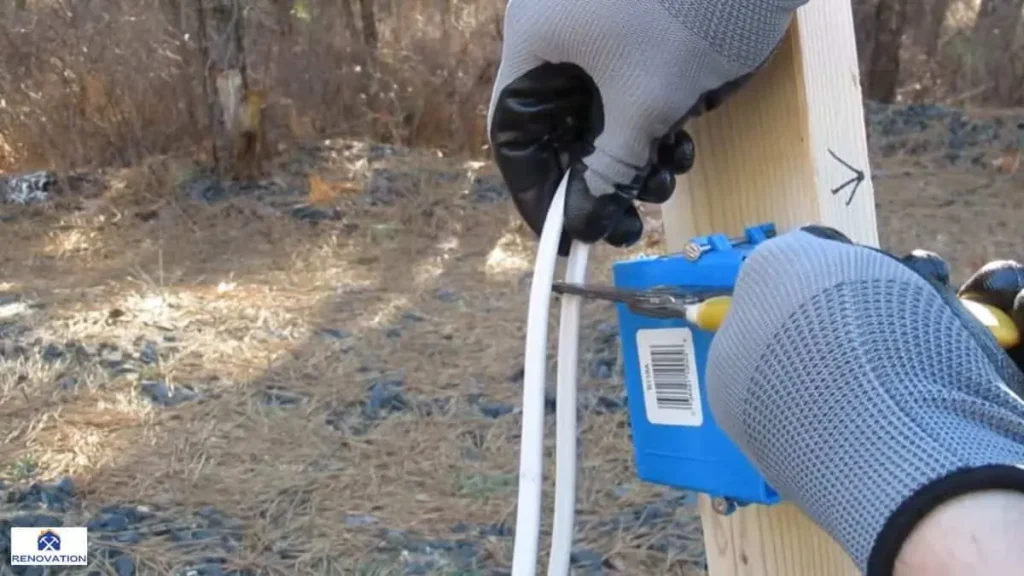
Step 3: Strip the Individual Conductors
With the conductors exposed, it’s time to strip the insulation from each wire. The amount to strip depends on the type of connection being made. For standard wire nuts or terminal screws, stripping ¾ to 1 inch of insulation is usually sufficient.
Select a wire stripper with a notch that matches the wire gauge. Common Romex wire gauges include 14 AWG (white sheath) and 12 AWG (yellow sheath), so ensure the stripper is set accordingly. Place the wire into the correct notch, grip firmly, and pull the insulation away in one smooth motion. Avoid twisting the wire while stripping, as this can cause internal breakage.
Once stripped, inspect the copper conductor to ensure no strands are cut or weakened. The exposed wire should be clean and smooth, with no signs of scoring or damage. If needed, use lineman’s pliers to straighten any bent ends for easier connections.
Final Inspection and Best Practices
After stripping Romex, check that all conductors are properly exposed and intact. Avoid stripping more insulation than necessary, as excessive exposed wire can increase the risk of accidental contact. Properly disposing of stripped insulation and sheath fragments keeps the workspace clean and safe.
Recommended For You: Running Romex Through Floor Joists
Safety Precautions When Working with Romex
Handling Romex wire requires proper safety measures to prevent electrical hazards, injuries, or code violations. Whether you are stripping, installing, or connecting Romex, following these essential precautions ensures a safe and efficient wiring process.
Turn Off Power at the Breaker
Before working with any electrical wiring, always shut off power at the circuit breaker. Even if the Romex cable is not currently connected, accidental contact with live wires in an electrical box can lead to serious shocks. After turning off the breaker, use a non-contact voltage tester to confirm that the wires are de-energized before proceeding.
Wear Protective Gear
Using the right safety gear minimizes the risk of injury. Insulated gloves protect against accidental shocks, while safety goggles prevent debris from entering the eyes when stripping the sheath or cutting wires. If working in a tight space or near exposed wiring, wear long sleeves to reduce skin exposure.
Avoid Overbending or Damaging Wires
Romex wire has a limited bending radius, and excessive force can weaken the copper conductors inside. Overbending may cause internal fractures, reducing the wire’s ability to carry current safely. When routing Romex through walls or junction boxes, follow National Electrical Code (NEC) guidelines to prevent unnecessary strain.
Follow Proper Wire Sizing and Ampacity Ratings
Using the wrong gauge of Romex for a circuit can lead to overheating and potential fire hazards. 14 AWG Romex is rated for 15-amp circuits, while 12 AWG Romex is rated for 20-amp circuits. Always match the wire size to the circuit’s amperage requirements and avoid overloading a circuit beyond its capacity.
Secure and Protect Exposed Wiring
After stripping and connecting Romex, ensure the wires are properly secured. Inside electrical boxes, leave enough slack for connections but avoid excessive looping or crowding. Staples or clamps should hold Romex in place without pinching or crushing the cable, which could damage the insulation.
FAQs About Stripping Romex Wire
Can you strip Romex wire with a utility knife?
Yes, a utility knife can be used to strip Romex wire, but it requires careful handling to avoid cutting too deeply and damaging the insulation on the inner conductors. A cable ripper is a safer and more efficient tool for removing the outer sheath.
How much insulation should you strip from Romex conductors?
The standard amount of insulation to strip from Romex conductors is ¾ to 1 inch, depending on the type of electrical connection. Too much exposed copper increases the risk of short circuits, while too little can lead to weak connections.
What gauge wire is inside Romex cable?
Romex cables typically contain 14 AWG or 12 AWG wires for standard residential circuits. 14 AWG is used for 15-amp circuits, while 12 AWG is used for 20-amp circuits. Heavier gauges, such as 10 AWG, 8 AWG, and 6 AWG, are used for higher-power applications like ovens and air conditioners.
Is it safe to strip Romex while it’s connected to power?
No, it is extremely dangerous to strip Romex while it is live. Always turn off the power at the breaker and verify with a voltage tester before working on any electrical wiring. Stripping live wires can cause electrical shocks or fires.
Can Romex wire be reused after stripping?
Romex wire can be reused if it is undamaged and meets code requirements. However, previously stripped or bent wires may have weakened conductors, so always inspect them for nicks, cuts, or other signs of wear before reuse.
Conclusion
Stripping Romex wire is a fundamental skill for anyone working with residential electrical wiring. Using the right tools, such as a cable ripper and wire strippers, and following a step-by-step process ensures clean and safe insulation removal without damaging the conductors. Avoiding common mistakes—like cutting too deep, using improper tools, or stripping too much insulation—helps prevent electrical hazards and ensures secure connections.
Prioritizing safety precautions, including turning off power at the breaker, wearing protective gear, and following proper wire sizing, is crucial for preventing accidents and ensuring compliance with electrical codes. Understanding best practices for stripping Romex not only enhances the efficiency and longevity of electrical installations but also reduces the risk of faulty wiring and potential fire hazards.

