
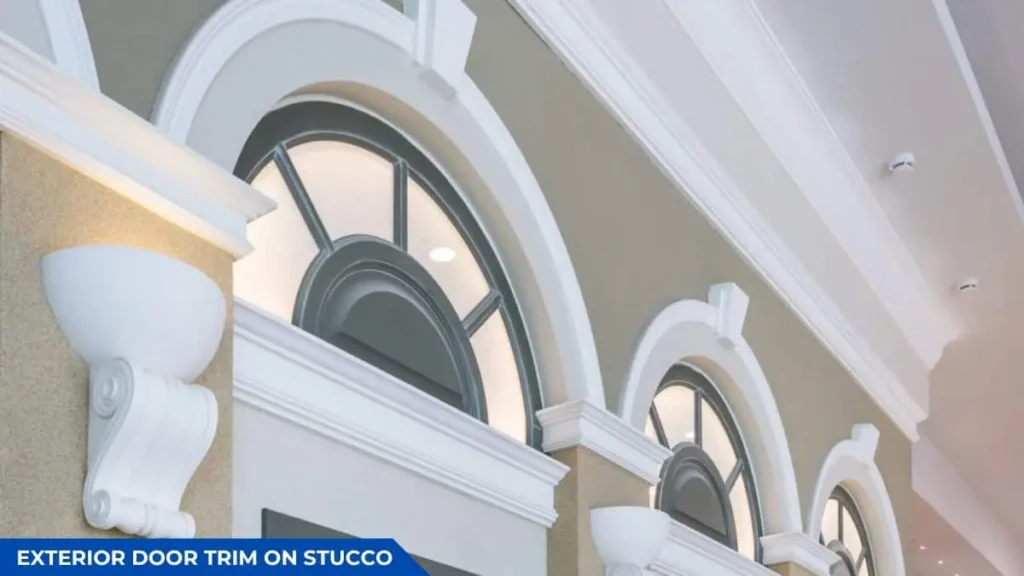
Installing exterior door trim on stucco enhances curb appeal, protects against moisture, and seals gaps that can lead to energy loss. Unlike traditional wood or vinyl siding, stucco presents unique challenges due to its hard, uneven surface. Proper installation requires the right tools, materials, and techniques to ensure durability and a professional finish.
Using construction adhesive, masonry anchors, or a combination of both, exterior trim can be securely attached without damaging the stucco. Choosing the right trim material, such as PVC, composite, fiber cement, or treated wood, prevents issues like warping or rot. Sealing with exterior-grade caulk ensures long-term protection against water infiltration.
This guide provides a step-by-step process to measure, cut, attach, and seal exterior door trim on stucco. Whether using adhesive for a no-drill method or securing trim with masonry screws, this article covers best practices, expert tips, and common mistakes to avoid for a successful installation.
Tools & Materials Needed
Proper tools and materials are essential for securely installing exterior door trim on stucco. Using the right equipment ensures a precise fit, strong adhesion, and weather-resistant finish.
Essential Tools
| Tool | Purpose |
| Circular saw or miter saw | Cuts trim to the required size with clean edges |
| Measuring tape | Ensures accurate measurements for a precise fit |
| Level | Aligns trim properly to avoid uneven installation |
| Drill with masonry bit | Creates pilot holes in stucco for secure attachment |
| Caulk gun | Applies sealant for waterproofing and gap filling |
| Putty knife | Smooths caulk and adhesive for a professional finish |
| Safety gear (gloves, safety glasses, dust mask) | Protects against dust, debris, and sharp tools |
Materials Required
| Material | Purpose |
| Exterior-grade trim (PVC, composite, fiber cement, or treated wood) | Resists moisture, prevents warping, and enhances durability |
| Masonry screws & anchors | Securely fasten trim to stucco for long-term stability |
| Stucco-safe construction adhesive | Provides a strong bond without the need for screws (optional method) |
| Exterior-grade caulk | Seals gaps to prevent water infiltration and energy loss |
| Primer & exterior paint (for wood trim) | Protects wood trim from moisture, UV damage, and rot |
Choosing high-quality materials ensures a long-lasting and visually appealing installation. A combination of adhesive and masonry screws is recommended for maximum durability, especially in areas with extreme weather conditions.
Installing Exterior Door Trim on Stucco: Step-by-Step Guide
The proper installation of exterior door trim on stucco requires careful preparation, precise cutting, and the right attachment method to ensure durability and a professional finish.
Step 1: Preparing the Stucco Surface
A clean and smooth stucco surface ensures a strong bond between the trim and the wall. Dirt, dust, and uneven surfaces can prevent adhesive from sticking properly or cause screws to loosen over time.
Start by cleaning the area around the door frame with a stiff-bristle brush or a shop vacuum to remove dust and debris. If the stucco has an uneven texture, use a grinder or sander to level out high spots where the trim will be attached. This helps create a flush fit.
Inspect the stucco for cracks or damage. Small cracks can be filled with exterior-grade caulk, while larger cracks may require a stucco patching compound. Allow any patchwork to dry completely before proceeding.
To improve adhesion when using construction adhesive, lightly sand the back of the trim and the contact area on the stucco. This roughens the surface, creating a stronger grip.
Step 2: Measuring & Cutting the Trim
Accurate measurements are crucial for a tight, professional-looking installation. Start by measuring the height and width of the door frame, ensuring you leave space for corner joints where necessary.
Using a miter saw or circular saw, cut the trim to size. For a seamless fit at the corners, use a 45-degree miter cut rather than a straight cut. This ensures a clean joint and prevents gaps that can allow moisture infiltration.
Dry-fit the trim pieces around the door before attaching them. This helps confirm proper alignment and reveals any adjustments needed before securing them in place. If necessary, make small cuts to refine the fit.
Step 3: Attaching the Trim to Stucco
There are two main methods to attach exterior door trim to stucco:
- Using construction adhesive (No drilling required, suitable for lightweight trim)
- Using masonry screws & anchors (Drilling required, best for heavy or long-term installations)
Using Construction Adhesive (No Drilling Method)
This method is ideal for PVC, composite, or lightweight wood trim. It eliminates the need for drilling and prevents damage to the stucco surface.
- Apply a continuous bead of stucco-safe construction adhesive to the back of the trim, focusing on the center and edges for even coverage.
- Press the trim firmly against the stucco, ensuring proper alignment with the door frame. Hold it in place for 30–60 seconds to allow initial adhesion.
- Use temporary bracing or painter’s tape to secure the trim while the adhesive cures. Check the manufacturer’s instructions for drying time (typically 24–48 hours).
- Once the adhesive has set, apply exterior-grade caulk along the edges where the trim meets the stucco to seal gaps and prevent water infiltration.
This method works well for trim in areas with minimal exposure to heavy rain or strong winds. However, for maximum durability, particularly in extreme climates, using masonry screws and anchors is recommended.
Using Masonry Screws & Anchors (Drilling Method for Secure Attachment)
For a permanent and weather-resistant installation, especially for heavier trim materials like wood or fiber cement, masonry screws and anchors provide the strongest hold.
- Hold the trim in place and mark pilot hole locations about 12–16 inches apart along each trim piece. Ensure holes are positioned at least 1 inch from the edges to prevent cracking.
- Using a masonry drill bit, drill holes through the trim and into the stucco ¼–½ inch deep, depending on the anchor size.
- Insert masonry anchors into the holes to provide a secure base for the screws.
- Position the trim back on the wall and drive masonry screws through the pre-drilled holes into the anchors. Tighten them just enough to secure the trim without cracking it.
- Apply exterior-grade caulk along all edges of the trim to seal joints and prevent moisture damage.
For added protection, use corrosion-resistant screws to prevent rust and deterioration over time.
For a cohesive exterior finish, matching your door trim installation with your window trim creates a seamless look. If you’re planning to upgrade both, check out our detailed guide on installing exterior window trim on stucco for step-by-step instructions, best materials, and expert tips to ensure a professional and durable finish.
Sealing & Finishing Touches
Proper sealing and finishing are crucial for protecting the trim from moisture, preventing cracks, and enhancing curb appeal. Without proper sealing, gaps between the trim and stucco can allow water infiltration, leading to rot, mold, or structural damage over time. Whether using PVC, composite, fiber cement, or wood trim, applying caulk and paint ensures long-term durability and a polished look.
Sealing the Trim for Weatherproofing
Sealing the trim prevents water damage, drafts, and potential gaps that can weaken the installation. Using high-quality exterior-grade caulk creates a strong, weatherproof barrier between the trim and stucco.
First, inspect the gaps around the trim where it meets the stucco. Even a small gap can allow moisture to seep behind the trim, which can cause deterioration over time. Choose a paintable, waterproof, and flexible exterior caulk that is designed for stucco and trim applications.
Using a caulk gun, apply a continuous bead of caulk along all edges where the trim meets the stucco and where the trim pieces connect. Keep steady pressure on the gun to ensure even application. For larger gaps, use a backer rod before applying caulk to prevent excessive shrinkage and cracking.
Immediately after applying the caulk, smooth it with a caulk finishing tool or a damp finger to create a clean, professional finish. This step ensures proper adhesion and prevents uneven drying. Allow the caulk to fully cure according to the manufacturer’s instructions, typically 24 hours, before painting or sealing.
Proper sealing not only improves moisture resistance but also enhances energy efficiency by preventing air leaks around the door frame.
Painting or Finishing the Trim
Applying paint or a protective finish enhances the trim’s appearance, UV resistance, and weather durability. The finishing method depends on the trim material:
- PVC or Composite Trim: These materials are often pre-finished, but painting is optional for aesthetic purposes. Use exterior-grade acrylic latex paint designed for non-porous surfaces. Lightly sanding the surface before painting helps improve adhesion.
- Fiber Cement Trim: This material requires priming before painting. Use a high-quality exterior primer and 100% acrylic latex paint to ensure long-lasting protection.
- Wood Trim: Unfinished wood must be primed and painted or sealed to prevent warping and rot. Apply an oil-based or exterior-grade primer, followed by two coats of exterior paint or stain for maximum protection.
Before painting, ensure the caulk has fully dried. Use a paintbrush or paint sprayer for an even finish, applying two thin coats instead of one thick coat to prevent drips or uneven drying. Allow the first coat to dry completely before applying the second.
If using a stain instead of paint, apply a clear exterior sealant after staining to enhance protection against moisture and UV rays. This is especially important for natural wood trims.
Once painted or sealed, allow the trim to cure before exposing it to heavy rain or extreme weather conditions. This final step extends the lifespan of the trim and maintains its visual appeal for years to come.
Recommended For You: Sealing the Bottom of an Exterior Door
Expert Tips for a Professional Finish
Achieving a professional-grade exterior door trim installation on stucco requires precision, proper material selection, and attention to detail. Minor mistakes can lead to gaps, poor adhesion, or water infiltration, which may cause long-term damage. Following these expert recommendations ensures a clean, durable, and aesthetically pleasing result.

Choose the Right Trim Material
Selecting the appropriate trim material is crucial for durability and weather resistance.
- PVC or Composite Trim: Best for low maintenance and moisture resistance. These materials do not rot, warp, or require frequent repainting.
- Fiber Cement Trim: Highly durable and resistant to extreme weather but requires priming and painting.
- Wood Trim: Traditional and visually appealing but requires sealing and regular maintenance to prevent deterioration.
Use High-Quality Adhesive and Fasteners
For strong adhesion, use a premium-grade polyurethane construction adhesive that bonds well to stucco. If using mechanical fasteners, select corrosion-resistant masonry screws and anchors to ensure long-term structural integrity.
Prevent Moisture Penetration with Proper Sealing
Water infiltration is a common issue in exterior trim installations. To avoid this:
- Apply a continuous bead of caulk along all trim edges to seal any gaps.
- Use a flexible, paintable, and waterproof exterior caulk that expands and contracts with temperature changes.
- Inspect all seams after caulking to ensure no gaps or weak spots remain.
Ensure Accurate Measurements and Clean Cuts
A tight fit between trim pieces minimizes gaps and enhances the finished look.
- Use a miter saw for precise 45-degree cuts at corners.
- Double-check measurements before cutting to avoid material waste.
- Sand edges slightly to ensure a smooth, professional joint.
Prime and Paint for Long-Lasting Protection
Applying primer and paint ensures the trim withstands UV exposure, moisture, and temperature fluctuations.
- Use 100% acrylic latex exterior paint for the best durability.
- Apply two thin coats instead of one thick coat to prevent drips and uneven coverage.
- Allow proper drying time between coats to ensure a smooth, even finish.
Maintain a Clean Work Area
Dust and debris can affect adhesion and paint application. Wipe down the stucco surface before installing the trim and keep tools clean for precise application.
Allow Sufficient Drying and Curing Time
Rushing the process can lead to poor adhesion and early failure. Follow the manufacturer’s instructions for:
- Adhesive curing time (typically 24–48 hours).
- Caulk drying time before painting.
- Paint curing time before exposing to harsh weather conditions.
A professional finish comes from careful execution, quality materials, and proper sealing. Following these expert tips ensures a durable, weatherproof, and visually appealing exterior door trim installation on stucco.
FAQs for Installing Exterior Door Trim on Stucco
What is the best way to attach exterior door trim to stucco?
The best way to attach exterior door trim to stucco is by using either construction adhesive for a no-drill method or masonry screws and anchors for a secure, long-lasting hold. Adhesive is ideal for lightweight trim, while screws provide extra stability for heavier materials.
Can I install exterior trim on stucco without drilling?
Yes, you can install exterior door trim on stucco without drilling by using a high-strength polyurethane construction adhesive. Apply the adhesive to the back of the trim, press it firmly against the stucco, and secure it with temporary supports until fully cured.
What type of caulk should I use for sealing exterior door trim on stucco?
Use a paintable, waterproof, exterior-grade caulk designed for stucco and trim applications. Silicone or polyurethane-based caulks provide the best weather resistance and flexibility to accommodate temperature changes.
Do I need to paint the exterior door trim after installation?
Yes, painting exterior door trim is recommended for weather protection and aesthetics. Use a high-quality acrylic latex exterior paint and apply at least two coats for durability.
How long does construction adhesive take to dry on stucco?
Most construction adhesives take 24 to 48 hours to fully cure on stucco, depending on the brand and weather conditions. Using temporary supports during curing ensures a strong bond.
What is the most durable material for an exterior door trim?
PVC, composite, and fiber cement are the most durable materials for exterior door trim on stucco. They resist moisture, rot, and insect damage better than traditional wood trim.
Conclusion
Installing exterior door trim on stucco requires the right materials, proper preparation, and precise installation techniques to achieve a professional, long-lasting finish. Whether using construction adhesive for a no-drill application or masonry screws and anchors for a more secure attachment, ensuring a strong bond and weatherproof seal is essential for durability.
Sealing and painting the trim not only enhances its appearance but also protects it from moisture, UV exposure, and temperature fluctuations. Using high-quality caulk, paint, and trim materials ensures the installation withstands the elements and remains maintenance-free for years.
Following expert tips—such as accurate measurements, proper caulking, and sufficient curing times—helps homeowners achieve a clean, seamless look that complements their exterior. Whether you’re tackling this as a DIY project or working with a professional, careful execution will result in a polished and durable trim installation.
A well-installed exterior door trim not only enhances curb appeal but also adds structural protection, making it a valuable upgrade for any stucco home.