
To replace a window without removing the siding, you can use a pocket replacement window installation method. This involves cutting the window opening and installing the new window without disturbing the existing siding.
It is a cost-effective and efficient way to update your windows without the need for extensive siding work. By following the steps outlined for a pocket replacement window installation, you can achieve a seamless and professional-looking window replacement project. This method is especially useful for homeowners who want to upgrade their windows without the hassle of removing and reinstalling siding, saving time and money in the process.
Assessment And Planning
Replacing a window can be a daunting task, especially if you need to remove the siding to get the job done. However, there is a way to replace a window without removing the siding.
Inspecting Existing Window
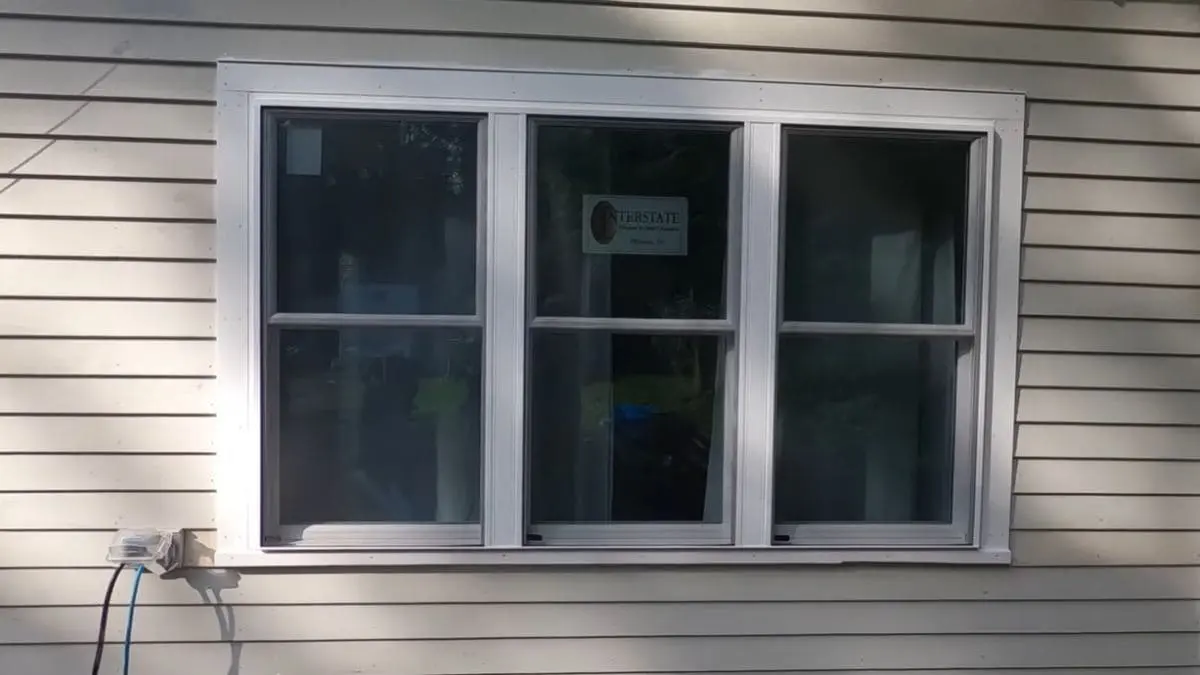
The first step in the assessment and planning phase is to inspect the existing window. Look for any signs of damage or wear and tear. Check the frame, sill, and jamb for any rot or decay. If you find any damage, note it down as you will need to repair it before installing the new window.
Measuring For Replacement Window
The next step is to measure the existing window accurately. Measure the width and height of the window from inside the house. Measure the window frame as well, as this will help you determine the size of the replacement window you need. Note down the measurements as you will need them when you order the replacement window.
Planning For The Replacement Window
Once you have inspected the existing window and measured for the replacement, the next step is to plan for the replacement window. Choose a replacement window that matches the style and design of your existing windows. Consider the material, color, and energy efficiency of the replacement window. You may also want to consider the installation process and any additional features, such as built-in blinds or security features.
Preparing For Installation
Before installing the replacement window, you need to prepare the opening. Remove any old caulking and sealant from the window frame and clean the area thoroughly. Install new flashing around the window opening to prevent water from seeping in. Check the new window to make sure it fits snugly into the opening. Apply a new layer of caulking around the window frame to seal it in place.
Assessing and planning for the replacement window is a crucial step in the process of replacing a window without removing the siding. By inspecting the existing window, measuring for the replacement, planning for the replacement, and preparing for installation, you can ensure a smooth and successful replacement process.
Gathering Materials And Tools
To successfully replace a window without removing the siding, the first step is gathering the necessary materials and tools. This ensures a smooth and efficient process without any hiccups along the way.
Essential Materials
- Replacement window that fits the opening
- Flashing tape to create a waterproof seal
- Insulation foam to fill any gaps
- Caulk for sealing edges
Tools Required
- Measuring tape for accurate dimensions
- Putty knife to remove old caulking
- Screwdriver for removing screws
- Utility knife for cutting materials
Preparing The Work Area
When it comes to replacing a window without removing the siding, proper preparation of the work area is essential to ensure a smooth and successful installation process. This involves clearing the surrounding area and protecting the siding to prevent any damage during the replacement. Let’s take a closer look at how to effectively prepare the work area for this project.
Clearing The Surrounding Area
Before starting the window replacement, it’s important to clear the area around the window to create a clean and accessible workspace. Remove any obstacles such as furniture, plants, or outdoor decor that may obstruct the installation process. Clearing the surrounding area will provide the necessary space for the installation team to work efficiently and safely.
Protecting The Siding
Protecting the siding is crucial to avoid any damage during the window replacement. Cover the siding with protective materials such as cardboard or plywood to shield it from potential scratches, dents, or other forms of damage. Additionally, use painter’s tape to secure the protective materials in place, ensuring that the siding remains fully protected throughout the installation process.
Removing The Old Window
Before you can install a new window without removing the siding, it’s essential to properly remove the old window. This process involves detaching the window frame and cleaning the opening to ensure a secure and seamless replacement.
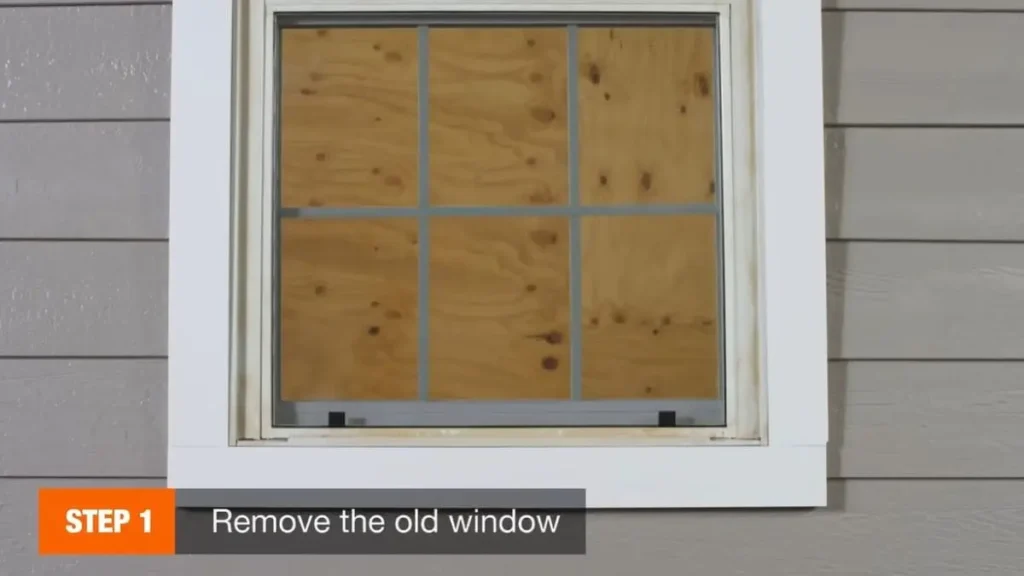
Detaching Window Frame
To begin, carefully pry off the window trim using a pry bar, starting from the top and working your way down. Once the trim is removed, use a utility knife to cut through any caulking or sealant between the window frame and the siding. With the frame exposed, use a reciprocating saw to cut through any screws or nails holding the frame in place. Be cautious to avoid damaging the surrounding siding during this process.
Cleaning The Opening
With the old window frame removed, thoroughly clean the opening to ensure a smooth and secure fit for the new window. Remove any debris, old caulk, or remaining sealant from the opening using a scraper or putty knife. Additionally, inspect the surrounding area for any signs of water damage or rot, addressing any issues before proceeding with the new installation.
Testing And Adjusting
After the window replacement process, it’s crucial to thoroughly test and make any necessary adjustments to ensure proper functionality. This step is essential for guaranteeing the window’s optimal performance and longevity.
Checking For Proper Functionality
Begin by carefully inspecting the newly installed window to ensure it opens and closes smoothly without any obstructions. Check the functionality of the locks and handles to verify they operate correctly. Examine the sealing to ensure there are no gaps or leaks that could compromise the window’s energy efficiency.
Making Necessary Adjustments
If any issues are discovered during the functionality check, it’s important to promptly address them. Adjust the alignment of the window if it’s not closing properly, and make sure the weather-stripping is snug to prevent drafts. Tighten or replace any loose hardware to maintain the window’s security and stability.
Installing The New Window
When it comes to installing the new window, it’s essential to ensure a proper fit, effective sealing, and insulation. Here’s how to do it:
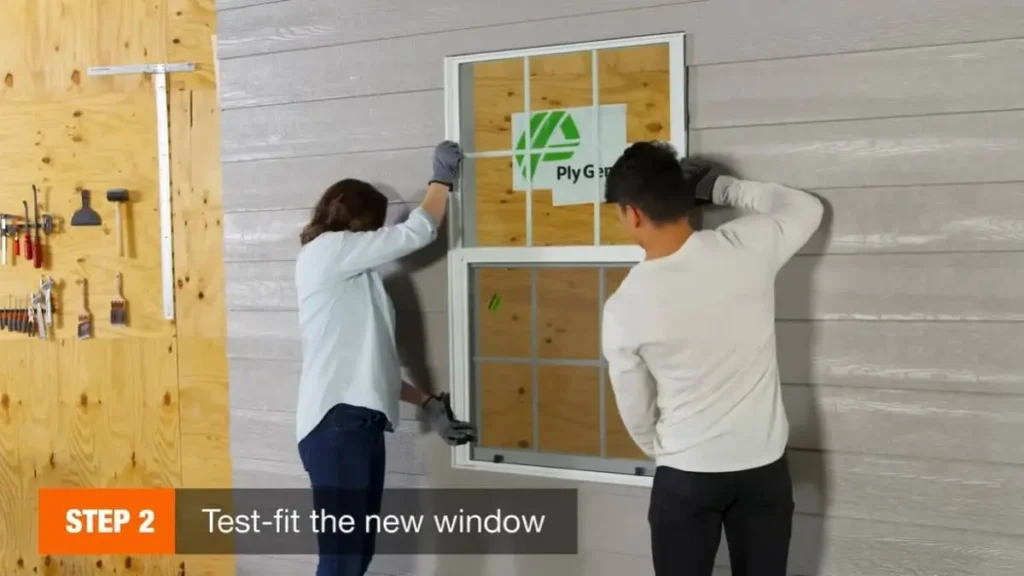
Fitting The Replacement Window
Before installing the new window, ensure that the opening is clean and free from any debris that could affect the fit. Measure the window opening accurately to ensure the replacement window fits snugly. Shims can be used to make adjustments and ensure the window is level and plumb.
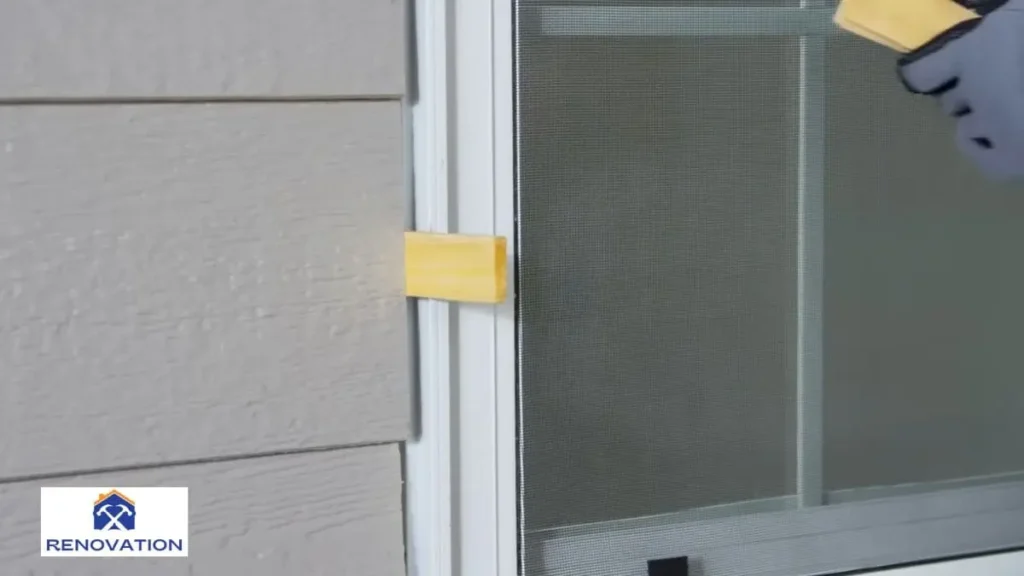
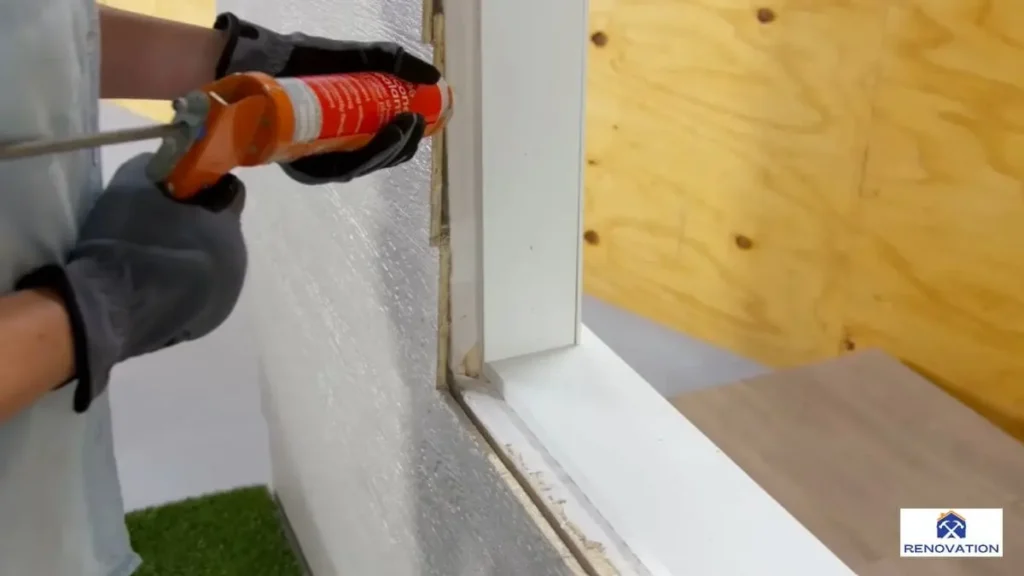
Sealing And Insulating
Once the replacement window is fitted, it’s crucial to seal and insulate effectively. Apply a continuous bead of high-quality silicone caulking around the perimeter of the window to prevent air and water infiltration. Next, use expanding foam insulation to fill any gaps between the window frame and the opening, ensuring a tight seal.
Adding Finishing Touches
Adding finishing touches to a window replacement project is crucial for a polished look and long-term durability. Once the new window is in place and secured, the final steps involve trimming and caulking as well as painting if required.
Trimming And Caulking
After the window is installed, carefully measure and cut the trim to fit around the frame. Use a miter saw for precise angles, and secure the trim with finishing nails. Once the trim is in place, apply a generous bead of high-quality exterior caulk around the edges to seal any gaps and prevent water infiltration.
Painting If Required
If the new trim or any part of the window frame requires painting to match the existing color scheme, use a high-quality exterior paint that is suitable for the material of the window and trim. Ensure the surfaces are clean and dry before applying the paint, and consider applying a primer for better adhesion and longevity of the finish.
Read Also: How to Install Windows With T1-11 Siding
Maintenance Tips
Maintenance is a crucial aspect of ensuring the longevity and efficiency of your windows. By implementing regular cleaning and addressing issues promptly, you can maintain the integrity of your windows and prevent the need for major replacements. Here are some maintenance tips to keep your windows in top condition.
Regular Cleaning And Inspection
Regular cleaning of your windows is essential to prevent dirt and grime buildup, which can lead to deterioration over time. Use a mild soap and water solution to clean the frames and glass, and avoid harsh chemicals that can damage the materials. Additionally, inspect the windows for any signs of wear, such as cracks, gaps, or rot, and address these issues promptly to prevent further damage.
Addressing Issues Promptly
When you notice any issues with your windows, such as drafts, leaks, or damaged components, it’s important to address them promptly. Ignoring these issues can lead to more extensive damage and potentially require a full window replacement. By taking immediate action, you can mitigate the risk of further damage and prolong the lifespan of your windows.
Professional Help Vs. DIY
When considering how to replace a window without removing the siding, it’s essential to weigh the benefits of professional help versus a DIY approach. While hiring experts ensures a seamless and efficient process, tackling the project yourself can be cost-effective but may require more time and effort.
When To Hire A Professional
While replacing a window without removing the siding is possible to do on your own, there are certain situations where it’s best to hire a professional. Here are some scenarios where you may want to consider hiring a pro:
- If you have no experience with home improvement projects
- If you don’t have the necessary tools or equipment
- If you’re dealing with a complex window installation
- If you’re short on time and need the job done quickly
Keep in mind that hiring a professional will likely cost more than doing the job yourself. However, if you’re dealing with any of the above scenarios, it may be worth the investment to ensure the job is done correctly.
DIY Window Replacement Tips
If you’ve decided to tackle the project on your own, here are some tips to help you along the way:
- Start by measuring your window opening carefully.
- Remove the old window and prepare the opening.
- Install the new window from inside the house.
- Make sure the window is level and secure.
- Seal the window to prevent any drafts or leaks.
It’s important to note that DIY window replacement requires some level of skill and experience. If you’re not comfortable with any part of the process, it’s better to call in a professional for help. Additionally, make sure you have all the necessary tools and materials before starting the project.
Conclusion
Replacing a window without removing siding is a manageable task with the right techniques. By following the steps outlined in this guide, you can save time and effort while improving your home’s energy efficiency and aesthetic appeal. Don’t hesitate to tackle this project yourself and enjoy the benefits it brings.
![Tub To Floor Transition [Made Easy]](https://homeremodelingexpert.com/wp-content/uploads/2025/01/Tub-To-Floor-Transition-Made-Easy-150x150.webp)
