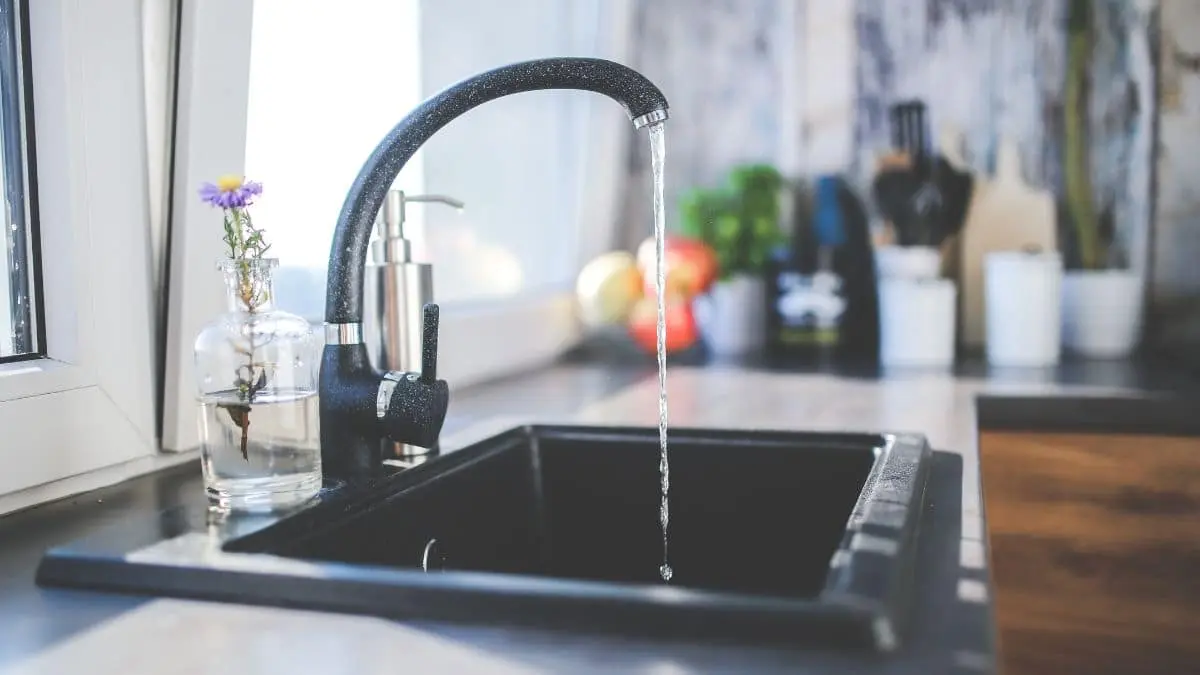
Low water pressure in the kitchen sink after replacing the water heater can be caused by a clogged aerator or a closed shut-off valve. If you have recently replaced your water heater and are experiencing low water pressure in your kitchen sink, there are a few potential causes to consider.
In some cases, the problem may be as simple as a clogged aerator. However, it is also possible that the shut-off valve supplying water to the sink has been accidentally closed during the installation process. To troubleshoot the issue, you will need to inspect the aerator and shut-off valve to determine the cause of the low water pressure.
We will discuss the steps you can take to identify and fix the problem, allowing you to enjoy the full water pressure in your kitchen sink once again.
Possible Causes For Low Water Pressure
When experiencing low water pressure in your kitchen sink after replacing the water heater, several possible causes should be considered. Identifying the underlying issue is crucial to restoring proper water flow.
Clogged Pipes
Clogged pipes are a common culprit for low water pressure. Debris or mineral buildup can restrict the flow of water, leading to reduced pressure in your kitchen sink.
Faulty Pressure Regulator
A faulty pressure regulator may be to blame for the diminished water pressure. If the regulator is not functioning correctly, it can impact the overall water flow in your kitchen sink.
Partially Closed Valve
A partially closed valve could also be causing the low water pressure issue. Ensure that the valves connected to the water heater are fully open to allow for optimal water flow.
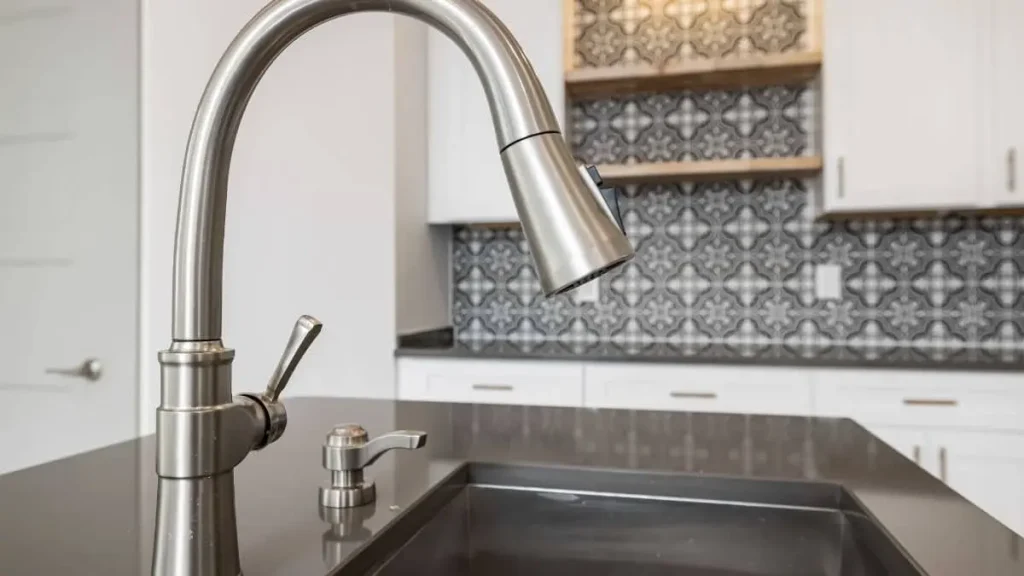
Clogged Aerator
As mentioned earlier, a clogged aerator can also be the culprit for low water pressure. Over time, mineral deposits and debris can accumulate in the aerator, affecting the flow of water.
Related Read: Moen Bathroom Faucet Has Low Water Pressure
Checking For Clogged Pipes
After replacing the water heater, experiencing low water pressure in the kitchen sink may indicate clogged pipes. To troubleshoot, check for blockages in the pipes by inspecting for debris and mineral buildup. If clogs are found, use appropriate tools or contact a professional plumber for assistance.
Identifying Signs of Clogged Pipes
One of the first steps in addressing potential clogged pipes is to identify the signs. Lower-than-usual water pressure, uneven water flow, or strange noises such as gurgling are often indicative of a blockage. Additionally, unpleasant odors coming from the drain can also point toward a clog in the pipe system.
Locating the Blockage
To locate the problem area, start by turning off the water supply to the affected area. Open the faucet and observe the water pressure—if there’s little to no flow, it’s likely a blockage exists. If both hot and cold water are affected, the issue may lie deeper within the plumbing system. For isolated problems, focus on the pipes connected to the affected faucet or fixture.
Cleaning Minor Clogs
For minor blockages, simple tools such as a plumber’s snake, wire hanger, or drain cleaning brush can help remove debris. Insert the tool into the piping carefully, twisting to dislodge the buildup, and pull it out to remove the obstruction. Flushing the pipe with hot water afterward can further help clear any residue.
Addressing Persistent Clogs
If cleaning methods do not resolve the issue, it may be a stubborn or deep clog within your pipes. Chemical drain cleaners can sometimes break down severe blockages, but use these products with caution, as they can damage some types of piping. For persistent problems, it is recommended to contact a professional plumber who has the expertise and equipment to address the issue effectively.
Preventing Future Clogs
To avoid clogged pipes in the future, take proactive measures such as installing drain screens to catch debris and flushing pipes with hot water regularly. Avoid disposing of grease, oil, or large food particles down the sink, as these are common culprits behind blockages. Routine maintenance of your plumbing system can ensure that water flows smoothly and prevent costly repairs down the road.
Checking For a Faulty Pressure Regulator
If the water pressure issue is not related to clogged pipes, it may be due to a faulty pressure regulator. To check for this, you will need to locate the regulator and inspect it for any visible damage or signs of malfunction.
What Is a Pressure Regulator?
A pressure regulator is responsible for maintaining consistent water pressure throughout your plumbing system. It controls the flow of water from the main supply line into your home and reduces high-pressure levels down to an appropriate level.
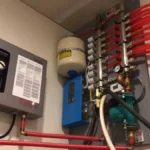
Locating the Pressure Regulator
The pressure regulator can typically be found near the main shut-off valve or where your main water line enters your house. It is usually a bell-shaped device with an adjustable screw.
Inspecting the Pressure Regulator
Check the pressure regulator for any signs of damage or wear. If it appears worn out or damaged, it may need to be replaced. Additionally, check for any obstructions that could be affecting its functionality, such as debris or mineral buildup.
Recommended: 1950s Bathtub Faucet Repair
Examining The Valve
After replacing your water heater, you may find that your kitchen sink has low water pressure. One of the common causes for this issue is a partially closed valve. Examining the valve is crucial to resolving the low water pressure problem.
Locate Valve
Start by locating the shut-off valve connected to the water supply line for the kitchen sink. This valve is typically found under the sink or near the water heater. It’s essential to identify the exact location of the valve to proceed with the inspection.
Check For Partially Closed Position
Once you’ve located the valve, check if it’s in a partially closed position. A partially closed valve can restrict the flow of water, resulting in low water pressure. Inspect the valve handle to ensure it is fully open and allowing the water to flow freely.
Open Valve
If the valve is partially closed, open it completely by turning the handle counterclockwise. This should allow the water to flow at its full pressure, resolving the low water pressure issue in your kitchen sink. Once the valve is fully open, check the water pressure at the kitchen sink to ensure that it has been restored to normal levels.
Flushing Water Heater
When experiencing low water pressure in your kitchen sink after replacing the water heater, it may be necessary to flush the water heater to resolve the issue. Flushing the water heater can help remove sediment and debris that may be causing the low water pressure, ensuring optimal performance and water flow throughout your home.
Turn Off Power Supply
Before beginning the flushing process, it’s crucial to turn off the power supply to the water heater. This step is essential for safety and to prevent any electrical mishaps during the flushing procedure.
Attach Hose To Drain Valve
Next, attach a hose to the drain valve of the water heater. The hose will be used to direct the flow of water and sediment away from the water heater, ensuring a smooth and efficient flushing process.
Flush The Water Heater
Once the hose is securely attached, open the drain valve and allow the water to flow out of the water heater. The flushing process should continue until the water runs clear, indicating that the sediment and debris have been effectively removed.
Additional Tips
When experiencing low water pressure in your kitchen sink after replacing your water heater, there are a few additional tips to consider. These tips can help you troubleshoot and address the issue effectively.
Check For Leaks
Inspect the area around the water heater and the kitchen sink for any signs of leaks. Check the water supply lines, connections, and faucets for any visible leaks or water damage. Addressing any leaks promptly can help improve water pressure and prevent further damage.
Contact A Professional If Necessary
If you are unable to identify the cause of the low water pressure or if the issue persists despite your efforts, it may be necessary to contact a professional plumber. A licensed plumber can conduct a thorough inspection, diagnose the problem accurately, and provide the necessary repairs or adjustments to restore proper water pressure.
Preventative Maintenance
Implementing preventative maintenance practices can help prevent future issues with water pressure in your kitchen sink. Regularly inspecting and maintaining your plumbing system, including the water heater and supply lines, can help identify and address potential problems before they escalate.
Conclusion
Dealing with low water pressure post water heater replacement? It’s a common issue that can be frustrating. By understanding the causes and troubleshooting steps, you can restore your kitchen sink’s water pressure effectively. Don’t hesitate to seek professional help if needed.
Keep your plumbing system running smoothly. Remember to regularly inspect and maintain your pressure regulator, valves, and water heater to prevent future issues. By staying proactive, you can avoid costly repairs down the road and ensure a consistent water flow in your home. So don’t wait any longer, take these steps today to improve your kitchen sink’s water pressure and enjoy hassle-free use of your plumbing system. Happy Plumbing!