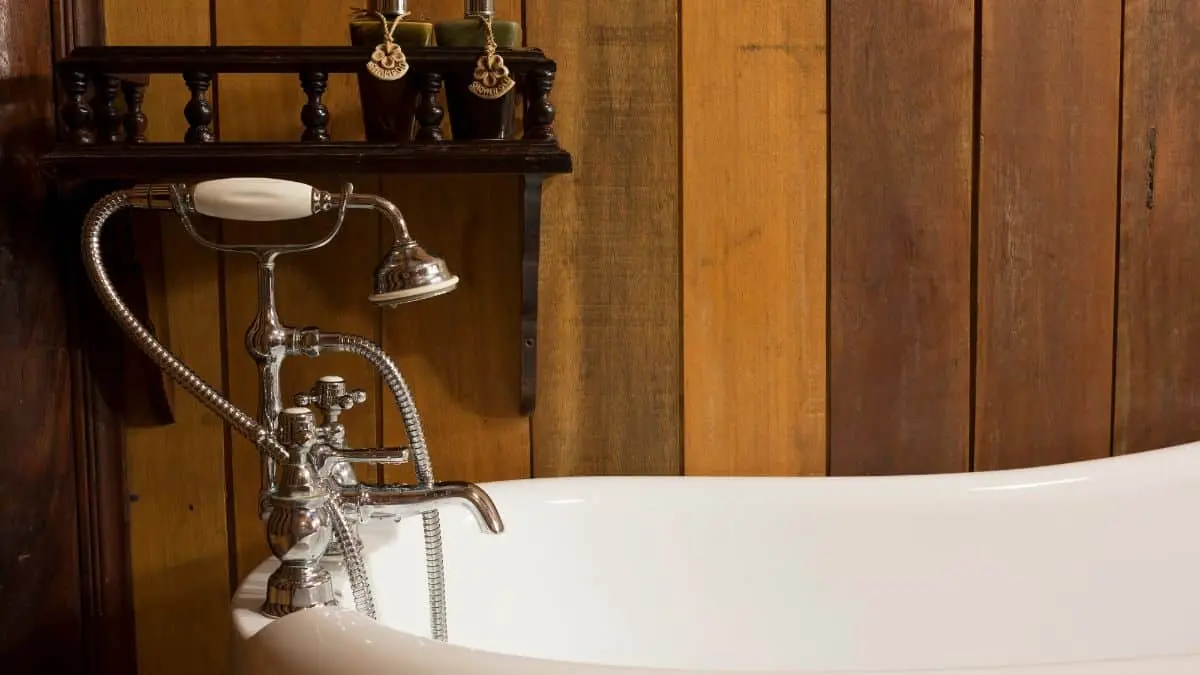
Homeowners with mid-century properties often cherish the unique charm of 1950s bathtub faucets. These vintage fixtures, with their sleek chrome finishes and sturdy brass construction, reflect a timeless style that modern designs struggle to replicate. However, decades of use can lead to leaks, corrosion, or worn-out parts, leaving many wondering how to restore them.
Repairing a 1950s bathtub faucet offers a practical solution to maintain both function and retro appeal without the expense of a full replacement. This guide walks through the repair process step-by-step, shares expert tips for sourcing parts, and highlights best practices to keep these classic faucets flowing smoothly.
Whether you’re a DIY enthusiast or a homeowner aiming to preserve your bathroom’s original character, this article has you covered.
Why 1950s Bathtub Faucets Are Unique
Faucets from the 1950s stand apart from today’s models due to their distinct design and construction. Homeowners prize these fixtures for their durability and mid-century aesthetic, which add character to vintage bathrooms.
Design and Materials of Vintage Faucets
Faucets in the 1950s reflected the era’s focus on form and function. Manufacturers crafted them with specific styles and materials that differ from modern standards. These traits contribute to their lasting appeal and repair challenges.
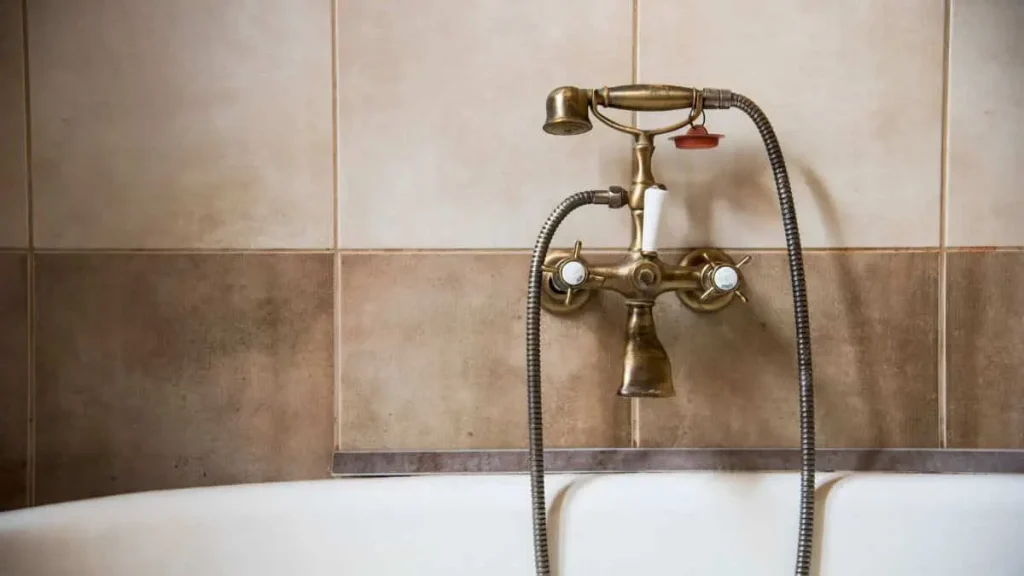
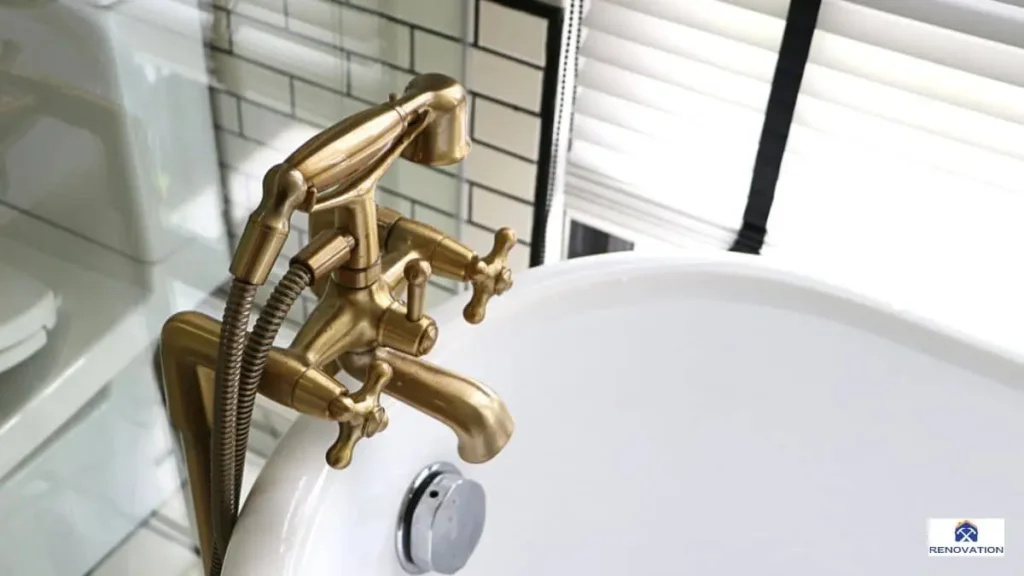
- Styles ranged from single-handle designs to two-handle setups with separate hot and cold controls. Chrome plating dominated, offering a shiny, polished look that became a hallmark of mid-century bathrooms.
- Materials included brass and steel, chosen for strength and longevity. Early ceramic components appeared in some models, adding durability to valve systems.
- Modern faucets, by contrast, lean heavily on plastic parts for cost savings. A 1950s faucet’s metal-heavy build resists wear better but requires careful handling during repairs.
These design choices make 1950s bathtub faucets both a visual standout and a sturdy fixture worth preserving.
Common Problems with Aging Faucets
Time takes a toll on even the toughest fixtures. After 70 years, 1950s bathtub faucets face specific issues tied to their age and materials. Recognizing these problems guides effective repairs.
- Leaks often stem from worn washers or gaskets. Rubber components degrade over decades, allowing water to seep through.
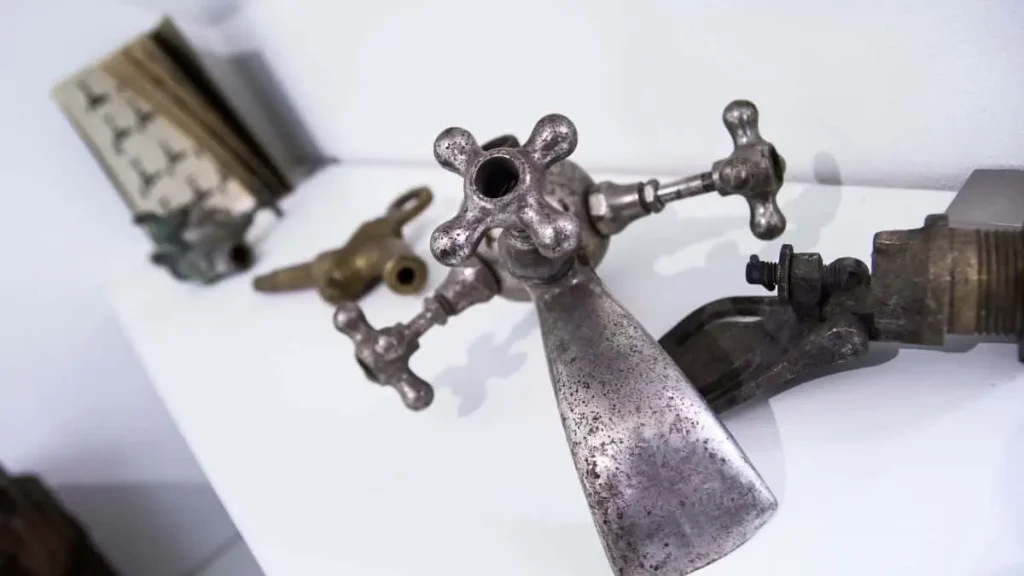
- Corrosion develops from constant water exposure. Chrome may pit or flake, while brass underneath can oxidize, weakening the faucet’s structure.
- Replacement parts pose a challenge. Manufacturers discontinued many 1950s designs, leaving homeowners to hunt for compatible pieces.
These issues highlight the need for targeted repair strategies. A dripping faucet or rusted stem doesn’t mean the end—most problems have practical fixes with the right approach.
Tools and Materials Needed for 1950s Bathtub Faucet Repair
Repairing a 1950s bathtub faucet requires the right tools and materials to handle its vintage design. Proper preparation ensures a smooth process, whether fixing a leak or replacing worn parts. The sturdy metal construction and unique components of these faucets demand specific items not always needed for modern repairs. Below, find a detailed breakdown of essentials, organized for clarity.
| Category | Item | Purpose | Where to Find |
| Tools | Adjustable Wrench | Loosens nuts and fittings | Hardware stores |
| Tools | Screwdriver Set | Removes handle screws | Hardware stores |
| Tools | Pliers | Grips small parts | Hardware stores |
| Tools | Pipe Wrench | Handles stubborn fittings | Hardware stores |
| Tools | Vinegar, Wire Brush, Cloth | Cleans rust and buildup | Grocery or hardware stores |
| Parts | Washers | Seals leaks | Specialty plumbing stores, online |
| Parts | O-rings | Prevents drips | Specialty plumbing stores, online |
| Parts | Gaskets | Ensures tight fit | Specialty plumbing stores, online |
Step-by-Step Guide to Repairing a 1950s Bathtub Faucet
Restoring a 1950s bathtub faucet to working order involves a clear, methodical process. These vintage fixtures, with their durable metal builds, respond well to repair when handled properly. Each step addresses common issues like leaks or corrosion while preserving the faucet’s retro charm. Follow this guide to tackle the job with confidence, from shutting off the water to testing the final fix.
Step 1 – Shut Off Water Supply
Water control is the first priority. Unchecked flow during repair leads to mess and potential damage.
- Locate the shut-off valve near the bathtub, often under the sink or behind an access panel. If no local valve exists, use the main water supply line instead.
- Turn the valve clockwise until fully closed. For older homes, this may require extra effort due to stiff or rusted mechanisms.
- Test the faucet by turning it on. No water should flow. This confirms the supply is off and work can begin safely.
This step prevents water loss and protects the bathroom from accidental flooding.
Step 2 – Disassemble the Faucet
Taking apart a 1950s faucet reveals the source of the problem. Precision here avoids damaging delicate or aged parts.
- Remove the handle screws, typically hidden under decorative caps. Use a flathead screwdriver to pry off caps gently, then unscrew with the appropriate tool.
- Detach the stem or cartridge by loosening the retaining nut with an adjustable wrench. Note the order of components—snapping a quick photo helps with reassembly.
- Challenges arise with seized screws or rusted fittings. Apply penetrating oil and wait 10 minutes to loosen stubborn parts. Patience prevents stripping or breaking.
Disassembly exposes the inner workings, setting the stage for inspection and repair.
Step 3 – Inspect and Replace Worn Parts
Worn components cause most faucet issues. A close look determines what needs fixing or replacing.
- Check washers, O-rings, and seats for cracks, flattening, or brittleness. Rubber degrades over decades, leading to leaks.
- Take old parts to a hardware or plumbing store for exact matches. Vintage sizes differ from modern standards, so eyeballing won’t do.
- Address corrosion with vinegar-soaked cloths for mild cases. Soak for 15 minutes, then scrub with a wire brush. If damage is severe, replace the affected piece entirely.
Replacing these small parts often restores full function without major overhaul.
Step 4 – Reassemble and Test the Faucet
Putting it back together seals the repair. Proper reassembly ensures no leaks persist.
- Reinstall components in reverse order, aligning them as they were. Tighten the retaining nut with an adjustable wrench, but avoid overdoing it—vintage brass can crack under excess force.
- Turn the water supply back on slowly. Listen for hissing or drips as pressure builds.
- Test the faucet by running hot and cold water for 1-2 minutes. Watch for leaks at the base or handle. Tighten fittings gradually if drips appear.
Troubleshooting Persistent Leaks
Leaks after reassembly signal deeper issues. Quick fixes can resolve most cases.
- Improper seating of washers or O-rings causes seepage. Disassemble again and reposition them carefully.
- Worn threads on the stem or faucet body let water escape. Wrap threads with plumber’s tape (Teflon tape) for a tighter seal.
- Hidden cracks in metal components defy DIY repair. If leaks continue, consult a plumber to assess replacement options.
Recommended: Fix Low Water Pressure in Moen Bathroom Faucets
Benefits of Repairing vs. Replacing a 1950s Bathtub Faucet
Choosing to repair a 1950s bathtub faucet instead of replacing it offers distinct advantages. These vintage fixtures carry a blend of style and resilience that new models often lack. Repair preserves their character while addressing practical needs. Below, explore five key benefits that highlight why fixing beats swapping out.
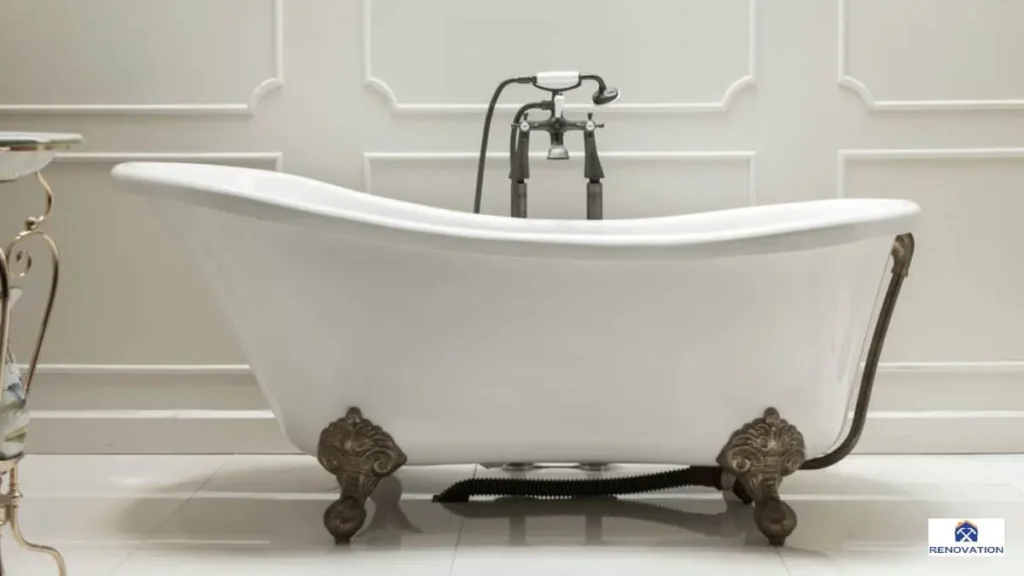
Preserving Vintage Aesthetic
Faucets from the 1950s bring mid-century charm to a bathroom. Their chrome finishes and sturdy designs tie into the era’s architectural trends. Repairing keeps this look intact, avoiding the jarring contrast of a modern replacement. A restored faucet blends seamlessly with original tile or fixtures, maintaining the home’s period authenticity.
Cost Savings Over Replacement
Repairing a faucet typically costs less than buying a new one. A full replacement, especially with a retro-style model, can run $100 to $300 or more, plus installation fees. Fixing a leak might only need a $5 washer or a $20 stem, keeping expenses low. Homeowners save money without sacrificing function.
Sustainability Through Reuse
Opting for repair aligns with eco-friendly practices. Vintage faucets, built from brass and steel, outlast many modern plastic-heavy designs. Restoring one reduces waste by keeping durable materials in use. This choice cuts down on manufacturing demand and landfill contributions, making it a greener option.
Avoiding Complex Installation
Replacing a faucet often involves more than unscrewing the old one. Older plumbing may not match modern fittings, requiring adapters or pipe adjustments. Repair skips these hurdles, focusing only on the faucet itself. This simplicity saves time and reduces the risk of unexpected plumbing costs.
Retaining Historical Value
Homes from the 1950s carry historical appeal, especially for buyers or enthusiasts. Original fixtures like a bathtub faucet add to that value. Repair ensures the piece stays authentic, boosting the property’s charm and market edge. A well-maintained vintage faucet becomes a selling point rather than a flaw.
Related Read: Kohler Karbon Faucet Repair
Challenges of 1950s Bathtub Faucet Repair
Repairing a 1950s bathtub faucet comes with hurdles tied to its age and design. While rewarding, the process tests patience and resourcefulness. Vintage faucets differ from modern ones in ways that complicate fixes, from sourcing parts to handling wear. Below, explore some key challenges and practical ways to address them.
Finding Compatible Parts
Discontinued designs make locating replacement parts a major obstacle. Manufacturers stopped producing many 1950s faucet components decades ago. Standard hardware stores rarely stock washers, O-rings, or stems that fit these older models. Specialty plumbing suppliers offer some solutions, but availability varies. Online marketplaces like eBay or salvage yards provide alternatives, though quality isn’t guaranteed. Experts suggest measuring old parts precisely—down to millimeters—before shopping, as slight mismatches lead to leaks. This hunt demands time and effort beyond a typical repair.
Dealing with Rust and Wear
Decades of water exposure leave 1950s faucets prone to rust and deterioration. Chrome plating flakes off, exposing brass or steel to corrosion. Stems and screws seize up, resisting disassembly. Cleaning with vinegar or rust dissolvers helps in mild cases—15 minutes of soaking often loosens buildup. Severe damage, however, requires replacing parts, which circles back to sourcing issues. Gentle handling prevents snapping brittle components. This wear reflects the faucet’s long life but complicates every step of the repair.
Navigating Non-Standard Sizes
Faucets from the 1950s predate modern plumbing standards. Thread sizes, stem lengths, and washer diameters differ from today’s norms. A part labeled “universal” at a store might not fit. Trial and error wastes time, and forcing mismatched pieces damages the faucet. Homeowners need to compare old parts side-by-side with replacements. Plumbing forums or vintage home guides sometimes list specs for common 1950s brands, offering a starting point. This lack of standardization turns a simple fix into a puzzle.
Risk of Damaging Aged Components
Age weakens even sturdy materials like brass. Overtightening a nut or prying too hard on a rusted screw can crack the faucet body or strip threads. Repairs demand a light touch—tighten fittings gradually and use penetrating oil on stuck parts. Tools like pipe wrenches, while effective, pose risks if misused on fragile chrome. Stripped or broken pieces often mean abandoning the repair for a replacement. Caution preserves the faucet but slows the process.
Maintenance Tips to Extend the Life of Your 1950s Faucet
A 1950s bathtub faucet can last decades with proper care. Regular maintenance prevents leaks, preserves the finish, and keeps vintage charm intact. These sturdy fixtures reward small efforts with long-term reliability. Below, find five practical tips to ensure your faucet stays functional and stylish for years to come.
Routine Cleaning and Care
Cleaning keeps a 1950s faucet looking sharp and working smoothly. Mineral buildup from hard water dulls chrome and clogs the internals. Soak a cloth in white vinegar and wrap it around affected areas for 15 minutes to dissolve deposits. Scrub gently with a soft brush or cloth afterward—avoid steel wool, which scratches vintage finishes. For stubborn spots, a plastic scraper lifts grime without harm. Harsh chemicals like bleach erode metal over time, so stick to mild solutions. Wipe the faucet dry after each use to limit water spots and slow corrosion.
Preventing Future Leaks
Leaks often start small but worsen without attention. Check washers and O-rings every 6 months for wear—cracks or flattening signal replacement time. Tighten loose fittings with an adjustable wrench, but stop at snug to avoid cracking brittle brass. A light coat of plumber’s grease on moving parts applied yearly, reduces friction and seals out water. Turn handles gently during use—force wears components faster. Catching issues early keeps minor drips from turning into major repairs.
Monitoring Water Pressure
High water pressure strains vintage faucets. Homes from the 1950s may lack modern pressure regulators, pushing 80-100 psi through old pipes. Experts recommend 40-60 psi for optimal function. Test pressure with a gauge at the faucet—if it’s too high, install a regulator near the main line. This tweak protects seals and threads from stress, extending the faucet’s life. Adjust gradually and retest to find the sweet spot.
Inspecting for Corrosion
Corrosion creeps in over time, especially in humid bathrooms. Check the faucet’s base and seams monthly for rust or pitting. Early signs—discoloration or flaking—respond to vinegar cleaning or light sanding with 400-grit paper. Dry the area thoroughly after treatment to halt progress. Severe rust may need part replacement, but catching it early limits damage. Good ventilation, like an exhaust fan, cuts moisture and slows corrosion’s spread.
Seasonal Adjustments
Weather shifts affect plumbing. Before winter, test the faucet for drips—freezing water in pipes can crack metal. In summer, heat expands components, loosening fittings. Tighten them as needed, but don’t overtighten. Flush the system by running water for 2 minutes each season to clear sediment. In hard-water areas, descale twice yearly with vinegar to keep the flow steady. These small tweaks adapt the faucet to changing conditions.
Conclusion
Repairing a 1950s bathtub faucet blends practicality with preservation. This guide covers the steps, tools, and tips needed to restore these vintage fixtures, from fixing leaks to sourcing rare parts. Homeowners save money, maintain mid-century charm, and reduce waste compared to replacing.
Challenges like rust or discontinued components require patience, but routine care keeps faucets flowing longer. With the right approach, a 1950s faucet remains a functional piece of history in any bathroom.
You May Also Like: